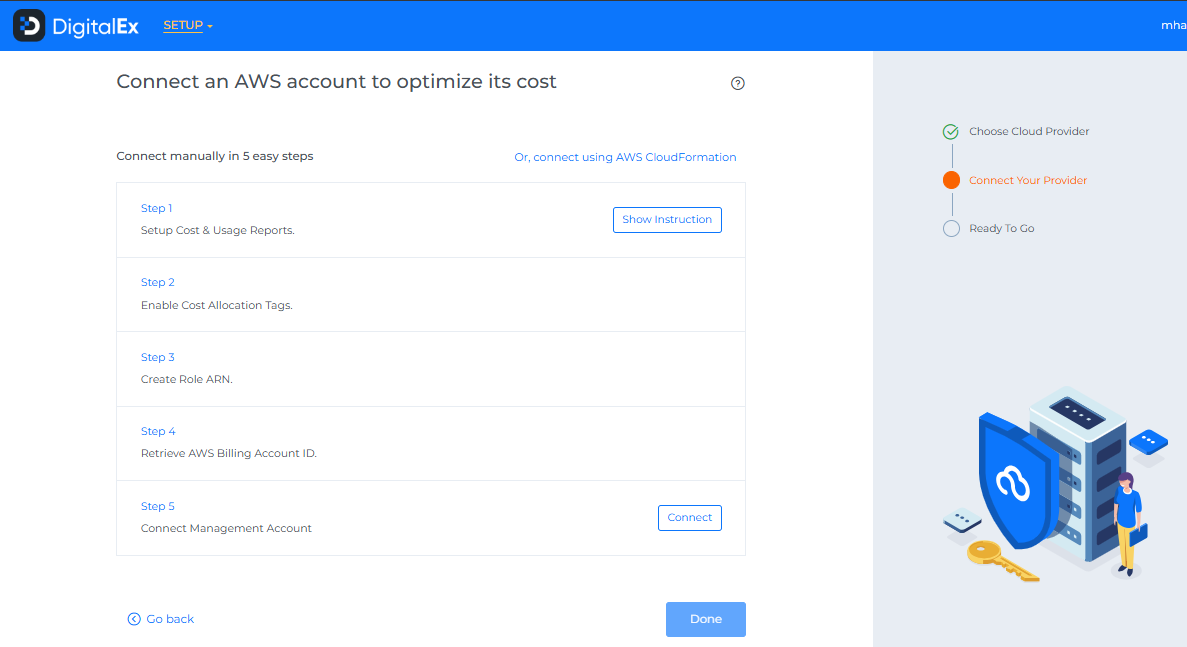
Step-4: Connect Billing Account on DigitalEx Dashboard
If you are onboarding an account for the first time, you will be presented with a screen that allows you to select the option to create a billing account
Below are the steps to Create a Billing account:
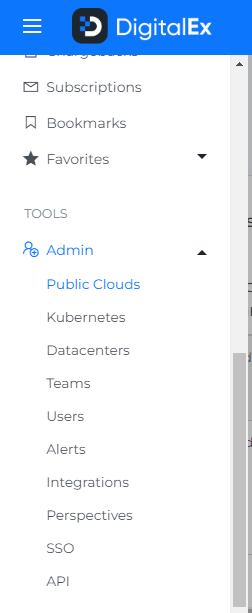
Otherwise, you can navigate to Menu > Admin > Public Clouds > +Account
2. Fill in the following details
Account ID : Click on Profile in AWS console and capture your Account ID and enter it
Role ARN or Access/Secret Key (Step-3: Create Role / IAM User )
Bucket Name, Report Path (Step-1: Enable CUR & Cost Explorer )
& Click +Billing Account
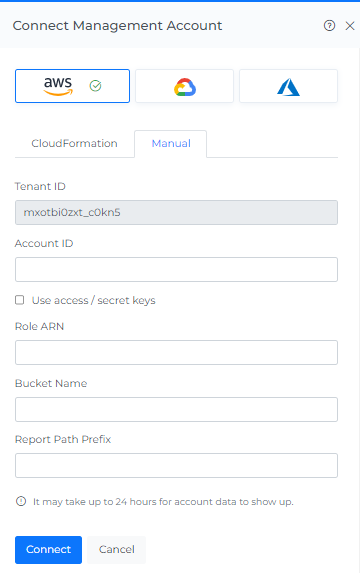
3. Click Connect
4. The onboarded Management Account will be displayed with the list of All linked Member accounts.
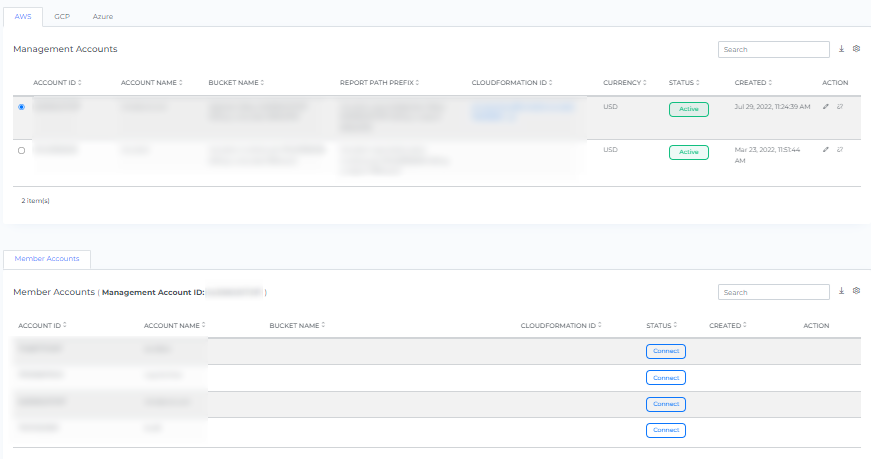
After adding a new account, it may take up to 30 minutes for the system to discover and process the data
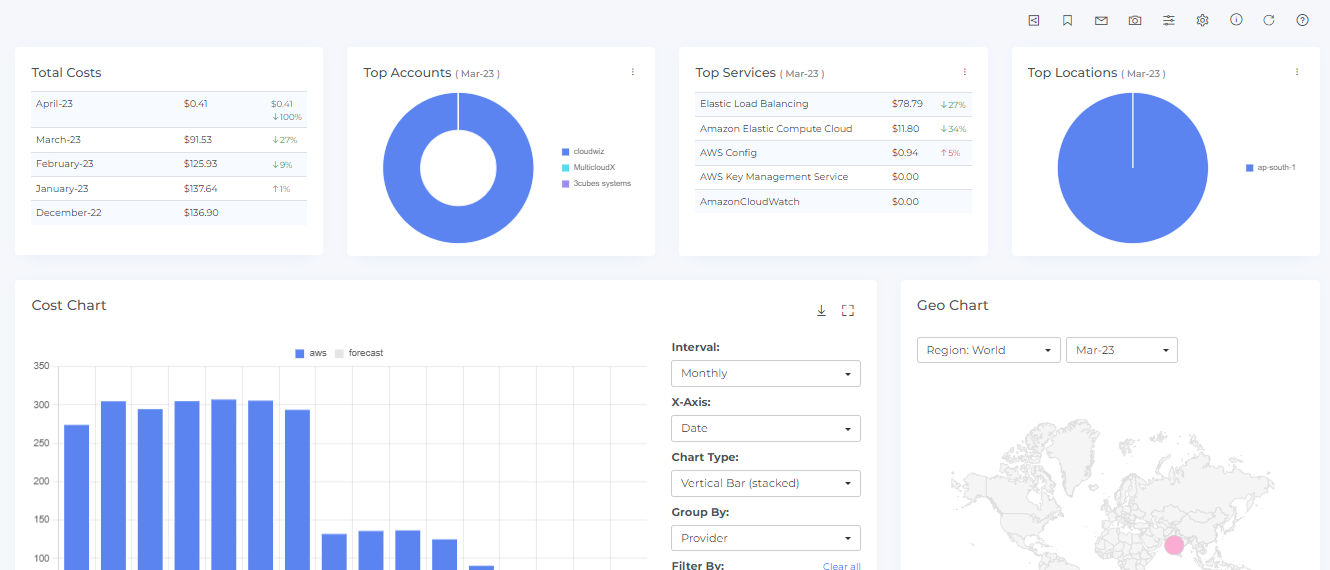
5. Go to the Menu option and Click Cost.
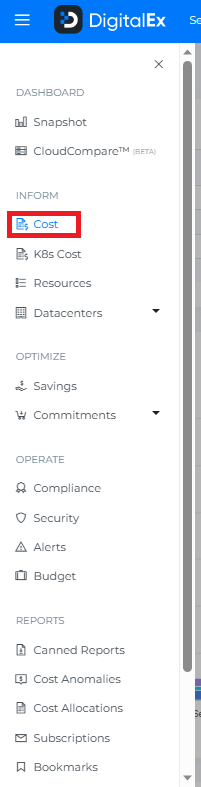
6. Data will display immediately after successful ingestion.