Budget
Introduction:
DigitalEx's budget feature allows you to track and be alerted of your organization's spending on resources based on the set strategic budget amount. You can check the progress of your budgets from the dashboard. By setting up alerts, users will be kept updated on budget progress. The budget performance for the past 12 months can also be checked by clicking 'History' from the actions menu
Steps to create a Budget:
Login to DigitalEx as Owner/Editor
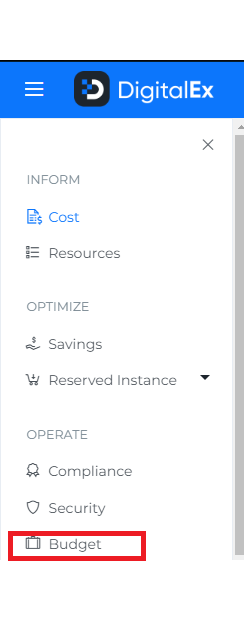
Click on Menu

3. Click on Budget
4. Click on +Budget
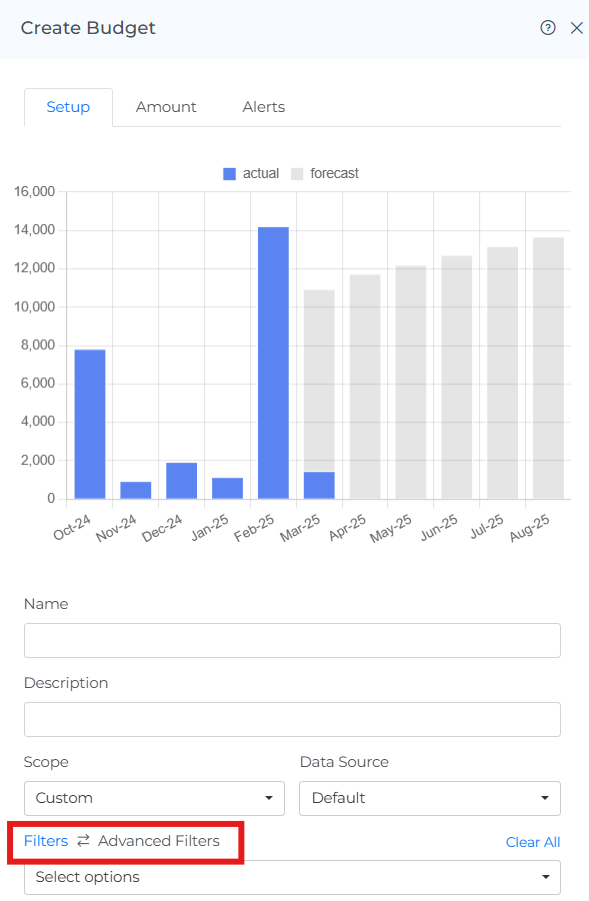
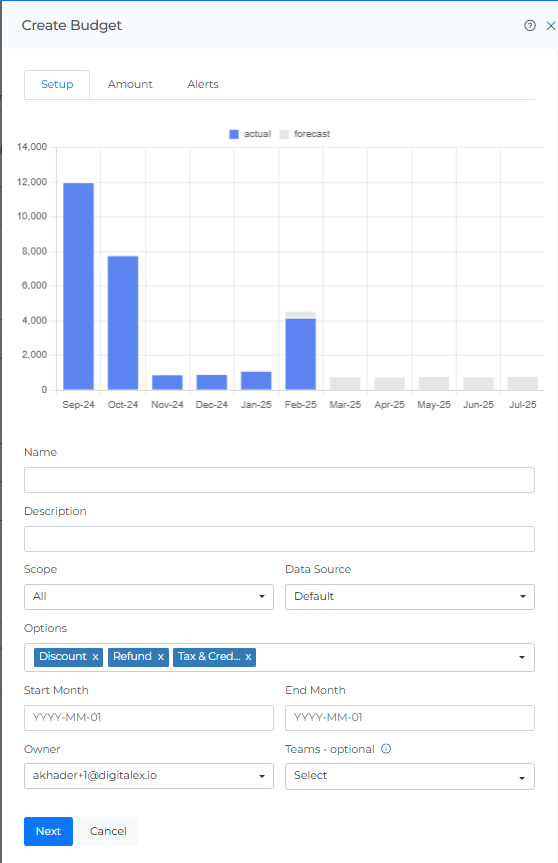
5. Enter Name & Description
6. Select Budget Scope like All/Perspective/Custom
All scope (default): all resource costs will be tracked for the budget.
Perspective: select perspectives which are already created (Perspectives ) & that perspective's filters will be applied to the budget..(Perspectives)
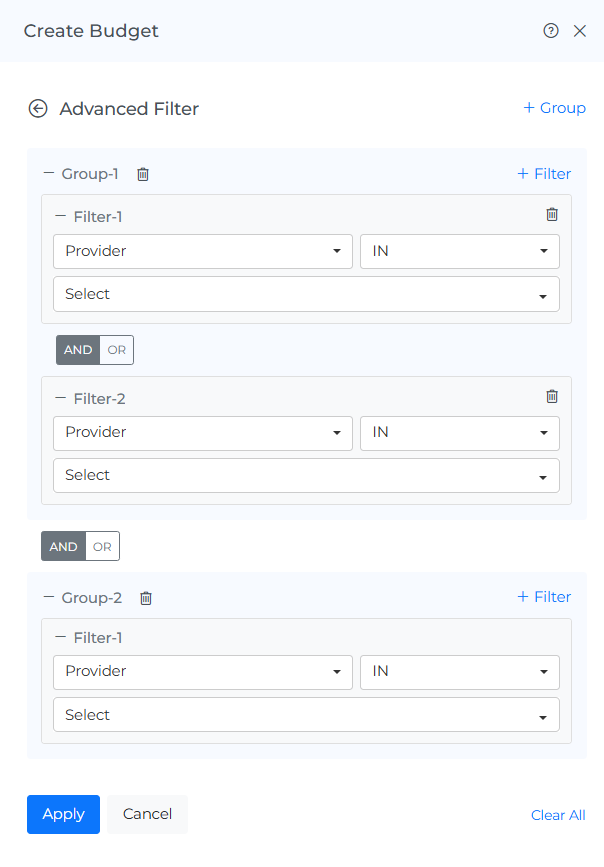
Custom: create your own custom filters using basic or advanced filter for budget
Cost allocation: You can create a budget for all the allocation at all levels i.e. business, segment,unit, and shared cost
7. Select Data Source: Default/AI/Kubernetes/Datacenter
Default: All public cloud accounts cost will be tracked for the budget.
AI: All AI accounts cost will be tracked for the budget.
Kubernetes: All Kubernetes accounts cost will be tracked for the budget.
Datacenter: All Datacenter accounts cost will be tracked for the budget.
8. Enter the start Month and end Month.
9. select the owner of the budget
you can select the team also
11. Click on Next
(If you want to add the Alerts then shift to Configure Alerts tab And follow the following Steps otherwise jump to Step 14)
12. Enter % of the budget as a threshold. So you will be notified once the budget amount reached the threshold value.
Auto: don’t trigger alert if it’s a ‘natural’ cost progress in the month, e.g. for alert with threshold 90%, and if this month has 30 days - only alert if the actual cost exceeds 90% of the budget amount before the 27th of the month.
Set Date, e.g. for alert with threshold 75% and date-threshold is set to 20 - only alert if the actual cost exceeds 75% of the budget amount before the 20th of the month.
Note. fix date is only provided for 1st to 28th … for the remainder date of the month, use ‘Last 3 days’, ‘Last 2 days’ and ‘Last day’ options.
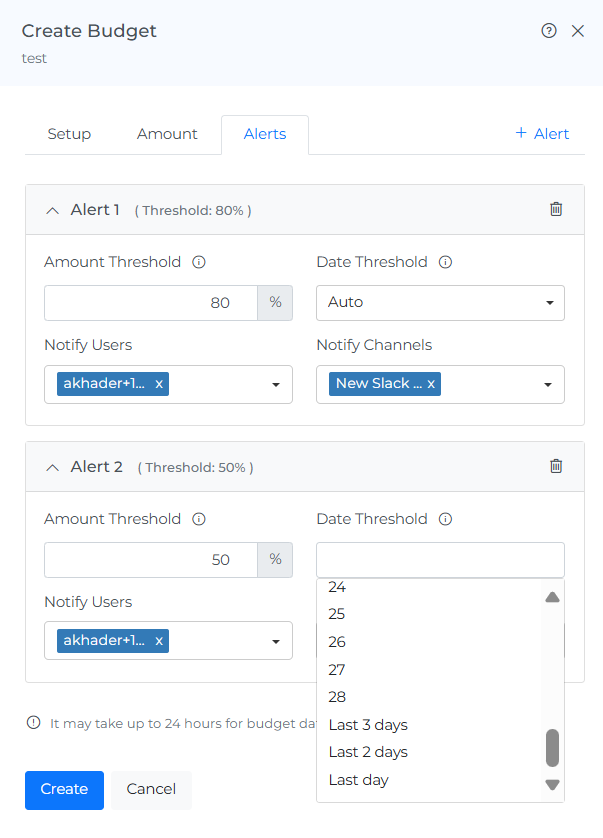
13. Select the users to Notify ( You can select multiple users)
14. Select channels to Notify ( You can select Multiple Channels)
Note:
To be notified through channels, you need to create different channels from the Integration moduleIntegrations
A maximum of 5 alerts can be added
15. Click on Create
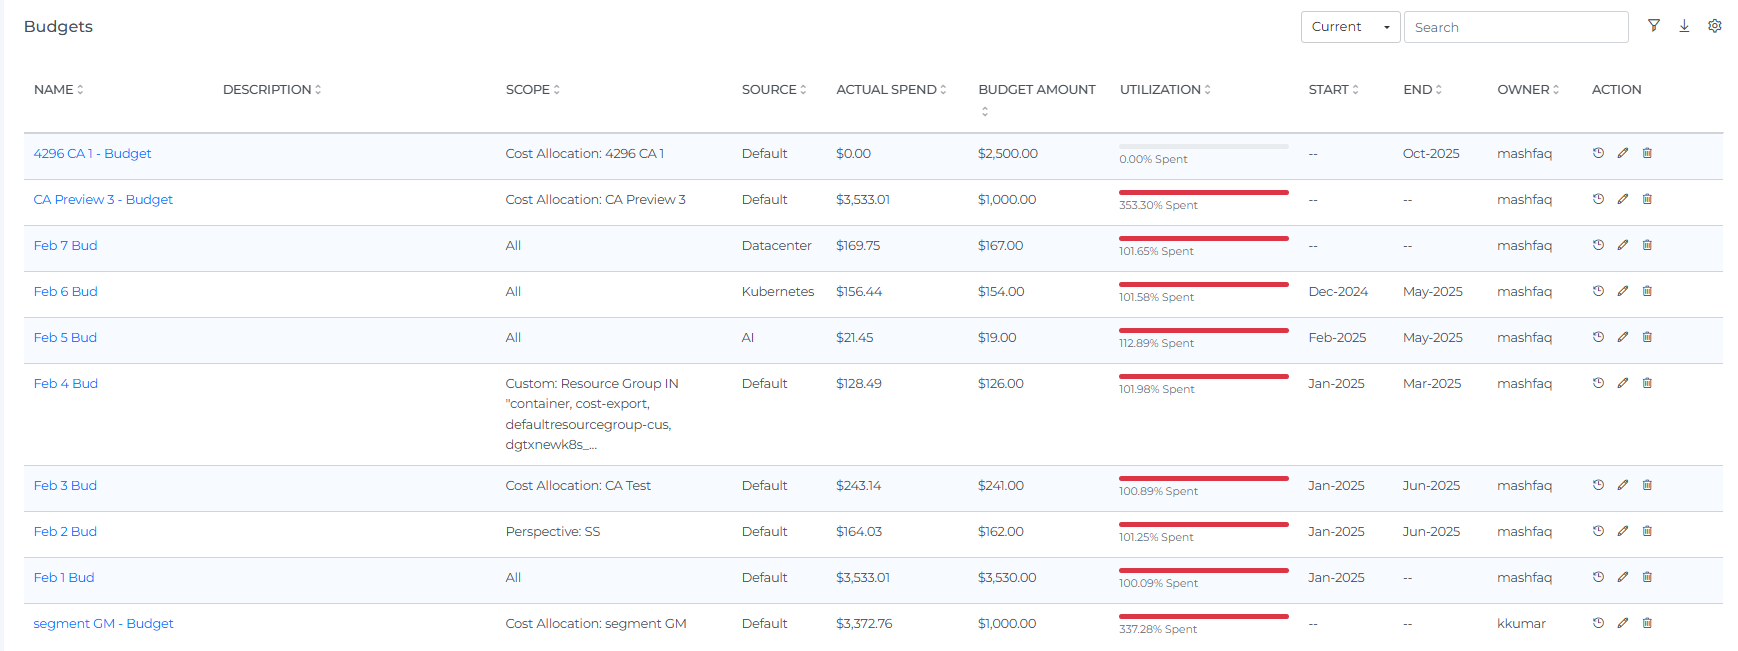
16. New Budget is created and displayed as shown below.
When you select the number of rows, you will be able to view that same quantity of rows on the page.
After creating the budget, it may take up to 24 hours for the system to discover the data. Currently, only monthly budgets are supported.
Users can view specific notifications if they are added as notified users for a specific alert."
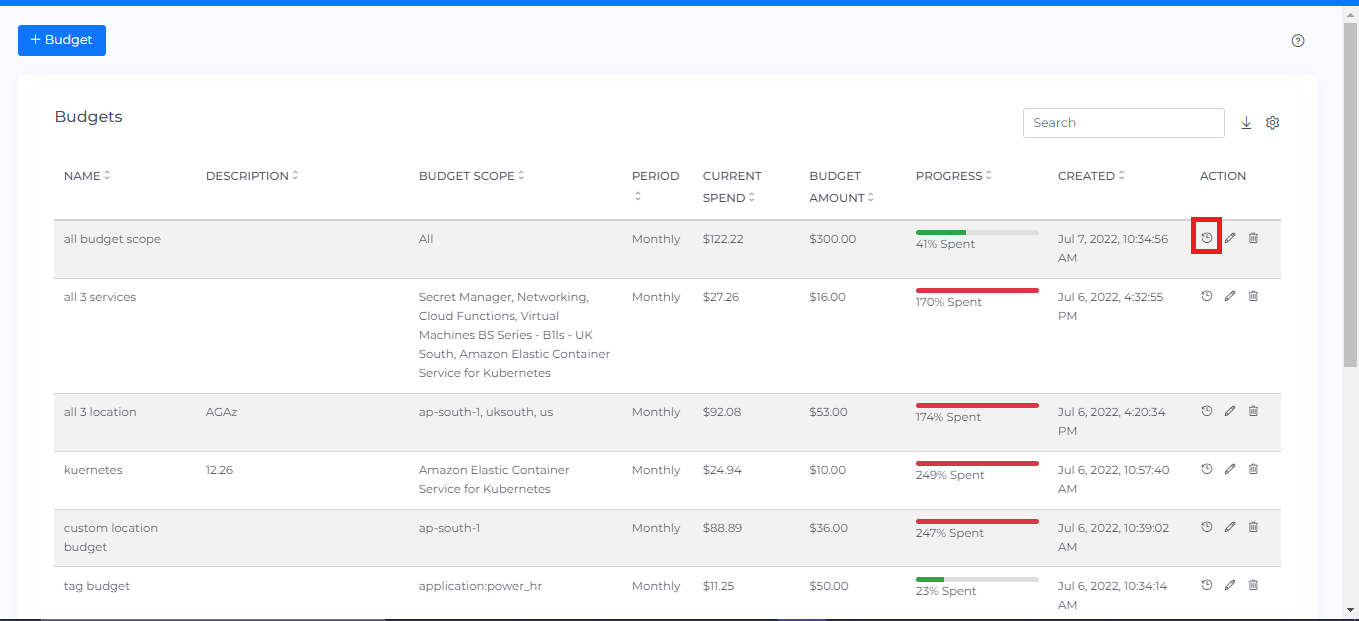
Steps to view the Budget History:
1. Click on the History icon
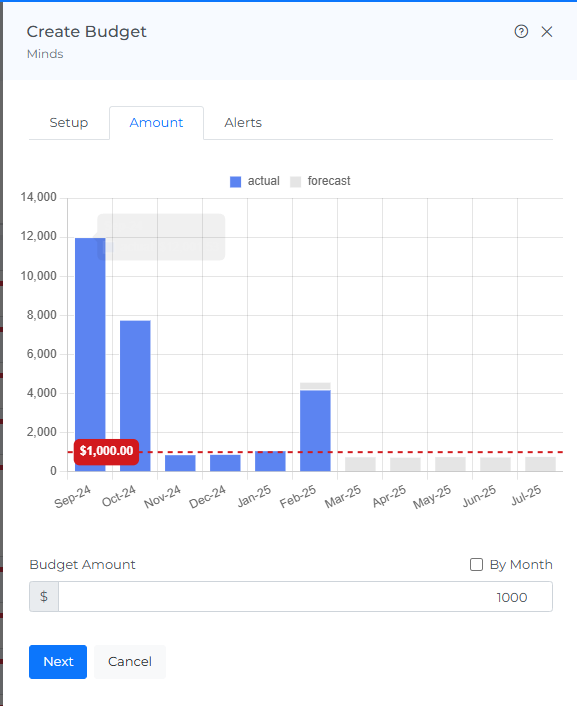
2. The history of budgets will be displayed as follows (the forecast can be viewed on the hovering grey bar chart)

Note: Budget history begins on the budget creation date and up to 12 months of history will be displayed
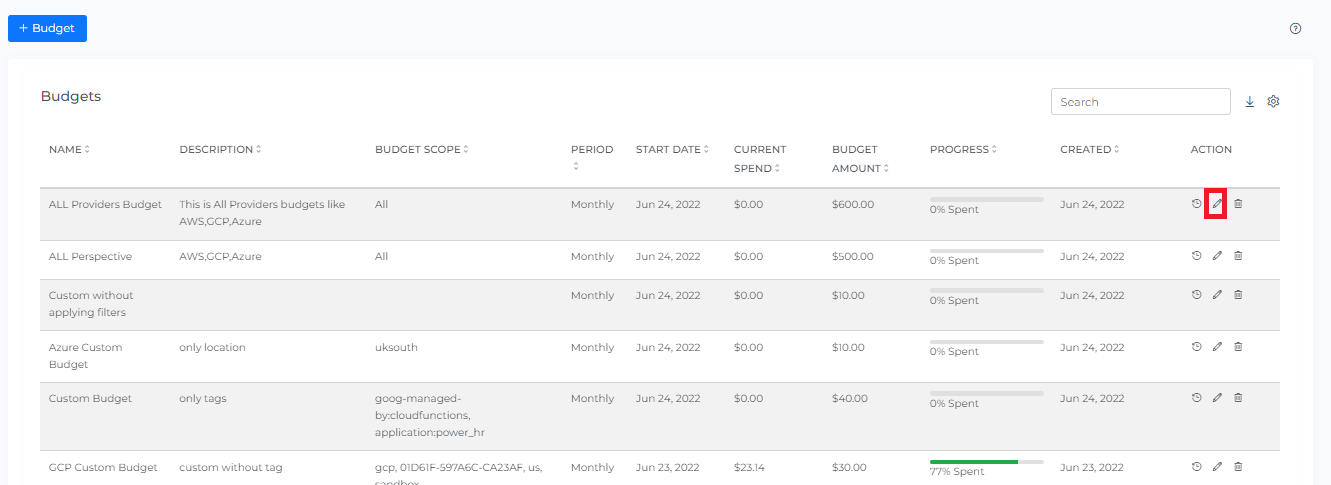
Steps to edit Budget:
Click on the Edit icon
2. Change the Amount
3. Click Update
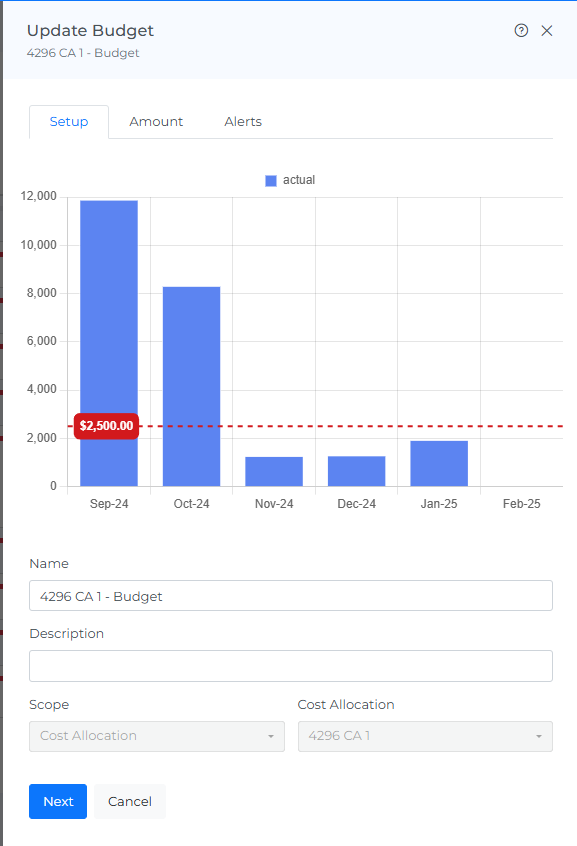
Note: The scope and filters cannot be changed.
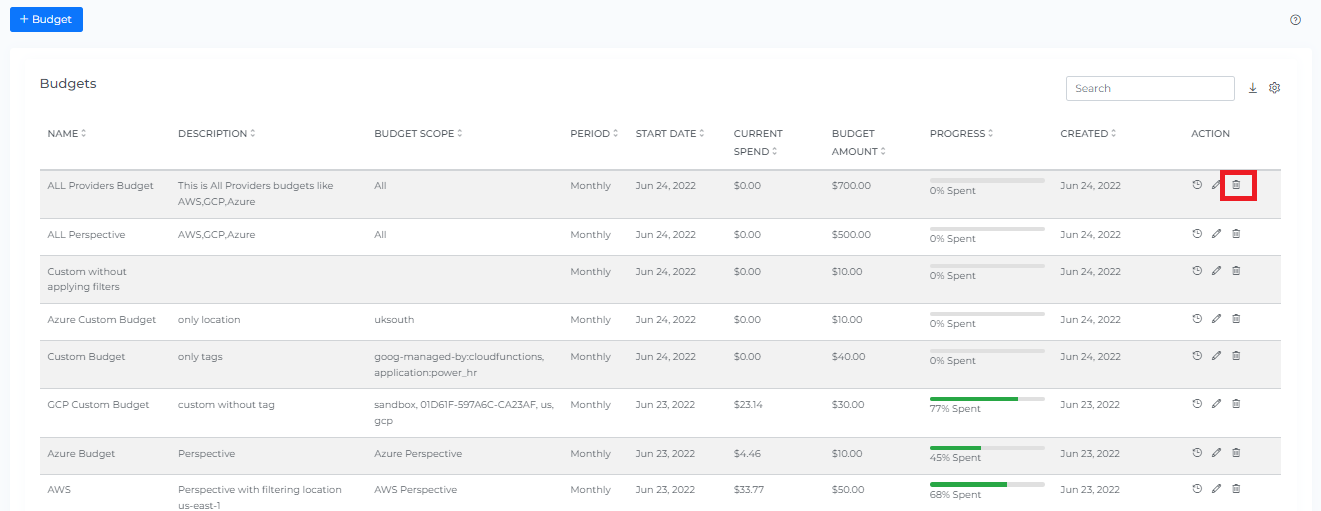
Steps to Delete Budget:
Click on the Delete icon
2. Click Delete from the pop-up
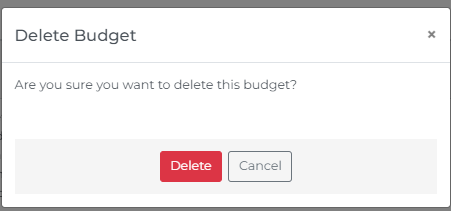
Note: Deleting a budget will permanently delete it and its history
Header Icons

Share
If you click on the "share" link, a link to the current page will be copied to your clipboard. You can then share this link with other team members, allowing them to access the same data and filters as you. This can be useful for collaborating with others and sharing information about your Budgets.
Screenshot
If you click on the camera icon, you can take a screenshot of the current page and download it as a PDF file. This can be useful for saving a copy of the data or for sharing it with others.
Reload Option
The "reset" option allows you to clear all filters and selections from the page, returning it to the default view. This can be useful if you want to start over or view the data in its original form.
Info
The "last updated" date and time stamp show when the data on the page was last refreshed. This can be useful for understanding the age of the data and determining if it is up to date.
Help
If you click on the "?" icon, you can access the help documentation for the page. This can provide you with additional information and guidance on using the page and its features.