Virtual Tags
Virtual Tags are custom tags created within the platform to help you organize, filter, and report on cloud resources—even if those resources don’t have native tags applied. They provide flexibility in how you assign metadata to resources, helping improve visibility, cost attribution, and governance.
You can create two types of Virtual Tags:
Standard – Manually assign a specific tag key and value to a defined set of resources.
Rule-Based – Automatically generate or standardize tags based on defined logic, conditions, or patterns.
Virtual Tags do not modify the actual resource tags in your cloud provider. Instead, they live within the platform and are applied virtually to support better analytics and reporting..
Steps to create a Virtual Tags:
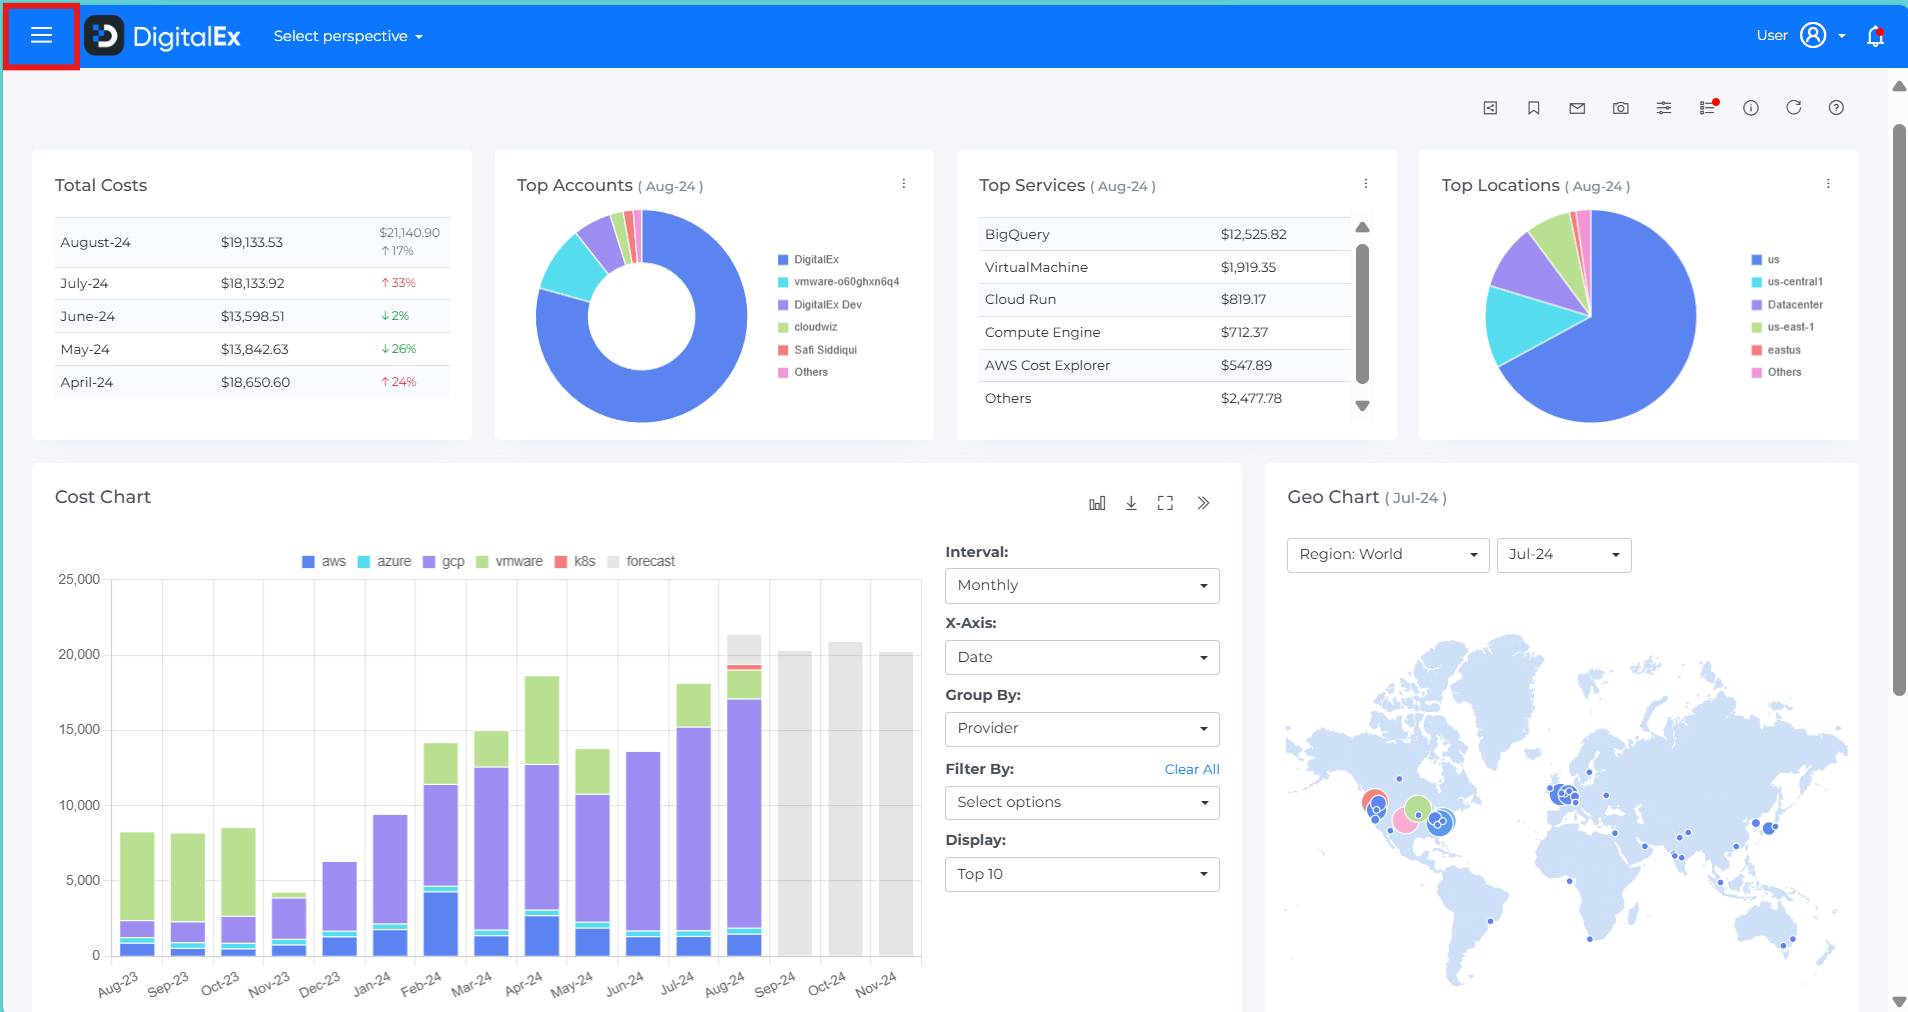
Login to DigitalEx
Click on Menu
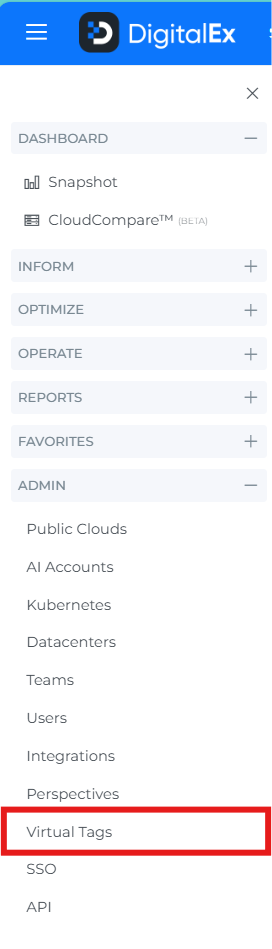
Navigate to the Admin section on the sidebar and select "Virtual Tags."
Creating a Standard Virtual Tag
Standard Virtual Tags allow you to manually assign a specific tag key and value to selected resources for a defined time period. Follow the steps below to create one:
1. Navigate to “Create Virtual Tag”
Open the Virtual Tag creation panel. You’ll see three tabs at the top: Setup, Scope, and Rule.
2. Select Tag Type
In the Setup tab:
From the Type dropdown, select Standard.
Enter the desired Key and Value for your tag.
Example: Key =
Environment, Value =QA
Optionally, add a Description to explain the purpose of the tag.
Define the Start Month and End Month to set the active period for this tag.
Click Next to proceed.
3. Define Tag Scope
In the Scope tab:
Choose the Data Source (e.g., Default, AI, K8s, VMware).
Select filter options such as:
Provider (e.g., AWS, Azure, GCP)
Billing Account
Usage Account
Resource Group
Location
You can use Basic or Advanced filters based on your tagging needs.
Optional: Enable Dynamic Filter for more flexible targeting.
4. Create the Tag
Once all fields are filled out:
Click Create to save your Virtual Tag
The tag will be applied to all matching resources within the selected scope and date range.
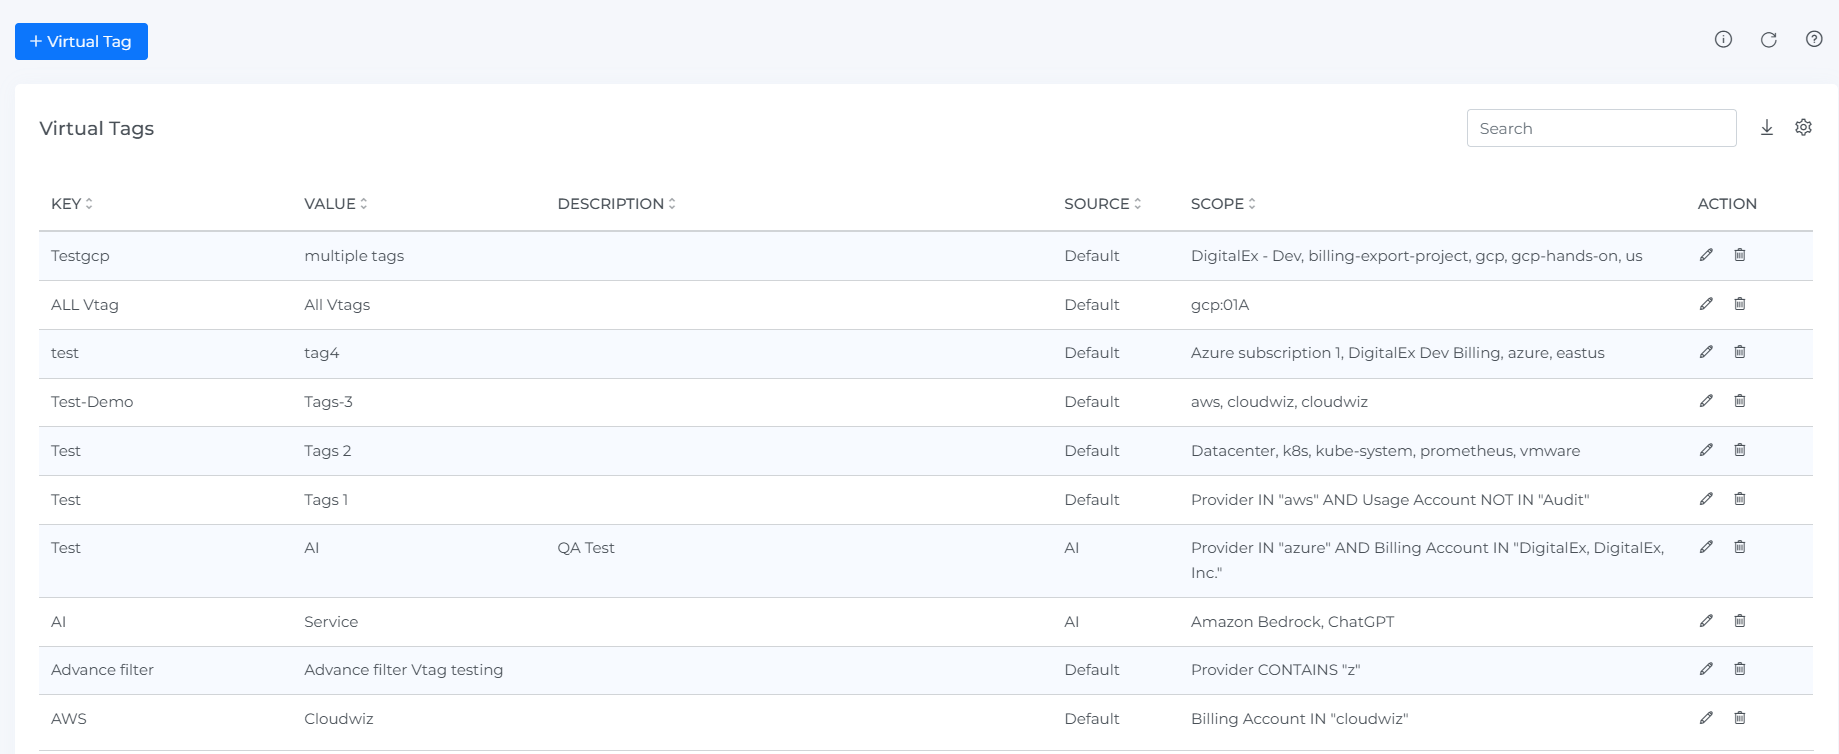
New Virtual Tag is created and displayed as shown below.
After creating the Virtual Tags, click on "Run Ingestion" and wait for the process to complete. Once done, perform a hard refresh on the page.

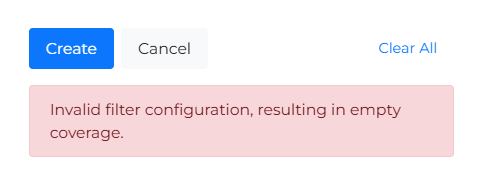
If we configure invalid tag parameters using basic and advanced filters error message should be displayed.
Creating a Rule-Based Virtual Tag
Rule-Based Virtual Tags allow you to automatically generate, clean up, or standardize tags using smart logic such as tag key/value mappings or RegEx patterns. This reduces manual effort and improves tag consistency across your cloud environment.
You can use Rule-Based Virtual Tags to:
Standardize inconsistent tag keys and/or values
Create dynamic tags based on resource attributes using RegEx
Apply complex tagging logic that adapts to your environment
1. Navigate to “Create Virtual Tag”
Open the Virtual Tag creation panel. You’ll see three tabs: Setup, Scope, and Rule.
2. Select Tag Type
In the Setup tab:
From the Type dropdown, choose Rule Based
Enter an optional Description for your tag
Set the Start Month and End Month to define the active period of the rule
Click Next to proceed
3. Define Tag Scope
In the Scope tab:
Choose the Data Source relevant to your tag (e.g., Default, K8s, AI, etc.)
Use Basic or Advanced filters to define the resources this rule applies to
Filter options include:
• Provider
• Billing Account
• Usage Account
• Resource Group
• Location(Optional) Enable Dynamic Filter for attribute-based matching
Click Next to continue
4. Choose a Rule Type
In the Rule tab, select the logic that fits your tagging needs. Available options include:
Standardize Tag Keys Only
• Use when you have inconsistent tag keys likeEnv,ENV, orEnvironment
• Example: All keys are standardized toENVIRONMENT, while keeping their values (e.g.,prod,dev) unchangedStandardize Tag Values Only
• Use when tag keys are consistent but values vary
• Example: Values likeprod-root,prod-tenantare standardized toprod, while keeping the original key (Environment)Standardize Tag Keys & Values
• Use when both tag keys and values are inconsistent
• Example:envorEnv→Environment, andqa-root,qa-tenant→QADynamic Virtual Tags
• Use when you want to extract tag values from resource attributes using RegEx.
• Example: Fromusage_type:BoxUsage:t4g.medium, extractt4g.mediumas the tag value for the keyinstance_typeList of fields customers can use in dynamic virtual tags:
Provider
Billing Account
Usage Account
Resource Group
Category
Location
Service Category
Service
SKU
Cost Type
Billing Entity
Instance Type
5. Finalize and Create
Once your rule is fully configured:
Click Create to save and apply the rule
The system will evaluate all matching resources and apply the virtual tag based on the logic and scope you defined
Steps to Edit Virtual Tags:
Click on Menu
Navigate to the Admin section on the sidebar and select "Virtual Tags."
Click on Edit icon
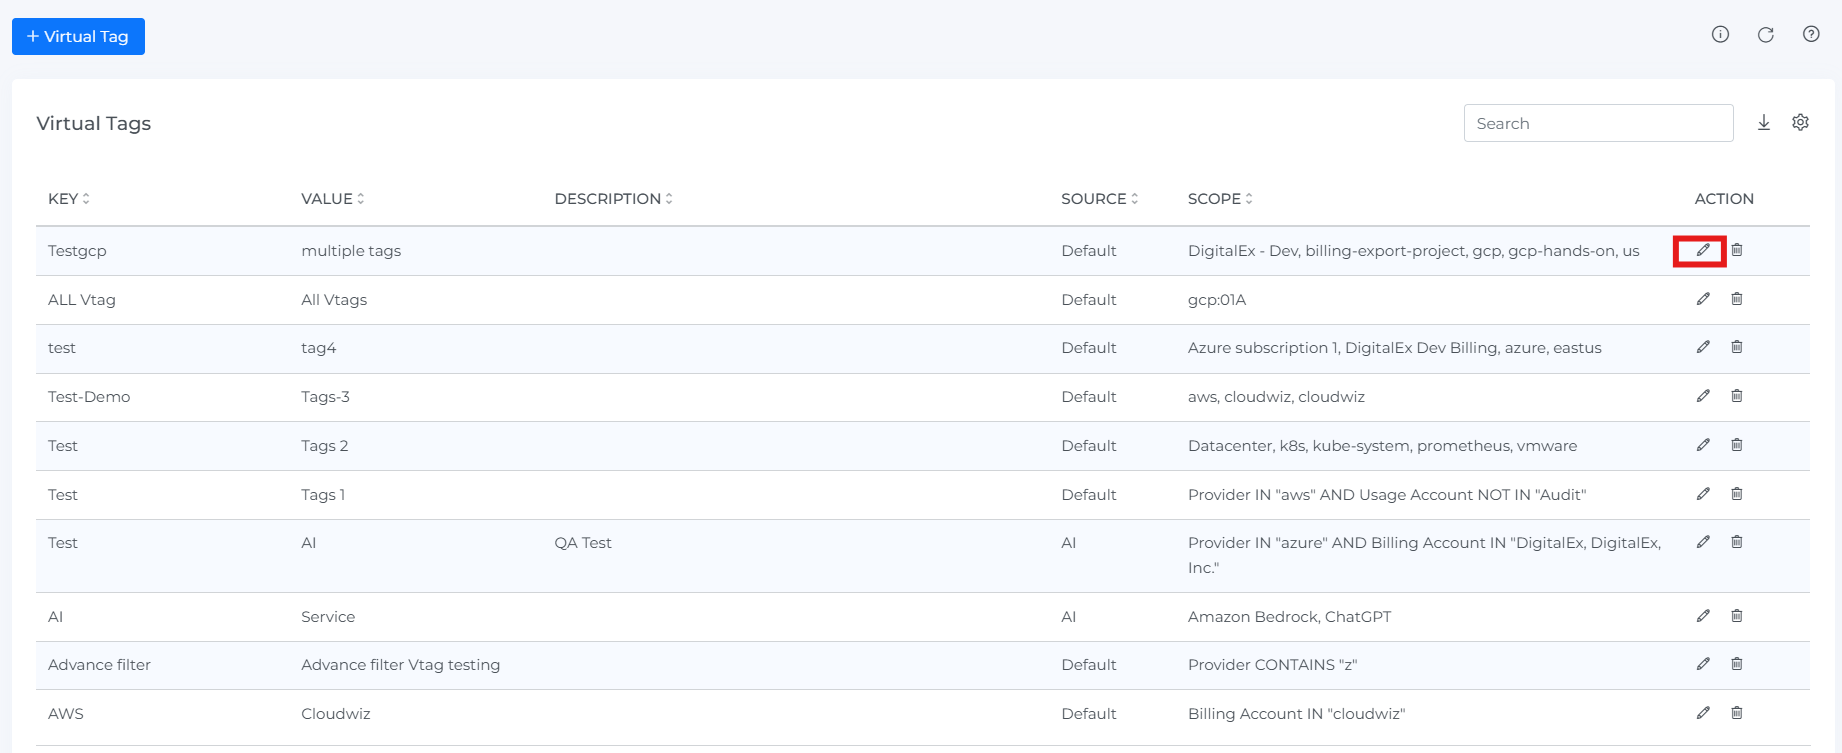
Make the changes as per requirement
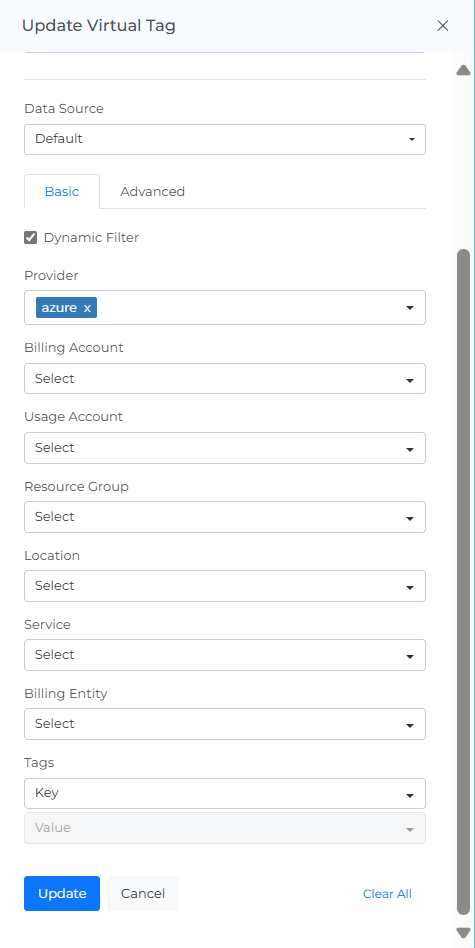
Click on Update button.
Steps to Delete Virtual Tags:
Click on Menu
Navigate to the Admin section on the sidebar and select "Virtual Tags."
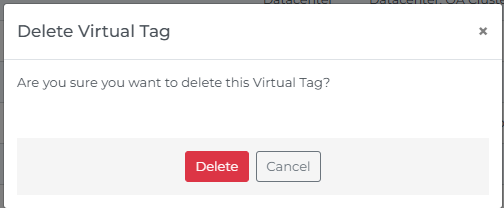
Click on Delete icon
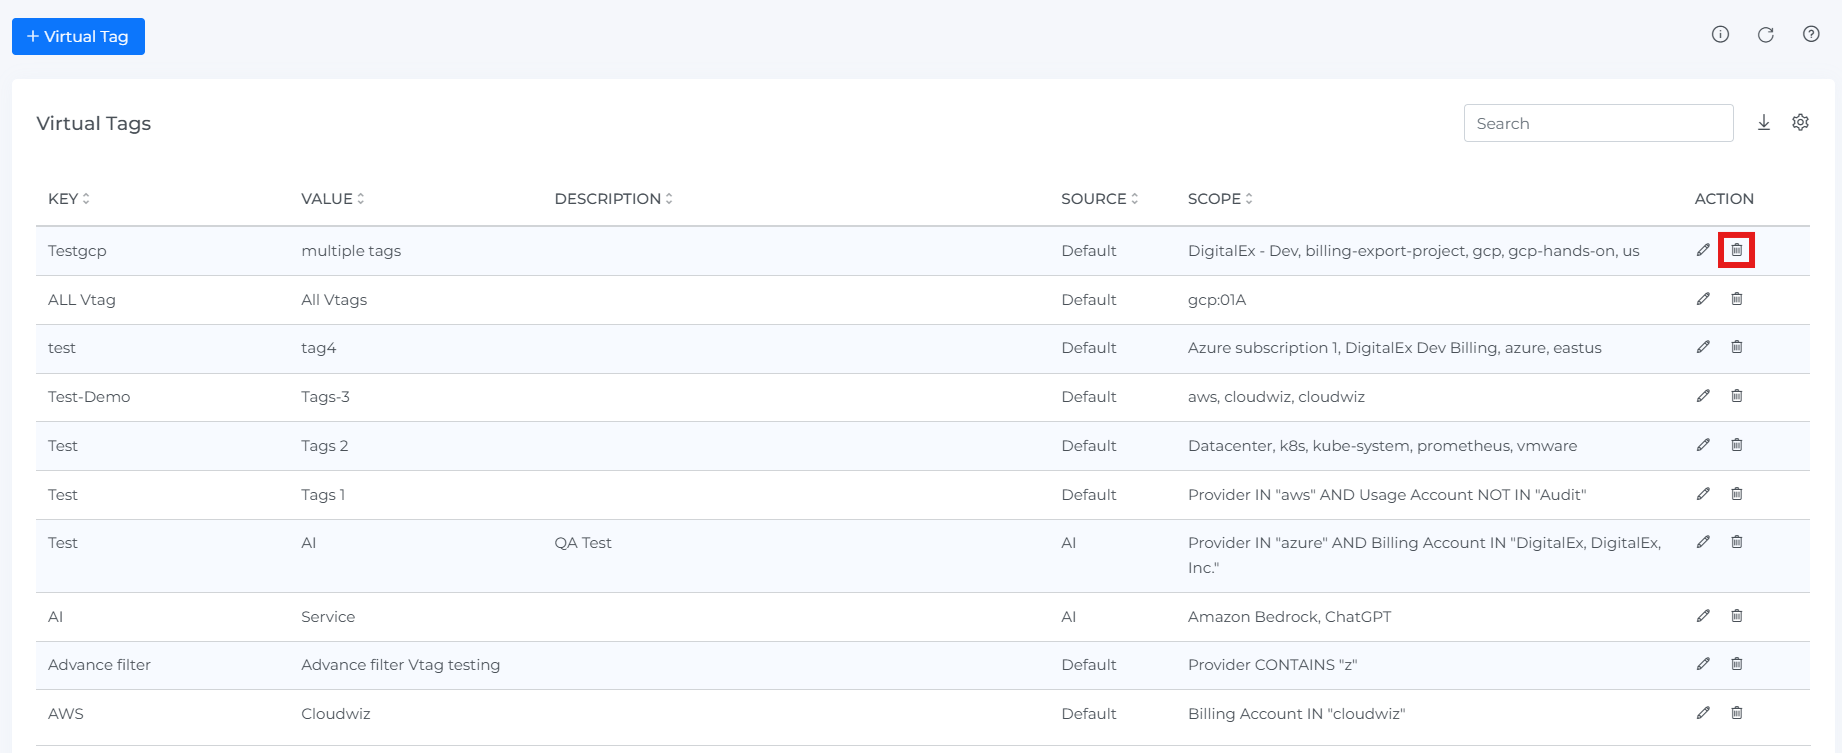
Click on Delete button
Steps to use Virtual Tags:
Click on Menu
Navigate to the Inform section on the sidebar and select "Cost"
Click on Filters
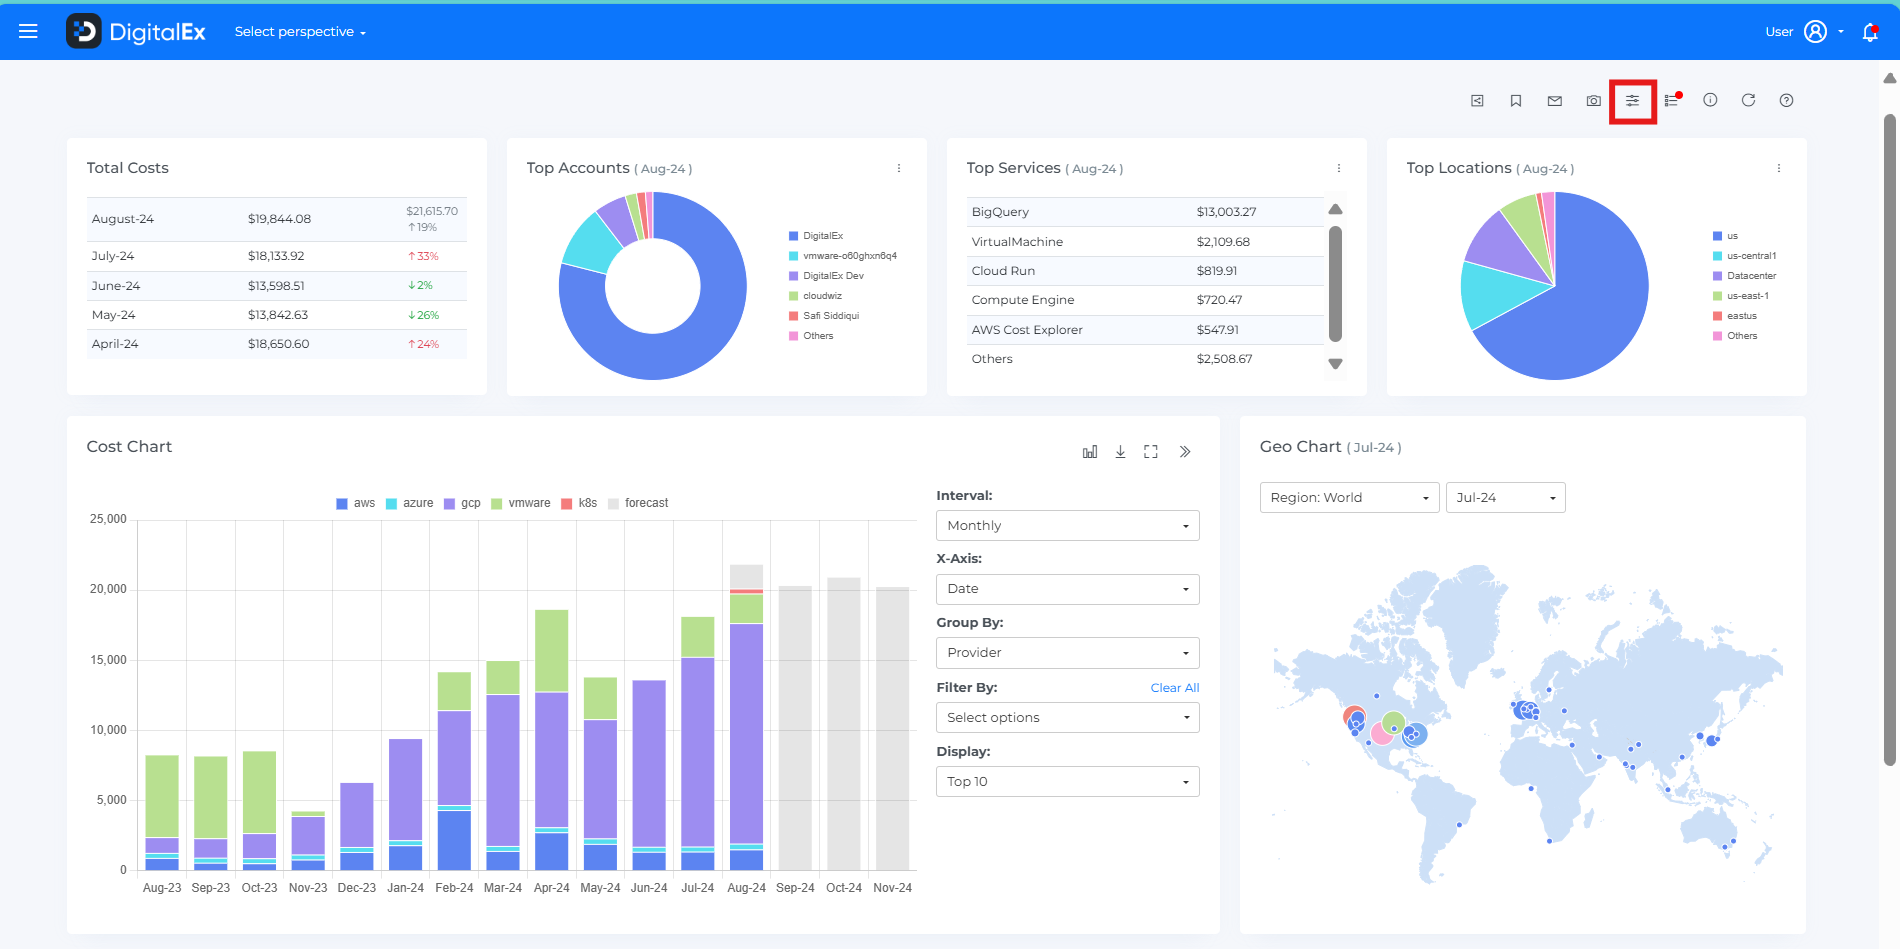
Scroll down to bottom of cost filters
Click on Virtual Tags option and select required Virtual Tags
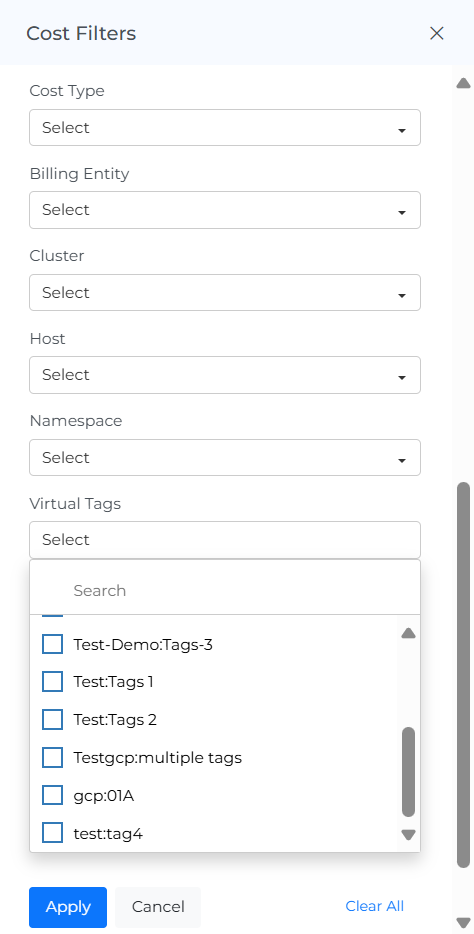
Click on Apply.
Pages where Virtual Tags are available: Cost, AI Cost, Resources, Cost Variance, K8’s Cost, Datacenter Cost, Coverage, Compliance