Update GCP Billing Account using Cloud Shell
Go to Menu
Click on Public Clouds under Admin
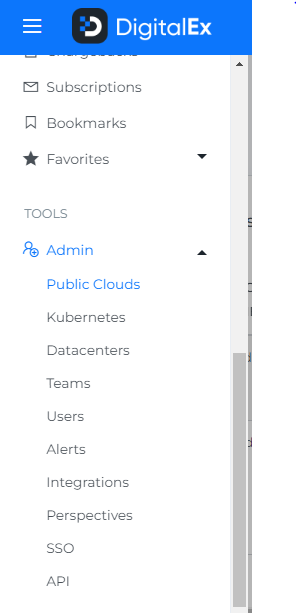
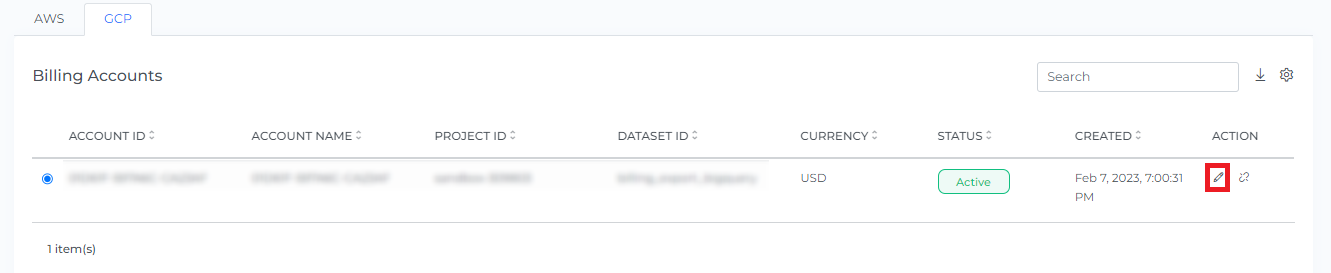
3. Click on the Edit Button
4. Click on the login button(GCP CloudShell will get opened)
Note: Make sure you are logged in to GCP provider account
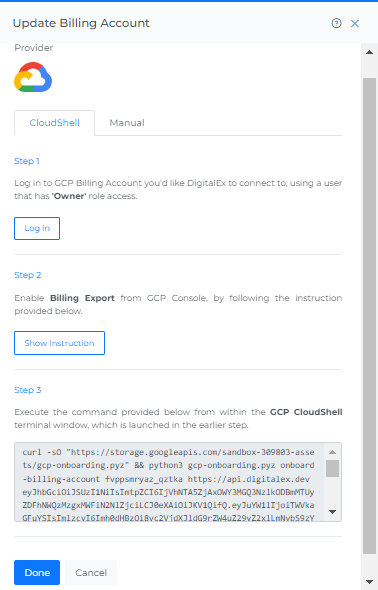
5. Copy the script
6. Paste the script into GCP CloudShell & Click Enter

7. Click on Authorize
8. Enter 'y' to confirm the project.
9. Enter 'y' to confirm the billing export
10. Come back to DigitalEx & click on Done
11. GCP billing account will get Updated Successfully.