Step - 3: Connect Billing Account
If you are setting up a billing account for the first time, you will be presented with the following screen. To create a billing account, simply select the "Create Billing Account" option.

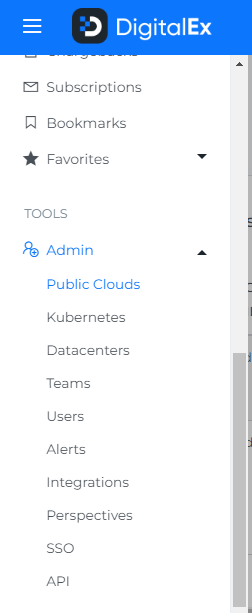
Otherwise, you can navigate to Menu > Admin > Public Clouds > +Account
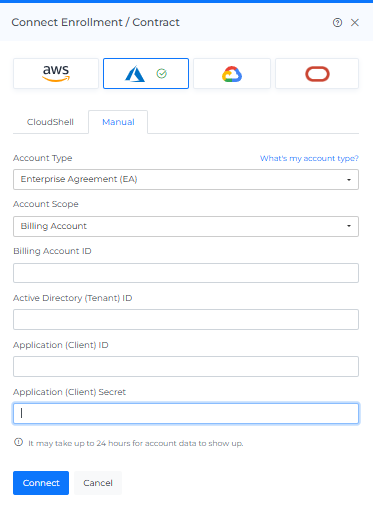
2. Select Azure Provider & Click on Manual tab
3. Choose your account type as EA
4. Select the Account Scope as Billing Account
5. Fill in the following details capture in Step 1 and Step 2
Billing Account ID
Tenant ID
Client ID
Client Secret
6. Click Connect
7. The onboarded Account will be displayed with the list of All linked Subscription accounts.
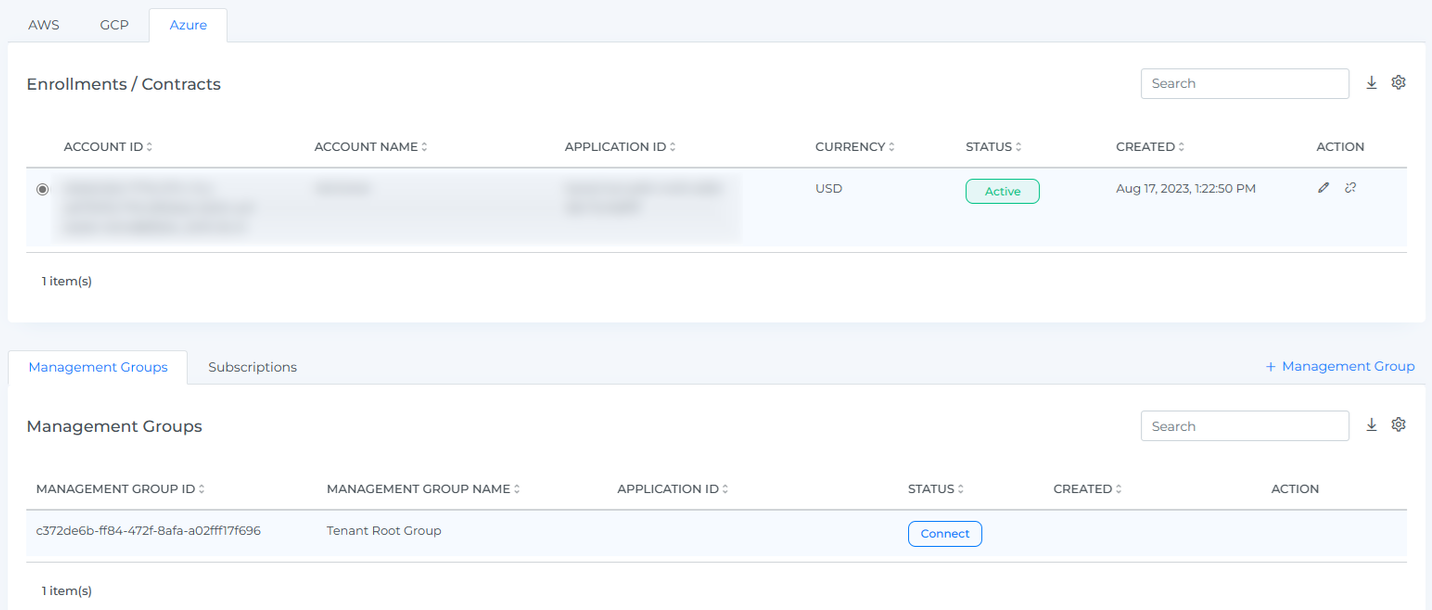
After adding a new account, it may take up to 30 minutes for the system to discover and process the data
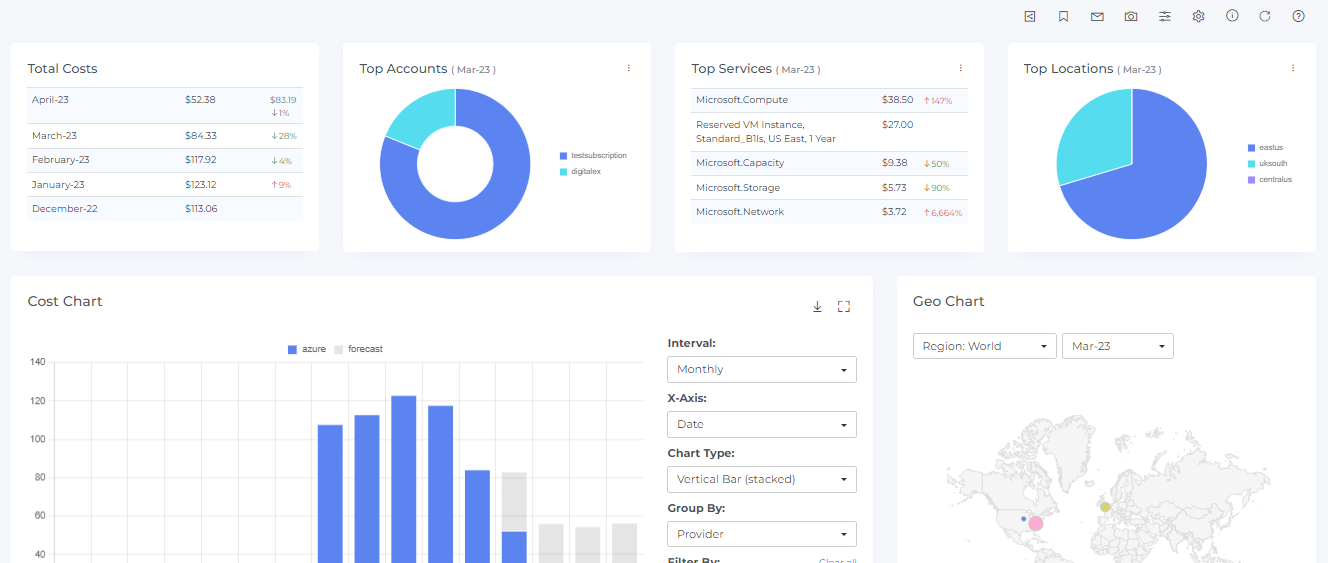
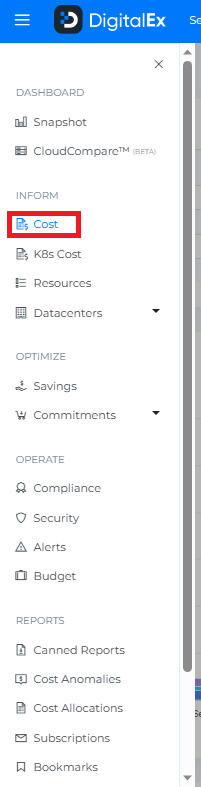
8. Go to the Menu option and Click Cost.
9. Data will display immediately after successful ingestion.