Step-1: Create a User & User Group
Steps to Create a User
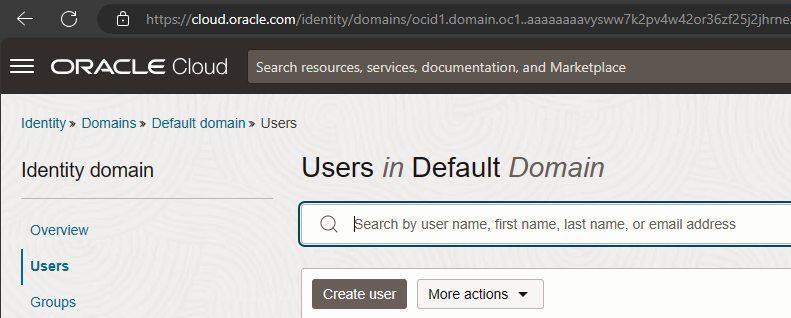
Login to your OCI console where parent billing account exist.
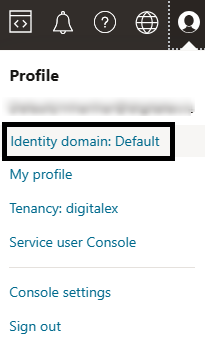
Navigate to Profile > Identity domain: Default.
Go to Users < Create User
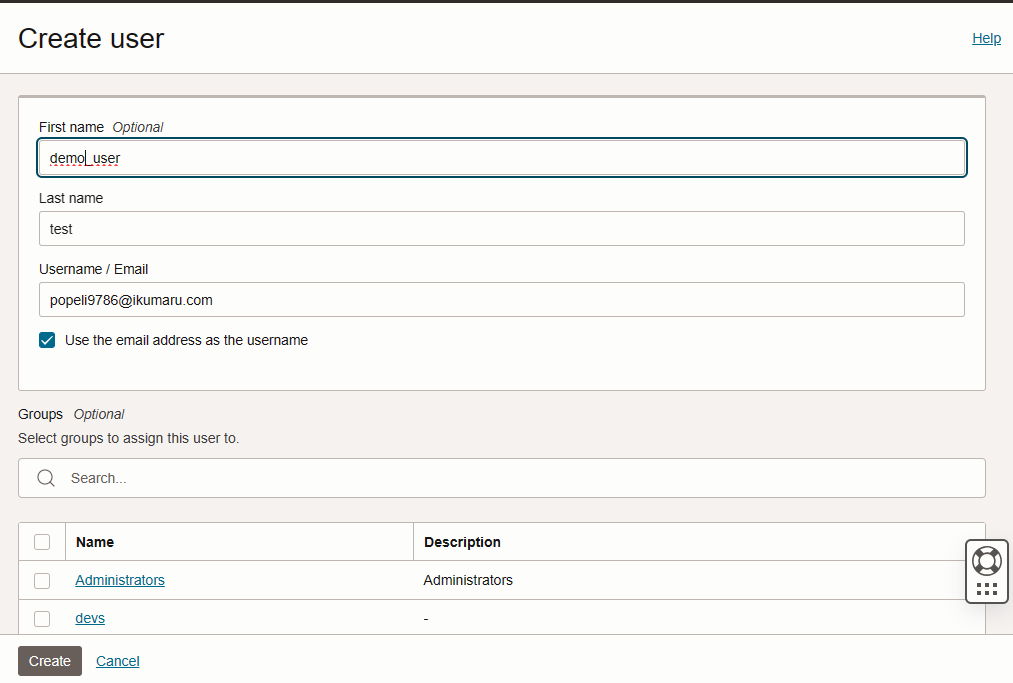
Enter First name, Last name & email address.
Click on Create button.
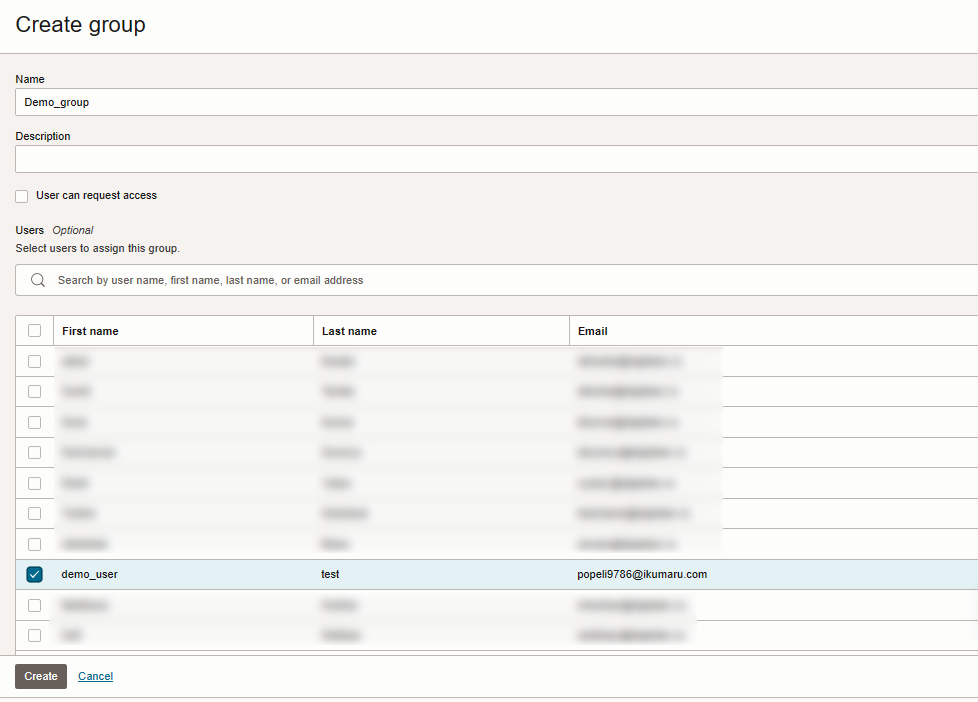
Create a User Group & Assign user
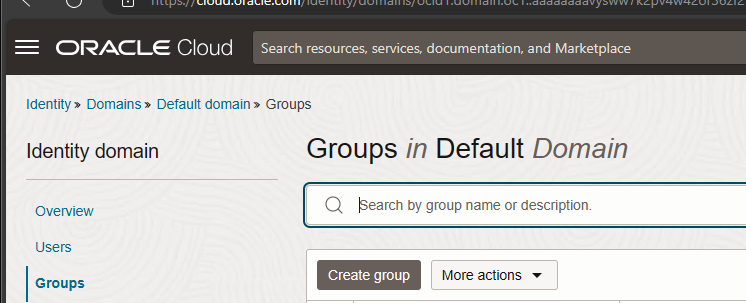
Go to Groups > Create Group
Enter Group name.
Choose the user created in step-1 and assign to the group.
Click on Create button.
Please capture the group name as you will need them for subsequent steps.