Cost Allocations Shared Cost
When you create a shared cost at the segment level, it is distributed among the segments you selected, and the same applies to units.
Steps to create shared cost:
Click on cost allocation you wish to create the Shared cost
Click on the shared cost table
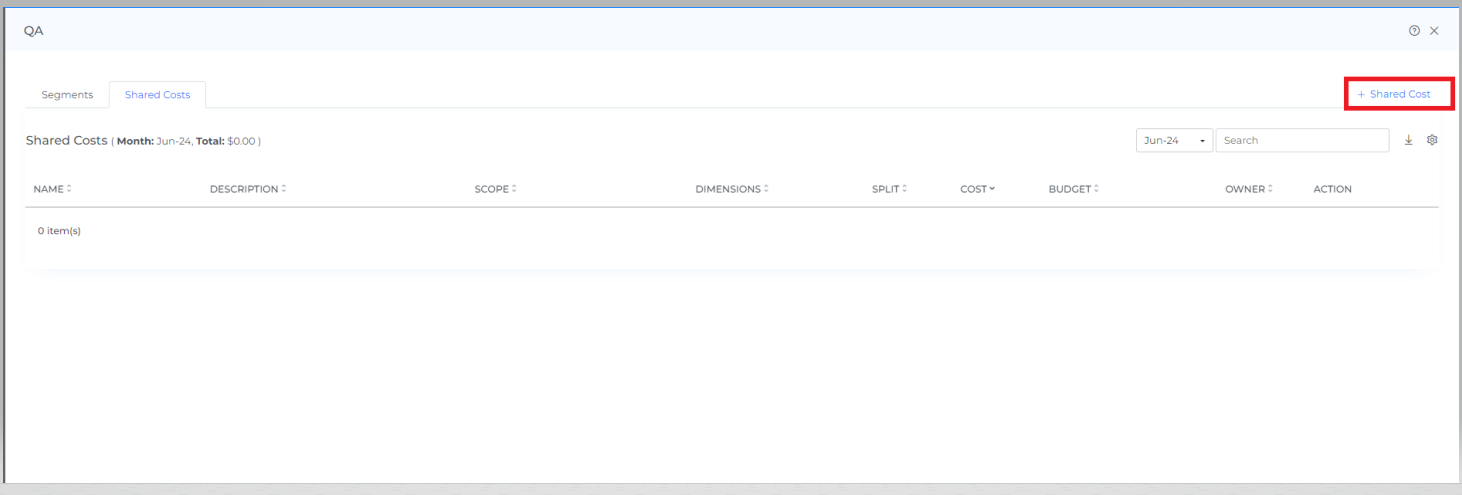
On clicking the cost allocation and then clicking shared cost you will see the below screen
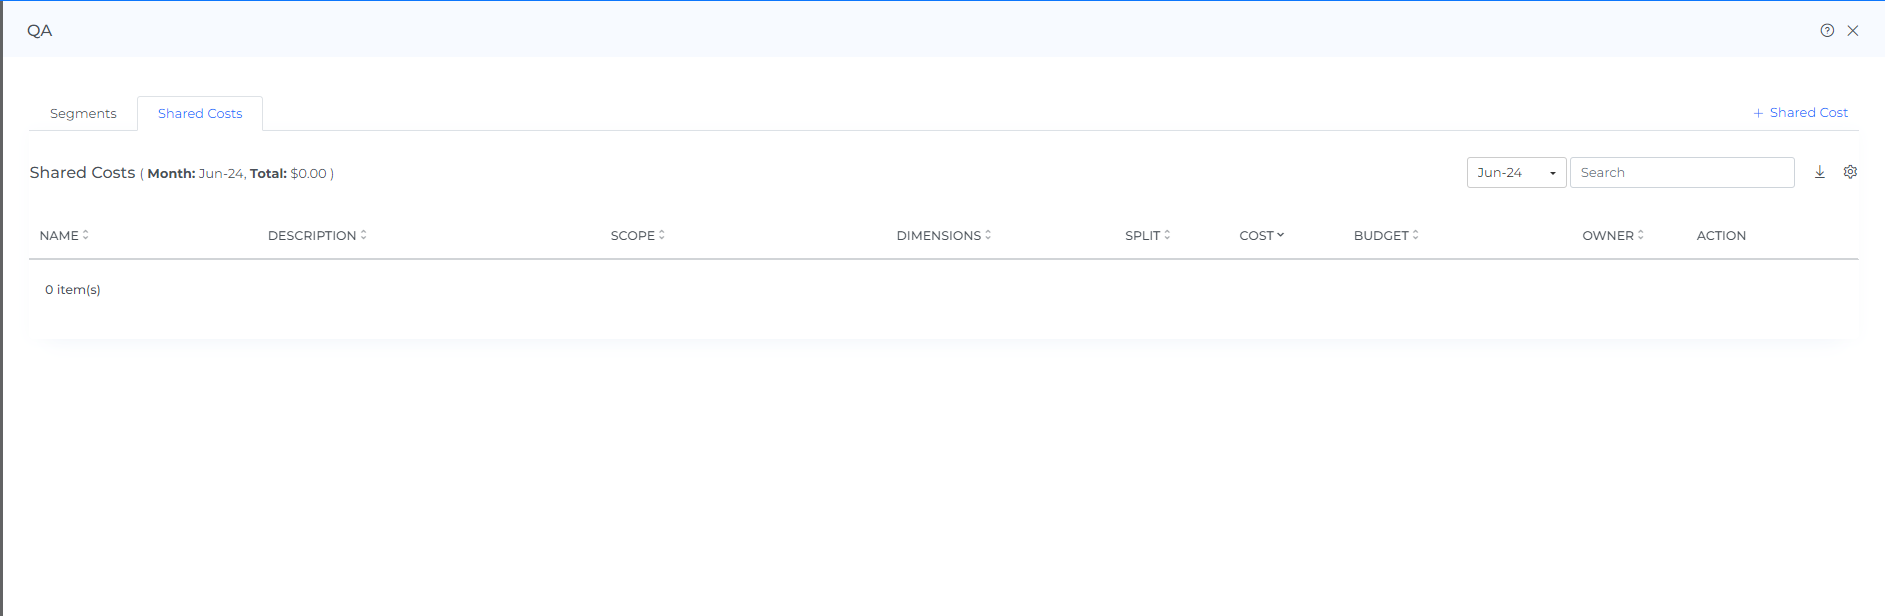
Click on the +shared cost link
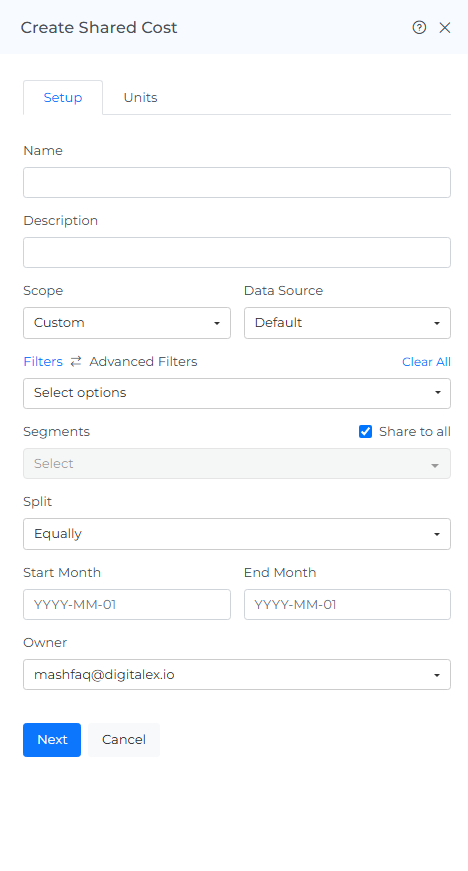
Enter name & description
Select scope like custom/manual entry/RI/SP
Custom: If you select custom, then you can choose the filter of your choice
Manual Entry: If you select manual entry, then you can input the cost or percentage i.e. what amount of cost you want to allocate to a particular Shared cost, and for the percentage you need to enter the amount of percentage you wish to inherit from the business/root allocation
RI/SP: When creating a Shared Cost at the Segment Level in Cost Allocation, users can select the scope as Reserved Instances/Savings Plans (RI/SP). This enables organizations to fairly distribute the cost of committed cloud resources across multiple business units, teams, or projects.
Select split like equally/proportionally/custom
Equally: if you select equally, then the shared cost will be split equally among the segments you selected
Proportionally: If you select proportionally, then the shared cost will be split proportionally among the segment you selected
Custom: If you select custom, then the shared cost will be split custom according to the percentage you have specified to segments by month-wise ( Note: Custom option is not visible if you select “share to all “ check box)
Fair distribution: Fair Distribution ensures that the cost of Reserved Instances (RI) and Savings Plans (SP) is allocated fairly across segments based on actual usage patterns. Unlike Equal or Proportional splits, it considers factors such as usage duration, efficiency, and consumption trends to ensure a balanced cost allocation.
Key Highlights of RI/SP Fair distribution:
Distributes RI/SP costs based on actual utilization rather than a fixed percentage.
Prevents underutilized segments from bearing excessive costs.
Encourages optimized reserved capacity usage by reflecting real consumption.
Use Fair Distribution when RI/SP usage varies significantly across segments, ensuring a balanced and justifiable cost split.
Enter the start date and end date i.e. from which month you want to start the shared cost and until which month you want to see the shared cost ( note : the start date and end date should fall under the root/segment/unit allocation )
Select the owner of the shared cost
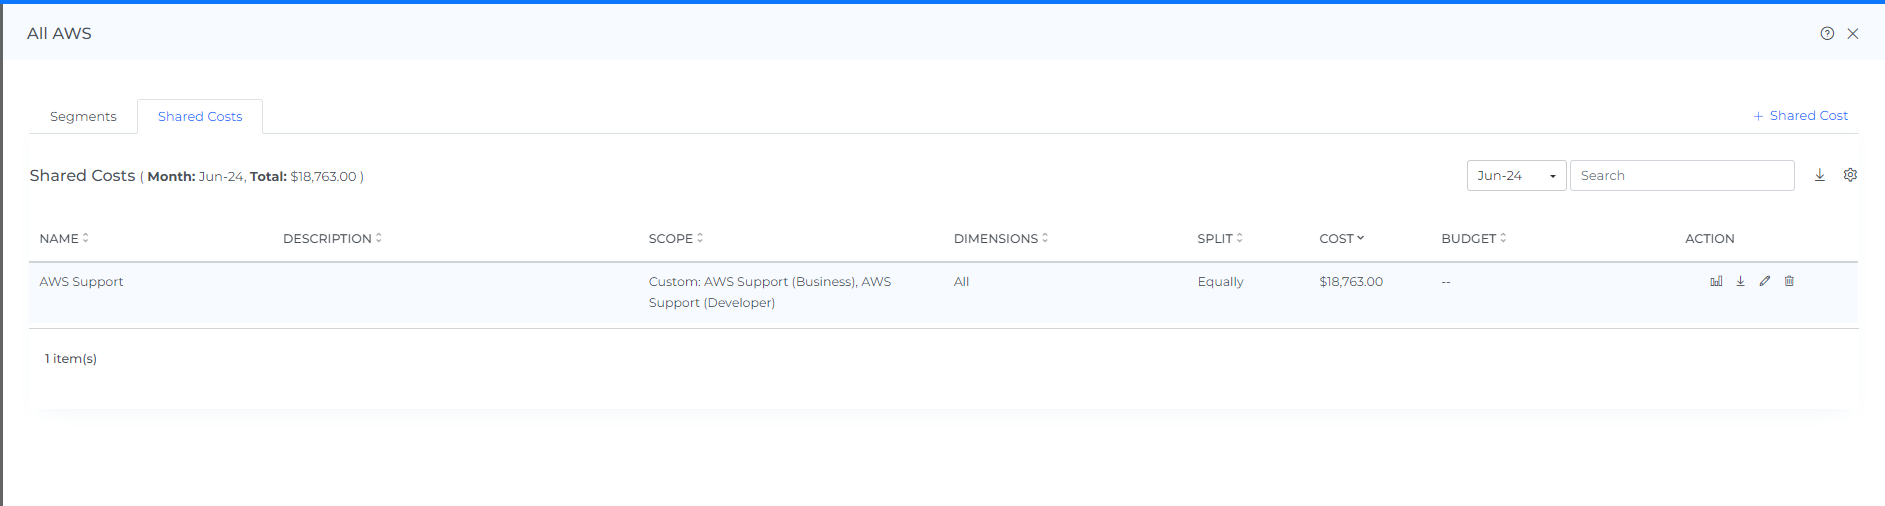
Click on create
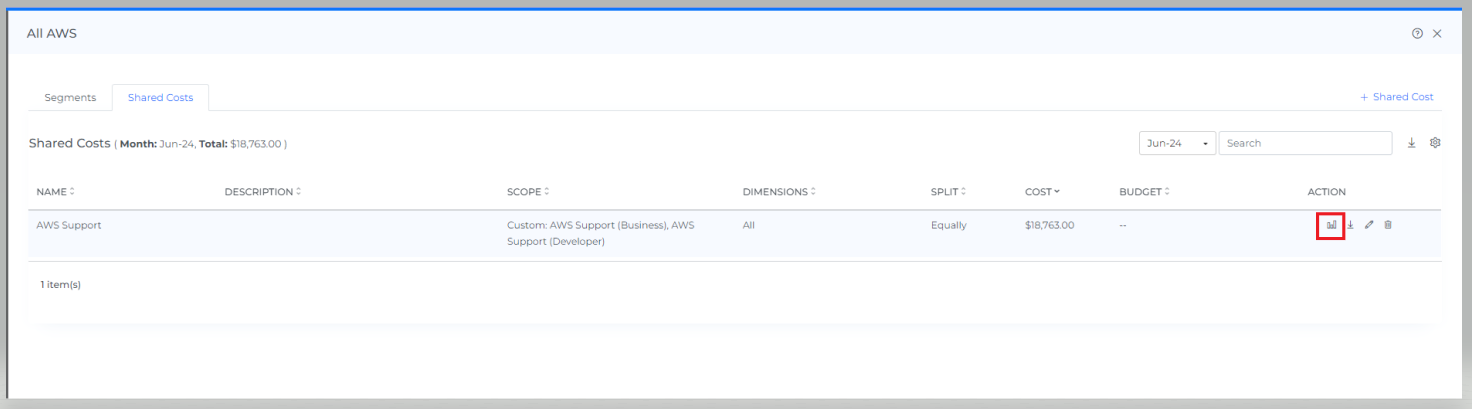
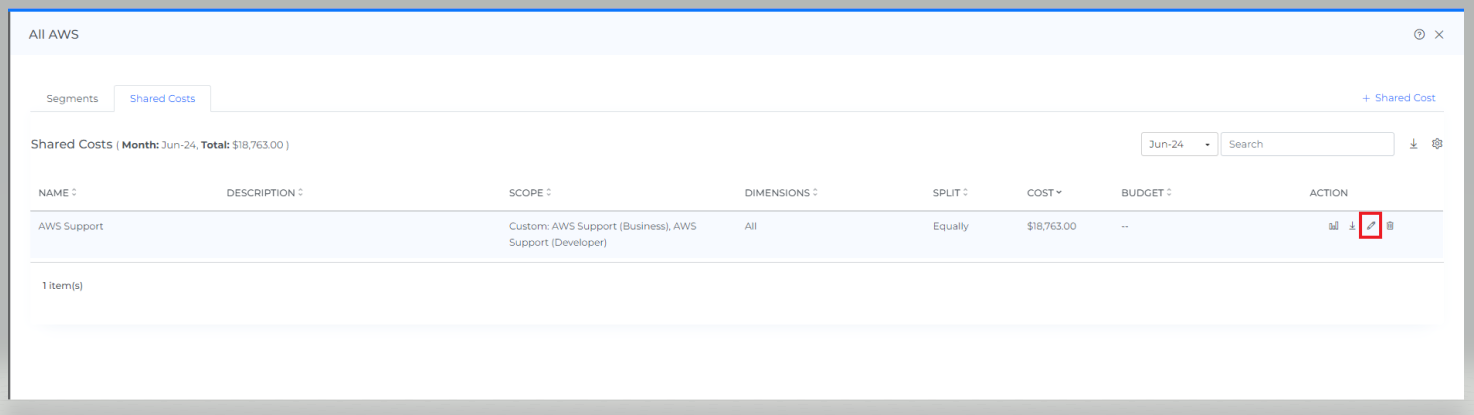
Shared cost is created and displayed as shown below
Steps to preview shared cost
Click on preview icon
Preview will be displayed as shown below.
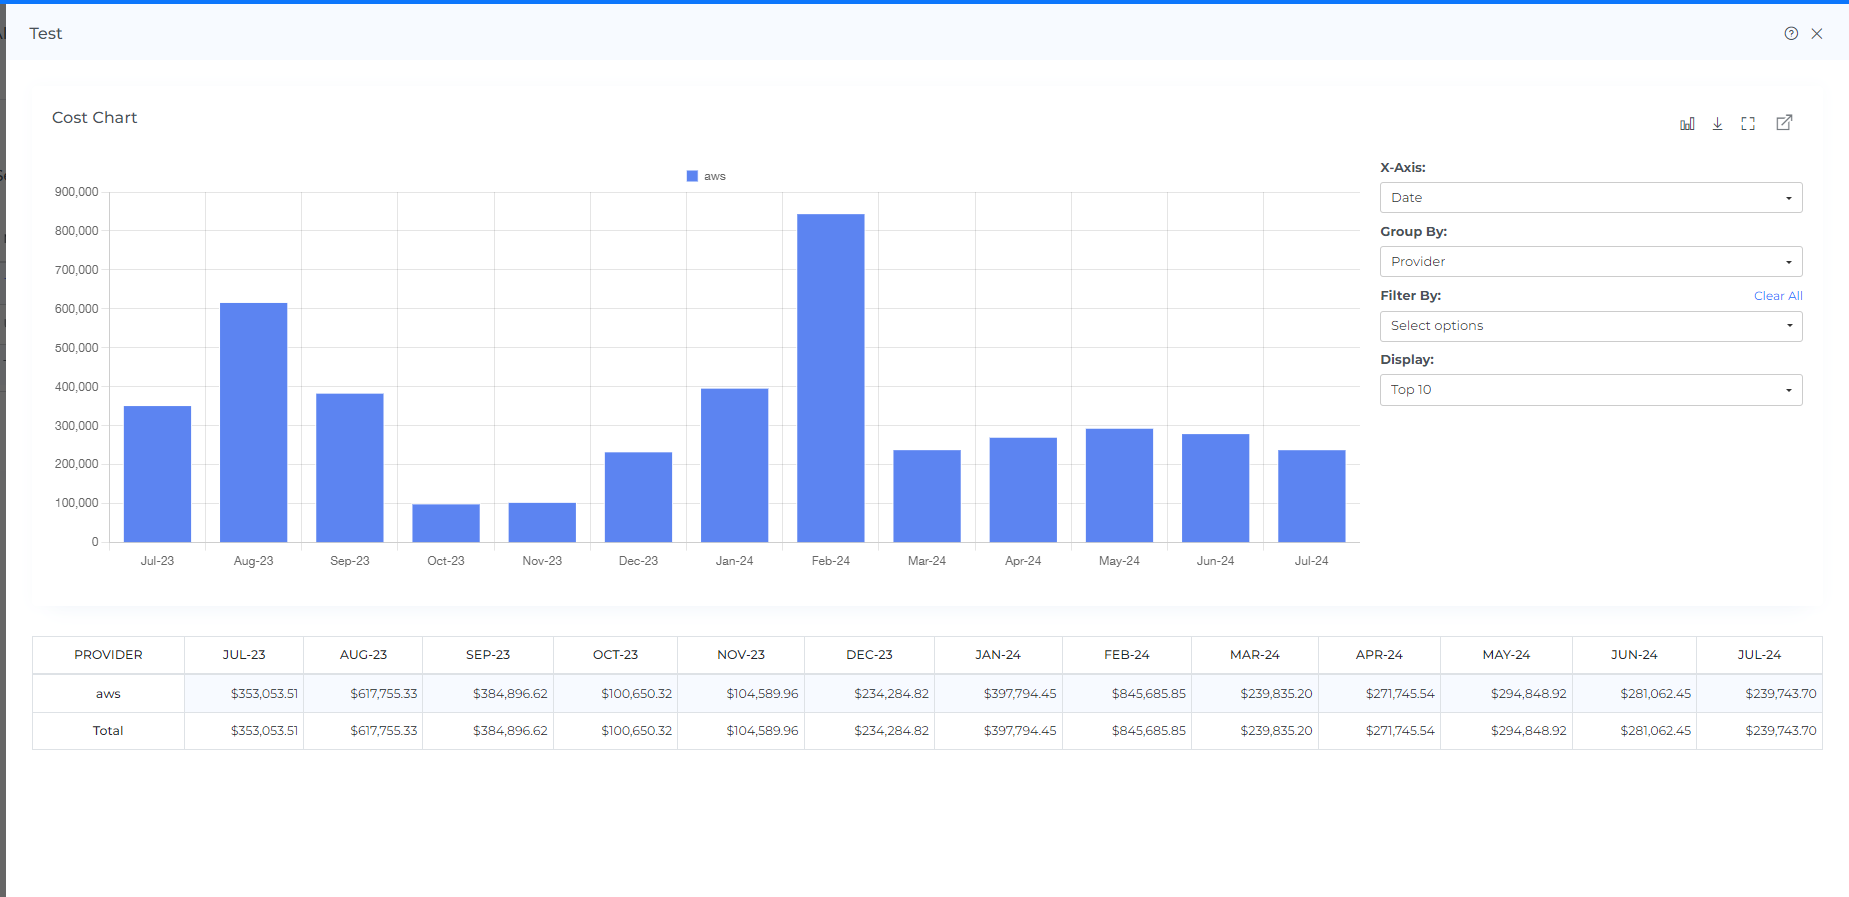
You can change the chart type by clicking on the chart type icon
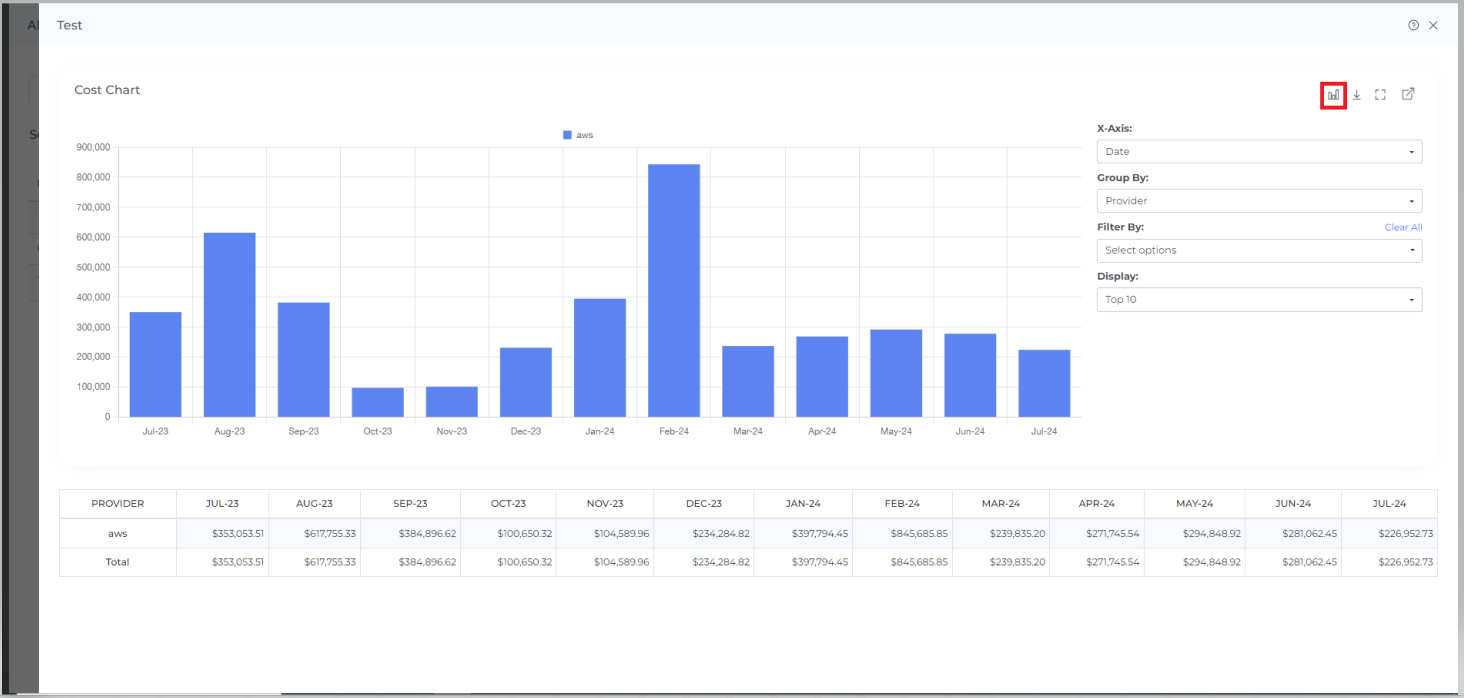
You can download the chart data by clicking on the download icon

If you want to see the charts in fullscreen then you can do it by clicking on the full-chart view icon
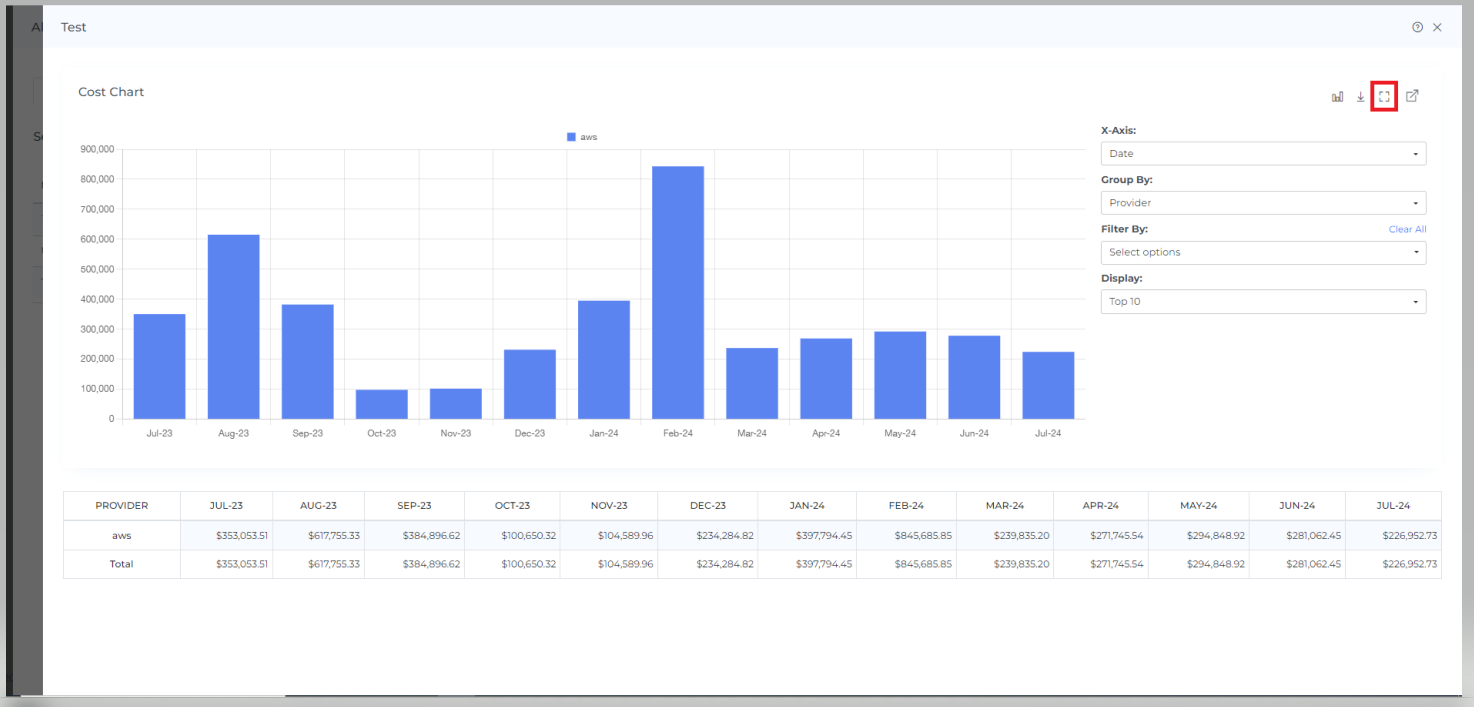
To view in a separate dashboard, click on the view icon at the last

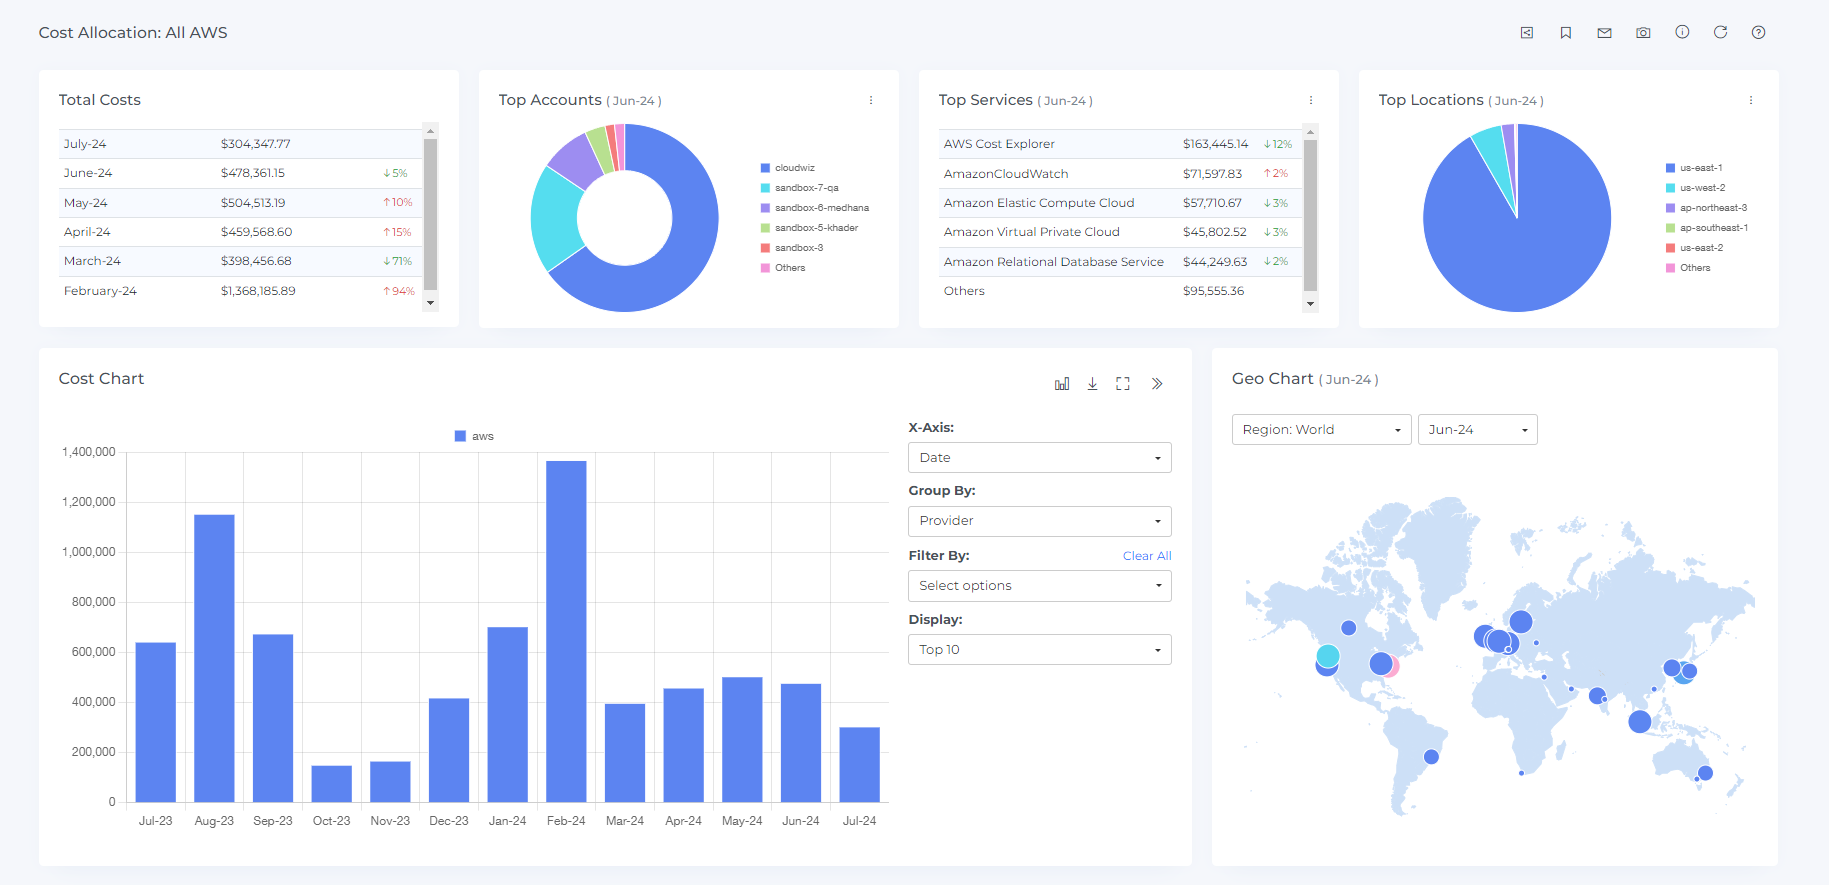
After Clicking the view icon you will see the cost allocation dashboard as shown below
Steps to edit segment:
You can only edit name, description,split, owner, and budget amount for the existing segments
Click on the edit icon
On clicking edit icon you will see the below view

Edit the fields you wish to and click on update
Steps to download segments:
Click on the download icon

On clicking the Download icon the details of the segments will be downloaded in a CSV file
Steps to delete shared cost:
Click on the delete icon

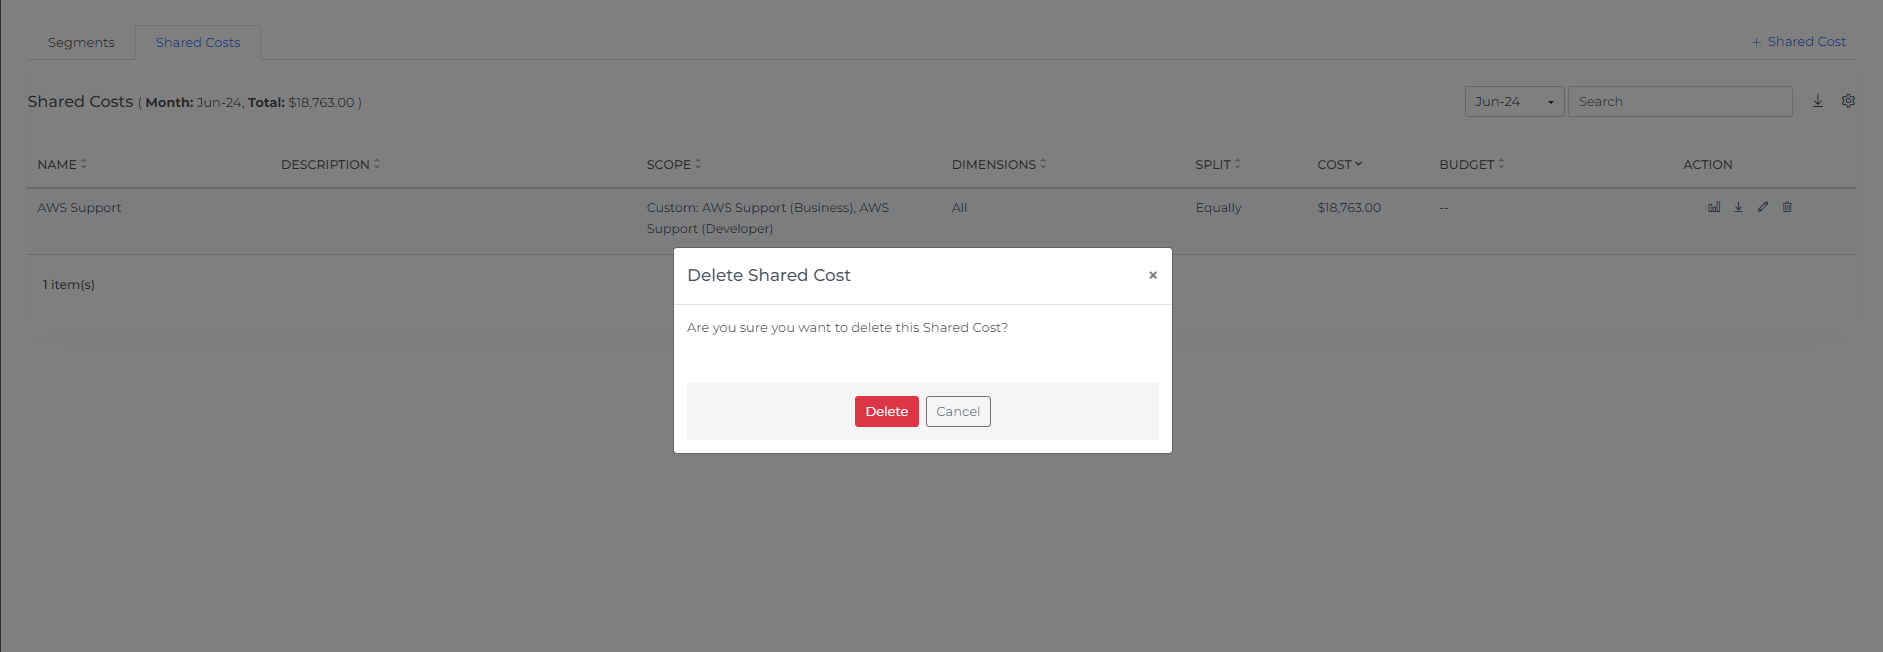
On clicking delete icon you will see the delete confirmation box
On Clicking the delete icon the shared cost will be deleted
To create a budget at segment level you can follow the same steps as in the link https://help.digitalex.io/content/cost-allocations-business#CostAllocationsBusiness-Stepstocreatebudgetcostallocation: