Cost Allocations Business
Root-level or business-level cost allocation involves distributing the total costs incurred by a company to its various departments, products, or services. This process ensures that each segment of the business accurately reflects its share of the overall expenses, leading to more precise financial analysis, budgeting, and pricing decisions
Steps to create cost allocation at the business/root level:
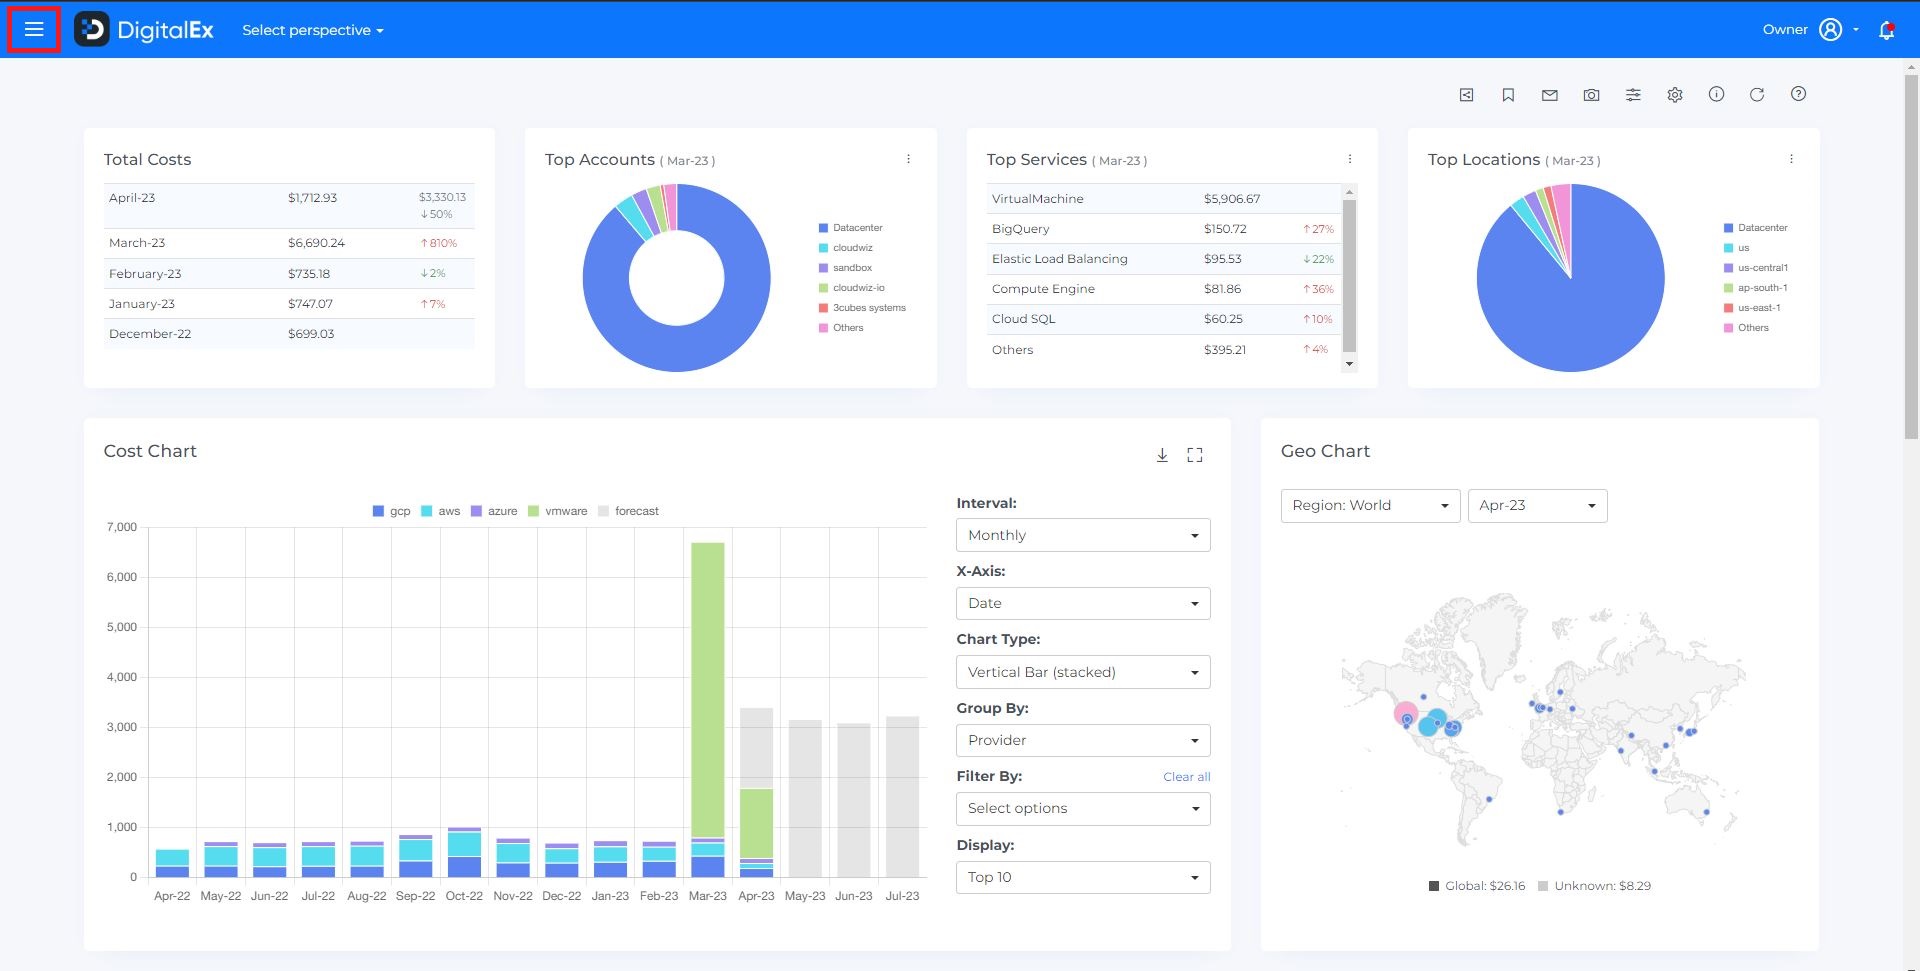
Login to digitalEx as Owner/Editor
Click on menu
Click on Cost Allocations
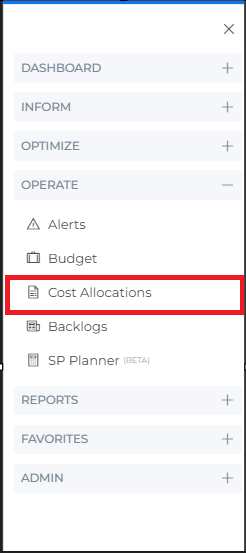
Click on +Cost Allocation
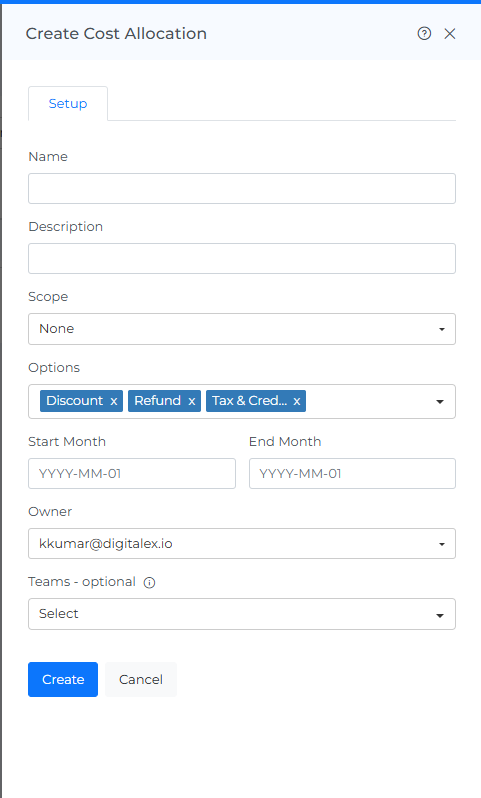
Enter name & description
Select scope like none/perspective/custom
None: If you select none you need to add cost allocations & shared cost manually
Perspective: If you select a perspective, you need to choose the data source option, and based on your selection, the perspective will be displayed automatically
Custom: If you select custom, then you can choose the filter of your choice
Select the cost options you want to apply i.e. Refund, Tax & credits, Discount, or Amortized
Enter the start date and end date i.e. from which month you want to start the cost allocation and until which month you want to see the allocation
Select the owner of the cost allocation
Select teams i.e. to which team you want to allocate the cost allocation note: teams are optional
Click on create
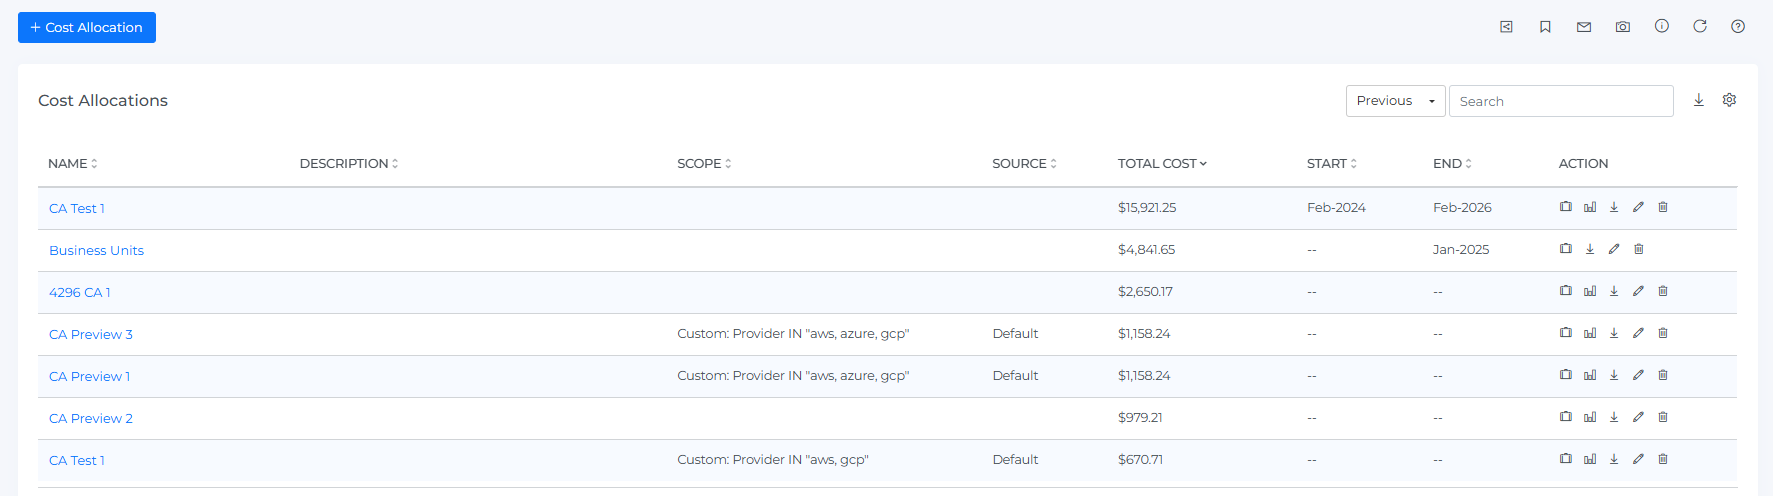
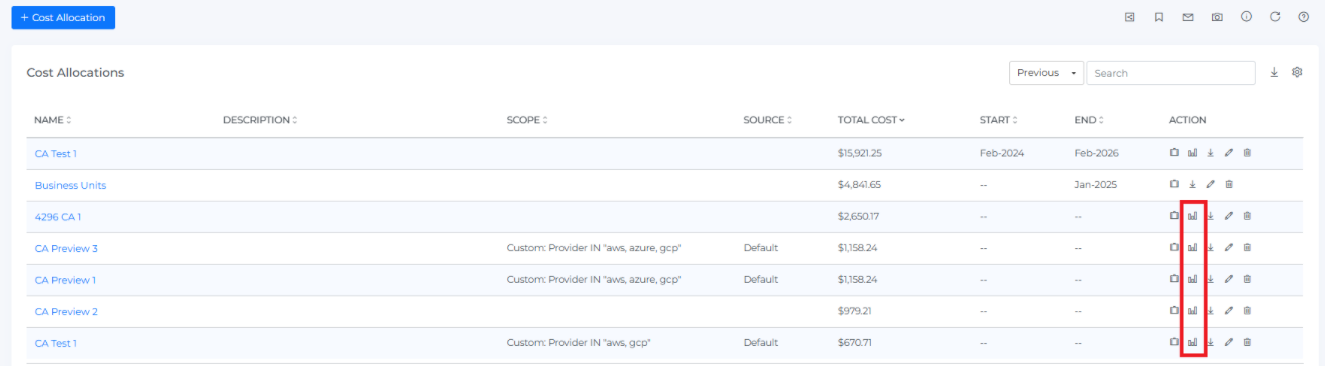
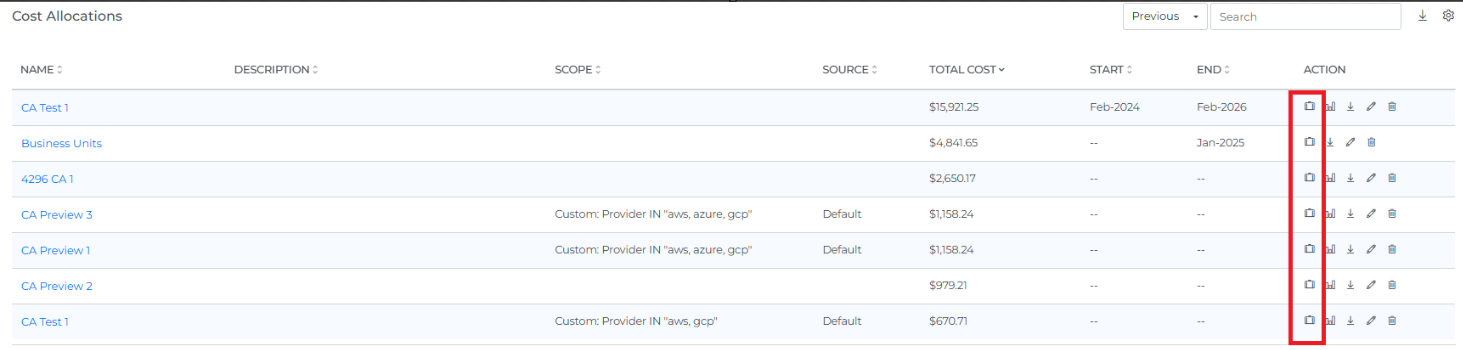
Cost Allocation is created and displayed as shown below
Steps to preview cost allocation business:
Click on preview icon
Preview will be displayed as shown below.
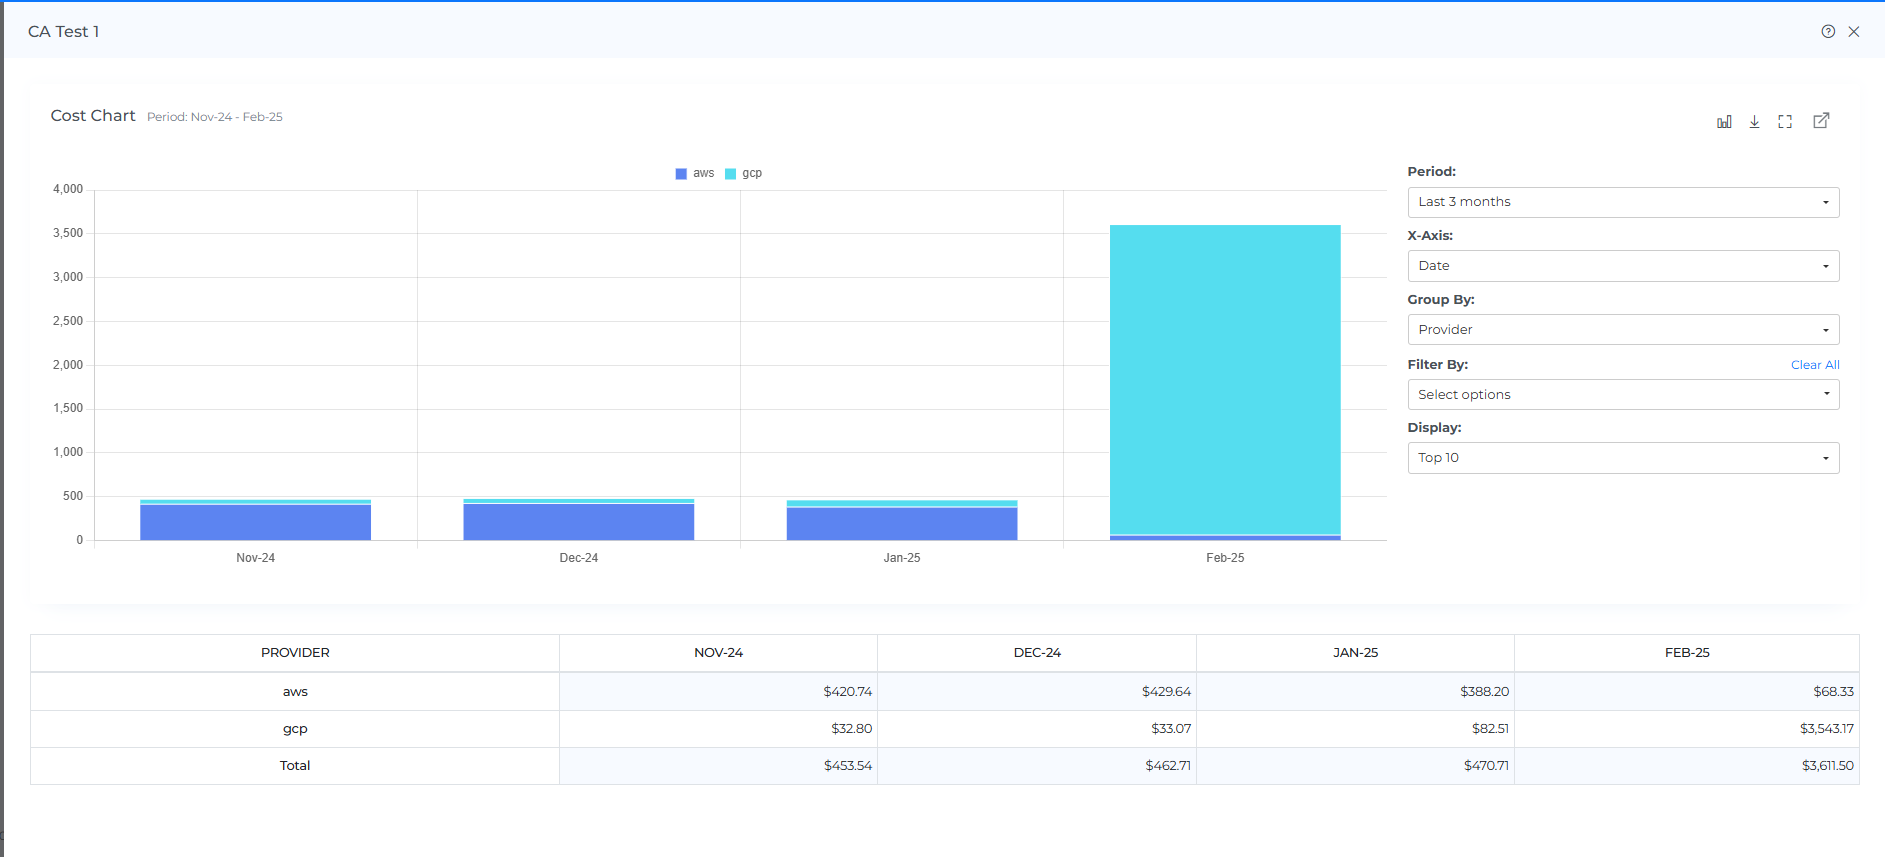
You can change the chart type by clicking on the chart type icon

You can download the chart data by clicking on the download icon

If you want to see the charts in fullscreen then you can do it by clicking on the full-chart view icon
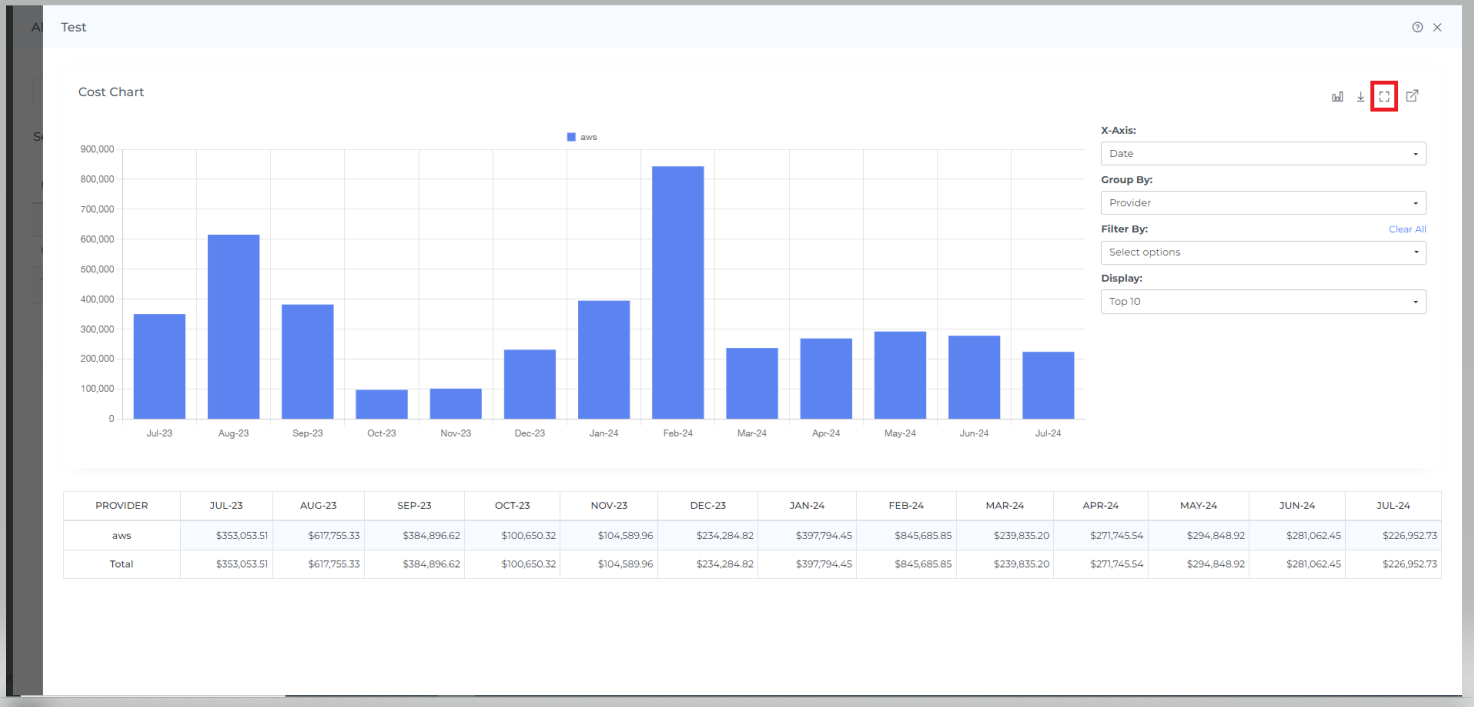
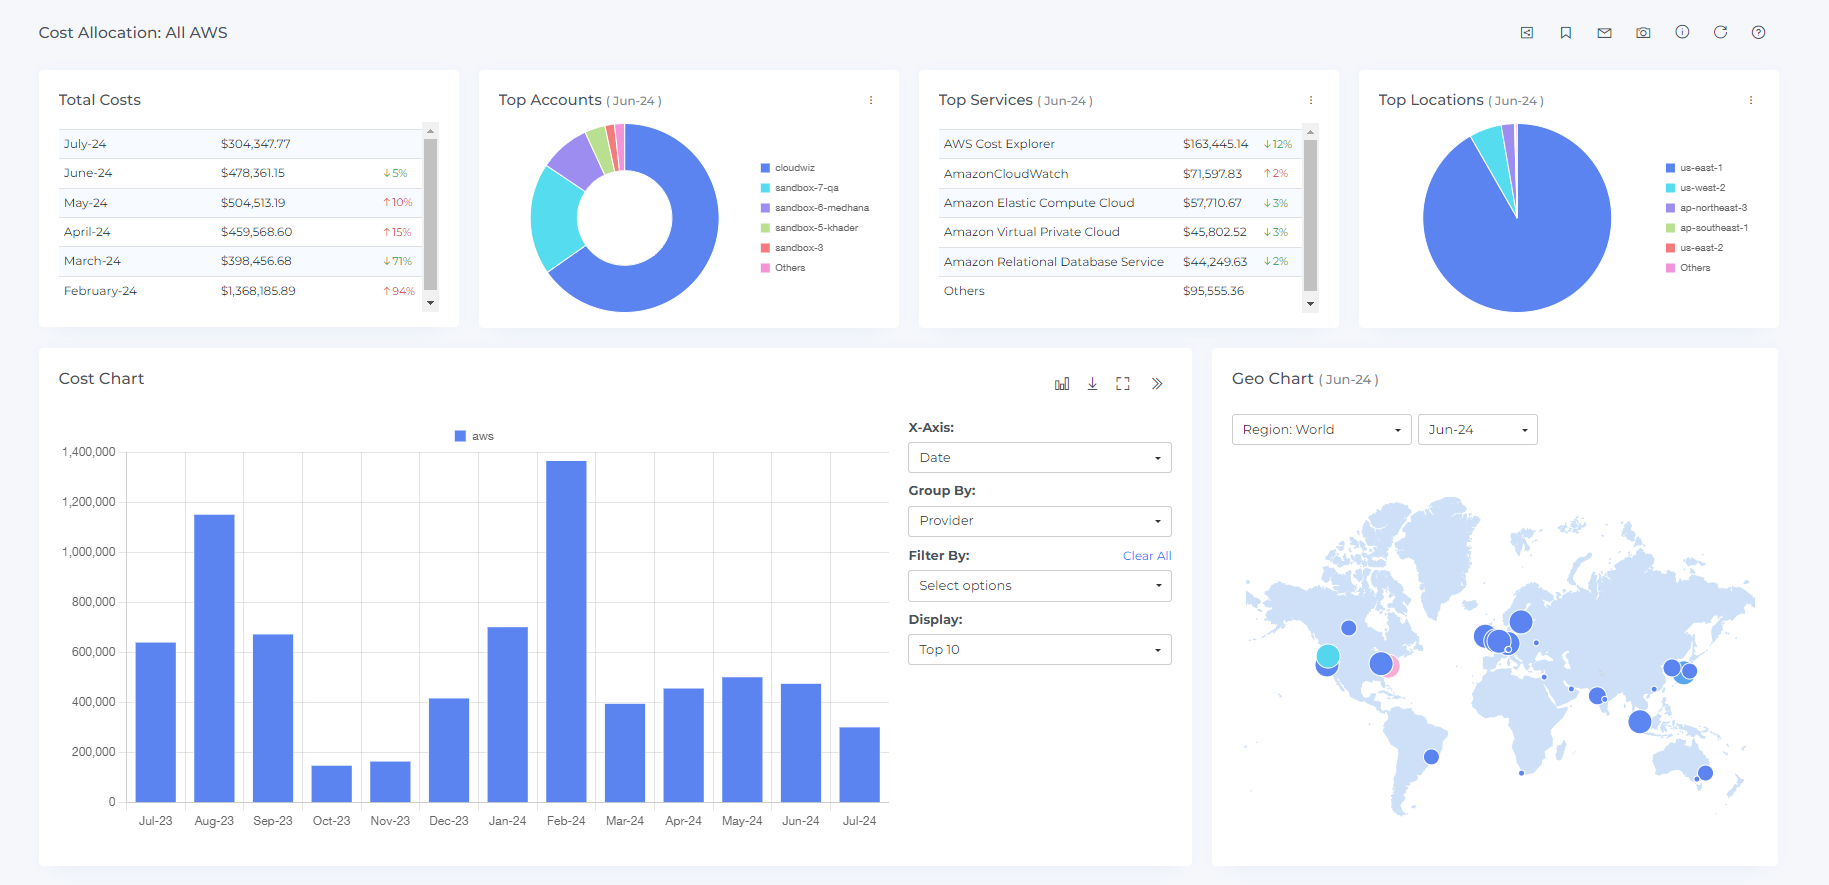
To view in a separate dashboard, click on the view icon at the last

After Clicking the view icon you will see the cost allocation dashboard as shown below
Steps to download segments:
Click on the download icon
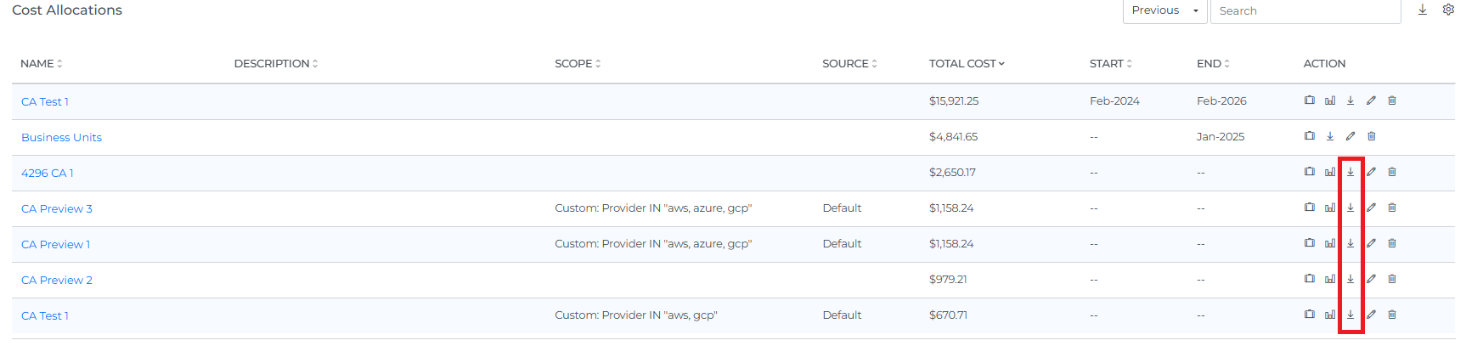
On clicking the Download icon the details of the segments will be downloaded in a CSV file
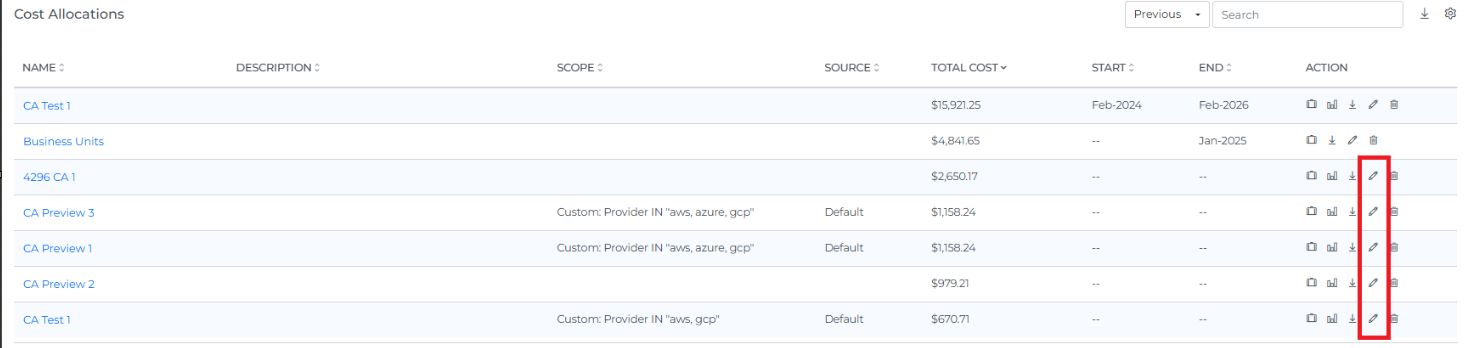
Steps to edit cost allocation:
You can only edit the name, description, owner and teams for the existing cost allocations
Click on the edit icon
On clicking the edit icon you will see the below view
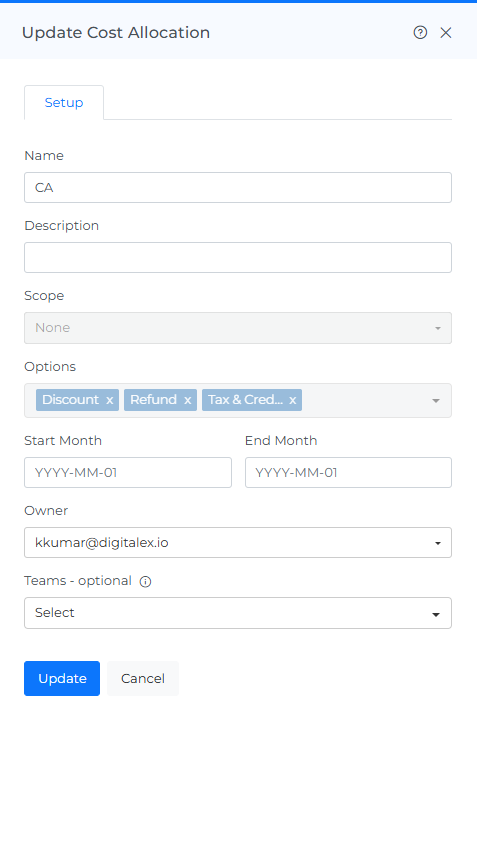
Edit the fields you wish and click on update
Steps to delete cost allocation:
Click on the delete icon
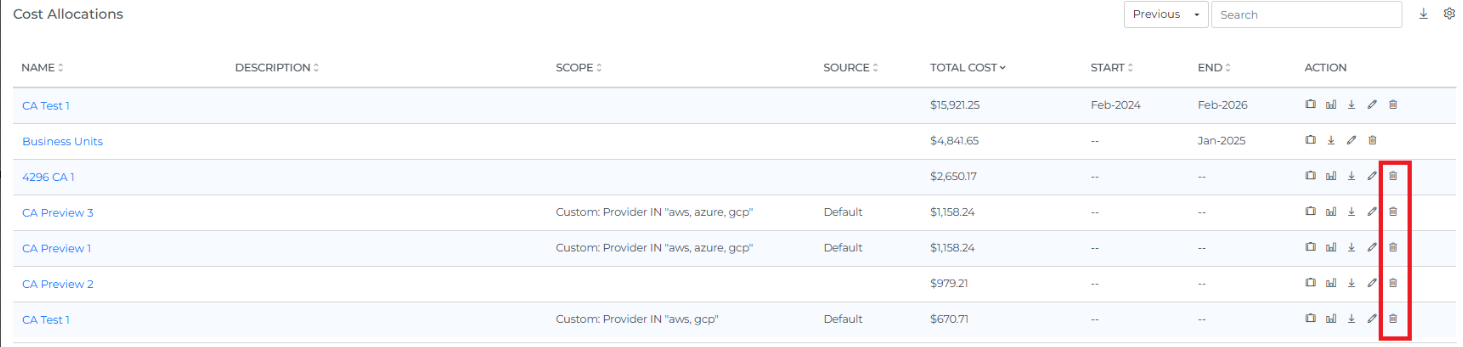
On clicking delete icon you will see the delete confirmation box
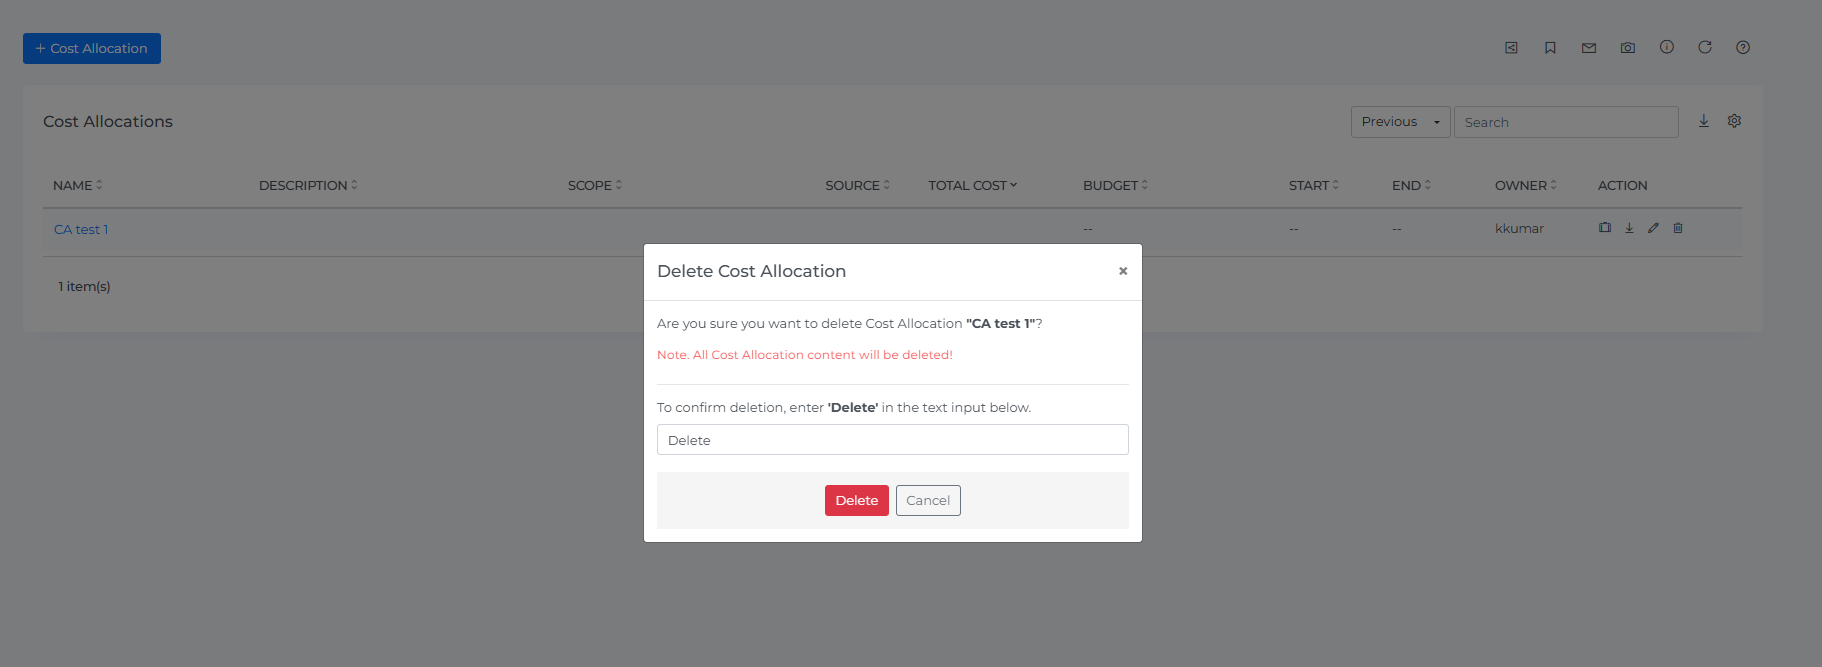
On the popup type delete
On Clicking the delete icon the cost allocation will be deleted
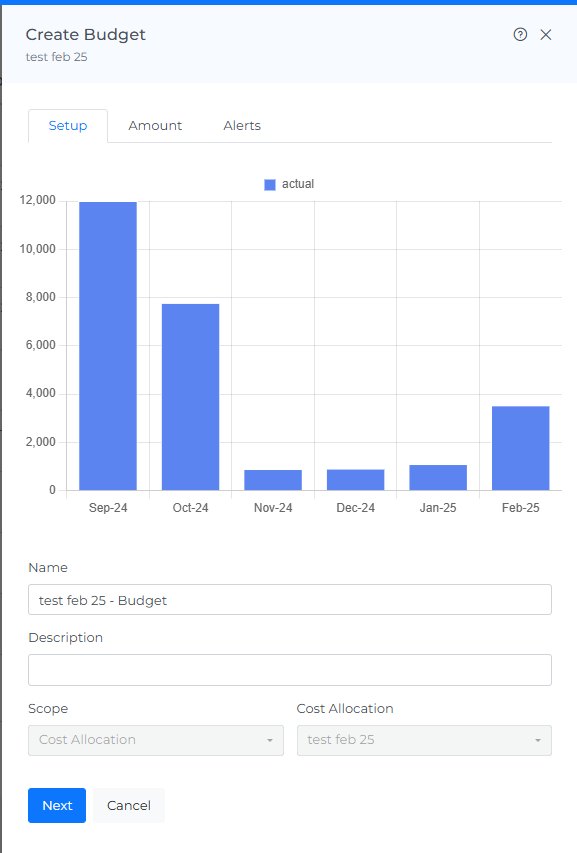
Steps to create budget cost allocation:
Click on budget icon
On clicking budget icon you will see the Create budget
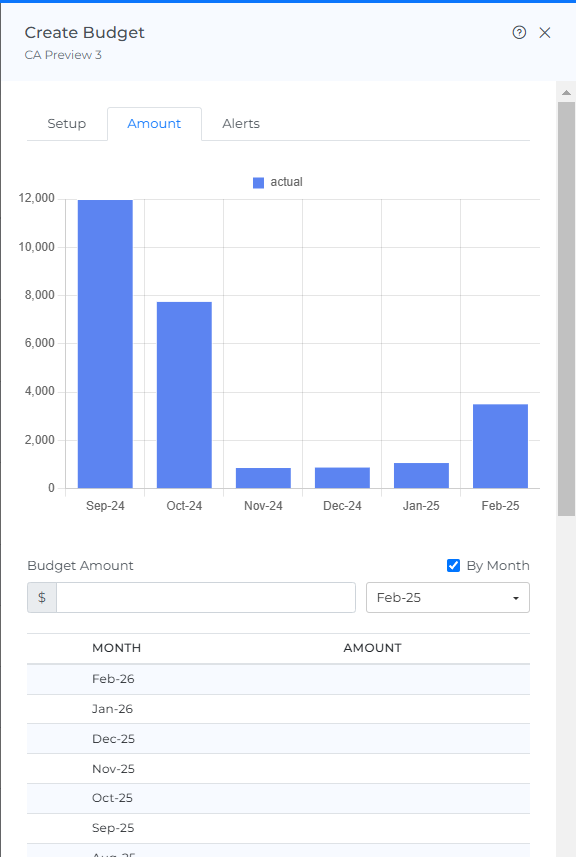
Enter the budget Amount
You can enter all months
You can enter by month also

Select the user to get the default alert when a 100% budget threshold is reached.
Select the channels to receive a default alert when a 100% budget threshold is reached.
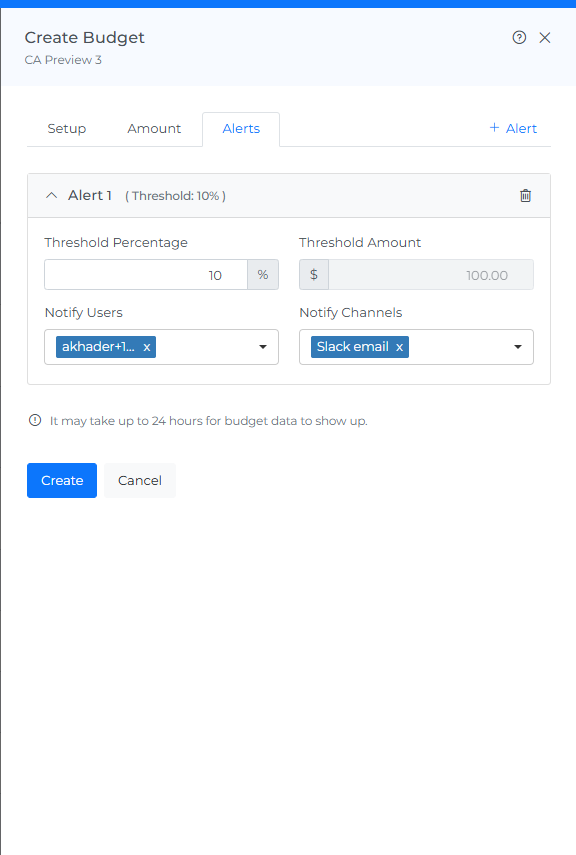
Click on Create
Your budget will be created and you will see it on budget page also
Steps to edit budget cost allocation:
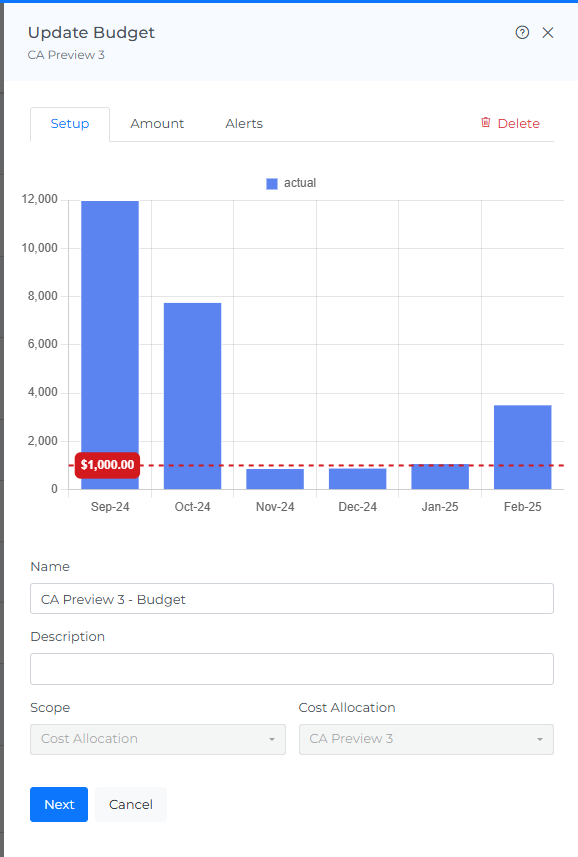
Click on budget icon
On clicking budget icon you will see the update budget

Enter the budget Amount
You can enter all months
You can enter by month also
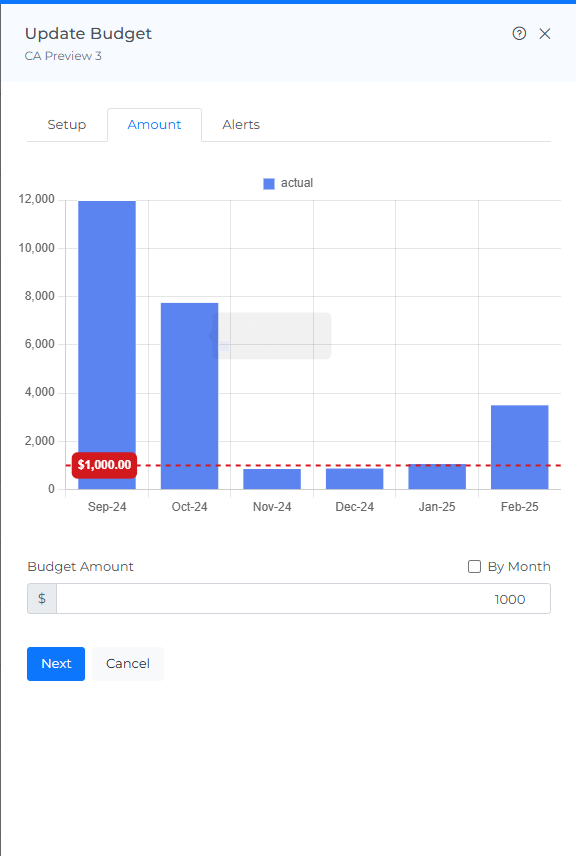
Select the user to get the default alert when a 100% budget threshold is reached.
Select the channels to receive a default alert when a 100% budget threshold is reached.

Click on Create
Your budget will be created and you can view or manage it on budget page too.