AWS Billing Account Manual CLI Onboarding
The steps below need to be executed in the AWS Cloud Shell. Please sign into the AWS console using the admin account where billing has been set up, and then initiate the Cloud Shell from the navigation bar.
Step-1: Configure Cost Export
Use existing report
Check if the cost report exists with Time granularity : Daily / Hourly and File format : text/csv
NONEaws cur --region us-east-1 describe-report-definitions --max-items 5 --query "ReportDefinitions[?TimeUnit=='DAILY'||TimeUnit=='HOURLY' && Format=='textORcsv'].{ReportName:ReportName, S3Bucket: S3Bucket, S3Prefix: S3Prefix}"If above command returns only one cost record then capture S3Bucket, S3Prefix and Report Name
If above command returns more than one report then choose oldest record from UI.
Log into AWS Console and go to Billing service
On the billing page, look for Cost & Usage Reports section
Out of multiple available reports, choose the oldest and the one having following properties
Time granularity : Daily / Hourly
File format : text/csv
Capture the S3 bucket, Report path prefix fields from the report details section for the report you
Creating new report (This step is not required if you have a exiting report)
Create new S3 bucket by entering <S3BucketName> (Skip this step if you want to use exiting S3 bucket)
NONEaws s3 mb s3://<S3BucketName>Apply policy to S3 bucket by entering <S3BucketName> and AWS billing account id
NONEaws s3api put-bucket-policy --bucket <S3BucketName> --policy '{ "Statement": [ { "Effect": "Allow", "Principal": { "Service": "billingreports.amazonaws.com" }, "Action": [ "s3:GetBucketAcl", "s3:GetBucketPolicy" ], "Resource": "arn:aws:s3:::<S3BucketName>", "Condition": { "StringEquals": { "aws:SourceArn": "arn:aws:cur:us-east-1:<AccountId>:definition/*", "aws:SourceAccount": "<AccountId>" } } }, { "Sid": "Stmt1335892526596", "Effect": "Allow", "Principal": { "Service": "billingreports.amazonaws.com" }, "Action": "s3:PutObject", "Resource": "arn:aws:s3:::<S3BucketName>/*", "Condition": { "StringEquals": { "aws:SourceArn": "arn:aws:cur:us-east-1:<AccountId>:definition/*", "aws:SourceAccount": "<AccountId>" } } } ] }'Create new cost and usage report by entering <ReportName> of your choice, <S3BucketName> & <S3BucketPrefix> created/caputured in above steps
NONEaws cur put-report-definition --region us-east-1 --report-definition '{ "ReportName": "<ReportName>", "TimeUnit": "DAILY", "Format": "textORcsv", "Compression": "GZIP", "AdditionalSchemaElements": [ "RESOURCES" ], "S3Bucket": "<S3BucketName>", "S3Prefix": "<S3BucketPrefix>", "S3Region": "us-east-1", "AdditionalArtifacts": [], "RefreshClosedReports": true, "ReportVersioning": "OVERWRITE_REPORT" }'
AWS takes up to 24 hours to create first report to the configured bucket
Step-2: Enable Cost Allocation Tags
List cost allocation tags and capture the tags you want to use as dimensions for grouping and filtering cost data.
CODEaws ce list-cost-allocation-tagsActive cost allocation tags which you want from above tags by entering <"TagValue">
CODEaws ce update-cost-allocation-tags-status --cost-allocation-tags-status TagKey=<"TagValue">,Status=Active TagKey=<"TagValue">,Status=Active
Step-3: Create Role / IAM User
Role Based
Role-based access is generally considered to be more secure than user-based access, as it allows organizations to control access to resources and functions based on defined roles and responsibilities. We recommend using roles over individual users whenever possible.
Create Role by Entering RoleName of your choice and tenantid(provided by your partner) and capture role ARN from output
CODEaws iam create-role --role-name <RoleName> --assume-role-policy-document '{ "Version": "2012-10-17", "Statement": [ { "Effect": "Allow", "Principal": { "AWS": "arn:aws:iam::911403356698:root" }, "Action": "sts:AssumeRole", "Condition": { "StringEquals": { "sts:ExternalId": "<tenantid>" } } } ] }'Update role policy by entering <RoleName> created above, <PolicyName> of your choice. Enter <S3BucketName> captured from Step-1 while configuring Cost report
CODEaws iam put-role-policy --role-name <RoleName> --policy-name <PolicyName> --policy-document '{ "Version": "2012-10-17", "Statement": [ { "Effect": "Allow", "Action": [ "s3:GetObject", "s3:ListBucket" ], "Resource": [ "arn:aws:s3:::<BUCKET_NAME>", "arn:aws:s3:::<BUCKET_NAME>/*" ] }, { "Effect": "Allow", "Action": [ "organizations:ListAccounts", "organizations:DescribeAccount" ], "Resource": "*" }, { "Effect": "Allow", "Action": [ "ce:Get*", "ce:Desc*", "ce:List*" ], "Resource": "*" }, { "Effect": "Allow", "Action": [ "iam:Get*", "iam:List*", "iam:SimulateCustomPolicy", "iam:SimulatePrincipalPolicy" ], "Resource": "*" } { "Effect": "Allow", "Action": [ "cur:Get*", "cur:ValidateReportDestination", "cur:Describe*" ], "Resource": "*" } ] }'
Access/Secret Key Based (This step is not required if you have created a Role)
Create User by Entering <UserName> of your choice
CODEaws iam create-user --user-name <UserName>Update user policy by Entering <UserName> created above,Enter <PolicyName> of your choice. Enter <S3BucketName> captured from Step-1 while configuring Cost report
CODEaws iam put-role-policy --role-name <RoleName> --policy-name <PolicyName> --policy-document '{ "Version": "2012-10-17", "Statement": [ { "Effect": "Allow", "Action": [ "s3:GetObject", "s3:ListBucket" ], "Resource": [ "arn:aws:s3:::<BUCKET_NAME>", "arn:aws:s3:::<BUCKET_NAME>/*" ] }, { "Effect": "Allow", "Action": [ "organizations:ListAccounts", "organizations:DescribeAccount" ], "Resource": "*" }, { "Effect": "Allow", "Action": [ "ce:Get*", "ce:Desc*", "ce:List*" ], "Resource": "*" }, { "Effect": "Allow", "Action": [ "iam:Get*", "iam:List*", "iam:SimulateCustomPolicy", "iam:SimulatePrincipalPolicy" ], "Resource": "*" } { "Effect": "Allow", "Action": [ "cur:Get*", "cur:ValidateReportDestination", "cur:Describe*" ], "Resource": "*" } ] }'Create AccessKey and SecretAccessKey
CODEaws iam create-access-key --user-name ${UserName}
Step-4: Get Account ID
Get your Account ID
CODEaws sts get-caller-identity --query Account --output text
Step-5: Submit Details in DigitalEx
Get the details Account ID, Role ARN or Access/Secret Key, Bucket Name, Report Path Prefix
Follow the below steps to onboard the billing account in DigitalEx.
If none of the providers is onboarded, follow the below steps.
If one of the providers is onboarded, follow the link Azure Connect Billing Account for Partner to onboard additional providers

Click on AWS Provider
Click on Connect manually.
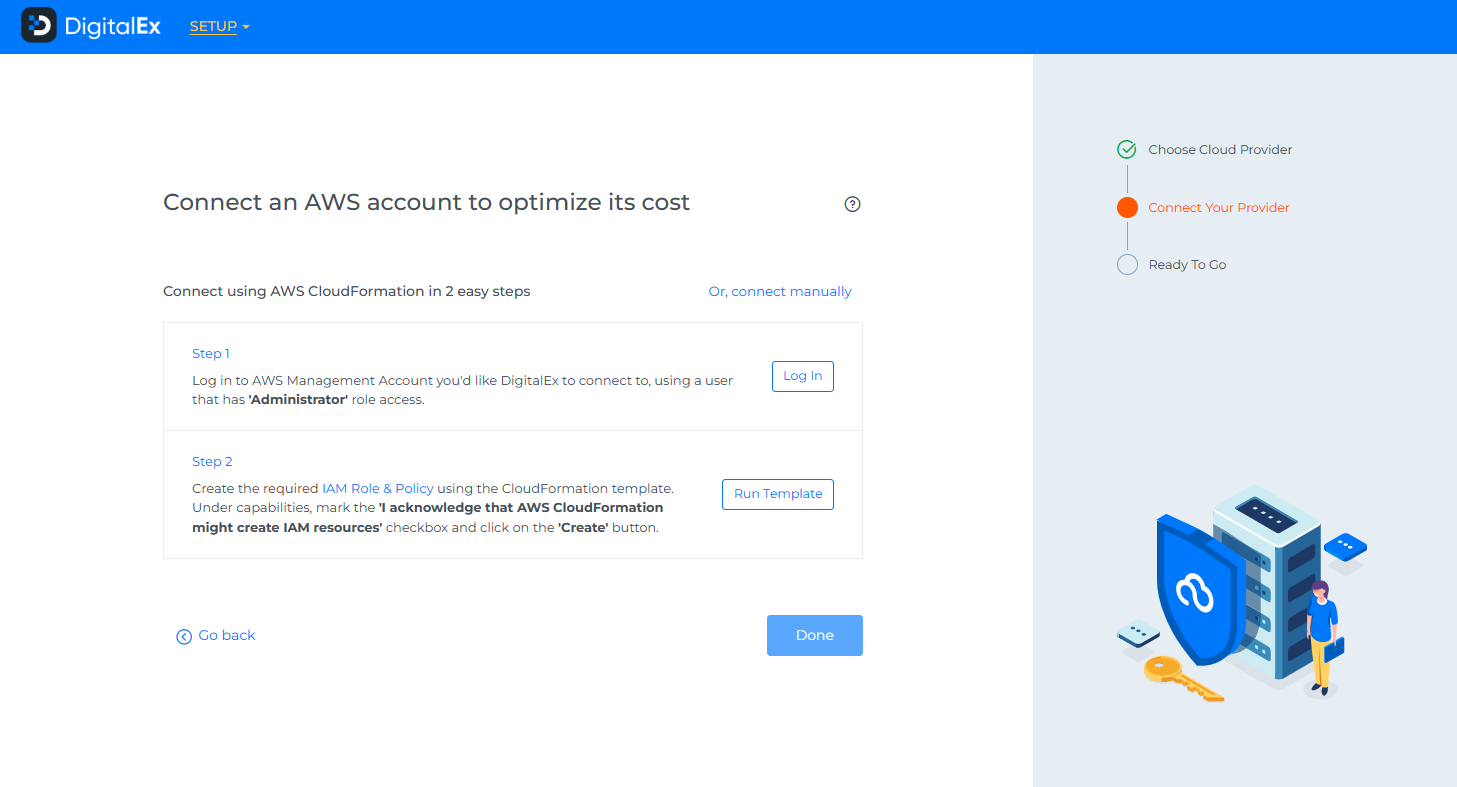
Click on Connect Billing Account
Enter the details which you have captured above.
Click on connect & done.
If one of the providers is onboarded, follow the steps below to onboard additional providers.
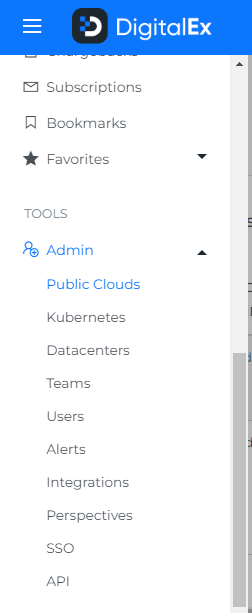
Navigate to Menu > Admin > Public Clouds > +Account.
Click on AWS Provider & Click on Manual tab.
Enter the details which you have captured above.
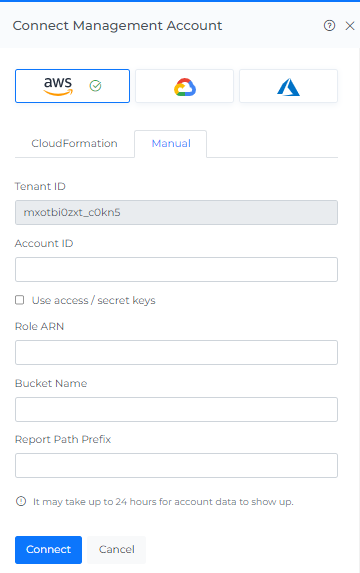
Click Connect
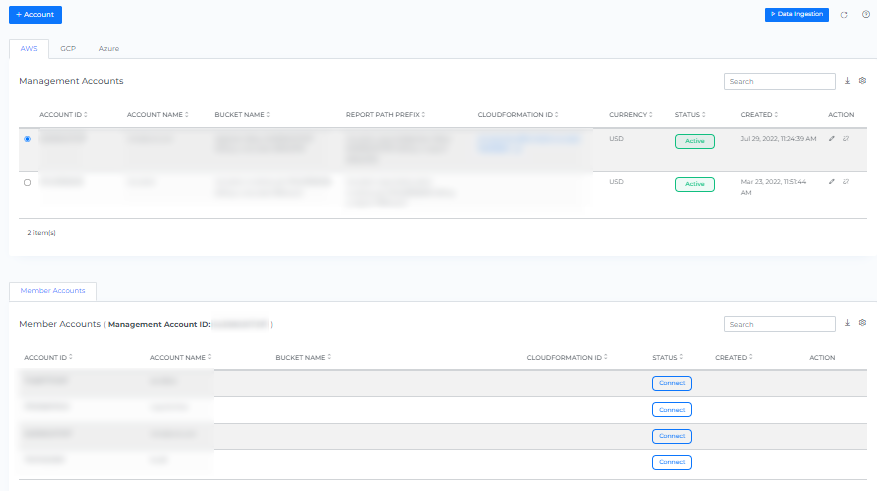
The onboarded Billing Account will be displayed with the list of All linked Subscription accounts.
After adding a new account, it may take up to 30 minutes for the system to discover and process the data.
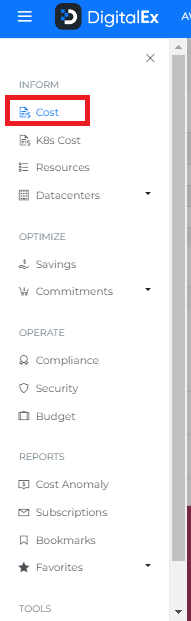
Go to the Menu option and Click Cost.
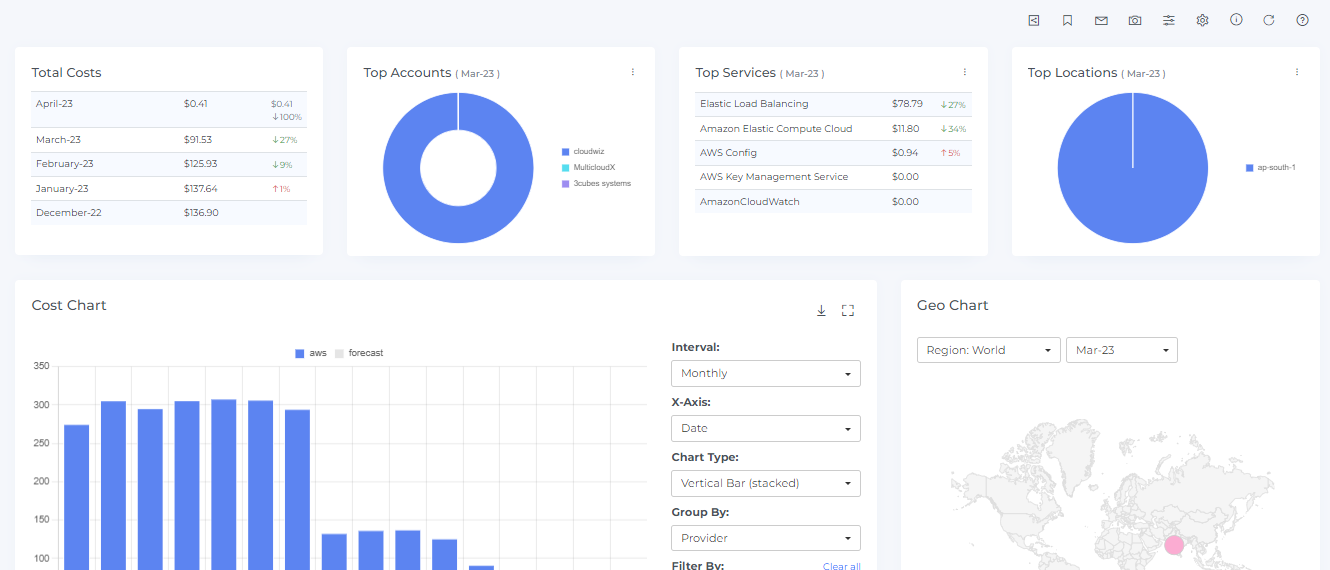
Data will display immediately after successful ingestion.
<<Previous ---------------------------------------------------------------------------------------------------------- Next>>