Step-2: Create SAML App in Okta
Note: DigitalEx does not support IDP-initiated flow for single sign-on (SSO). In order to use SSO with DigitalEx, you will need to initiate the SSO process from DigitalEx
Here are the steps to create a SAML app in Okta:
Log in to Okta admin console.
Switch to Classic UI if your UI is not classic by default. Verify that you are using the admin console. If you are using the developer console, you need to switch over to the Admin Console. If you see <> developer console in the top left corner of your console, click it, then click Classic UI to switch.

3. Click on Applications under Applications.
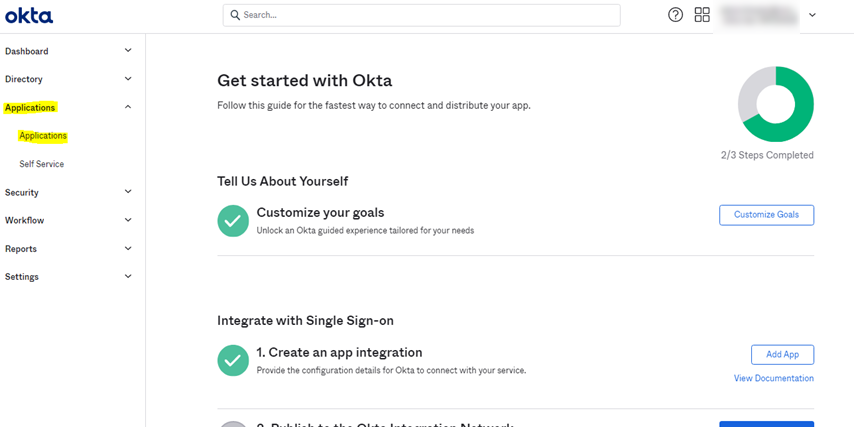
4. Clicking on Applications navigates to the below page.
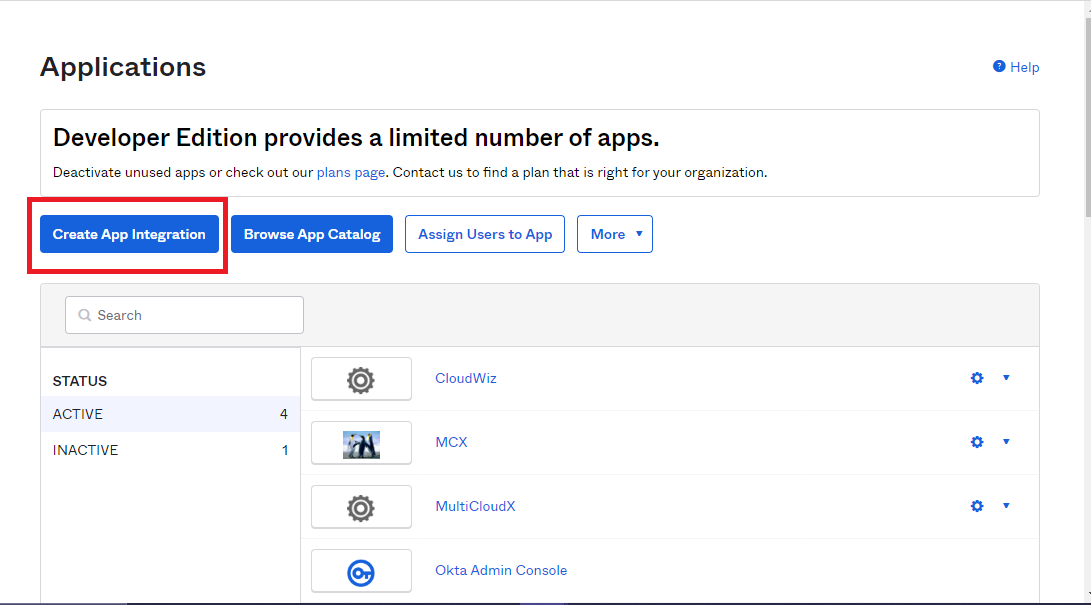
5. Click on Create App Integration. clicking on Add Application navigates to below page
6. Select SAML 2.0 as Sign on method.
7. Clicking on Next navigates to the below page
Under general settings
8. Enter the App name of your choice.
9. Upload the logo(optional)
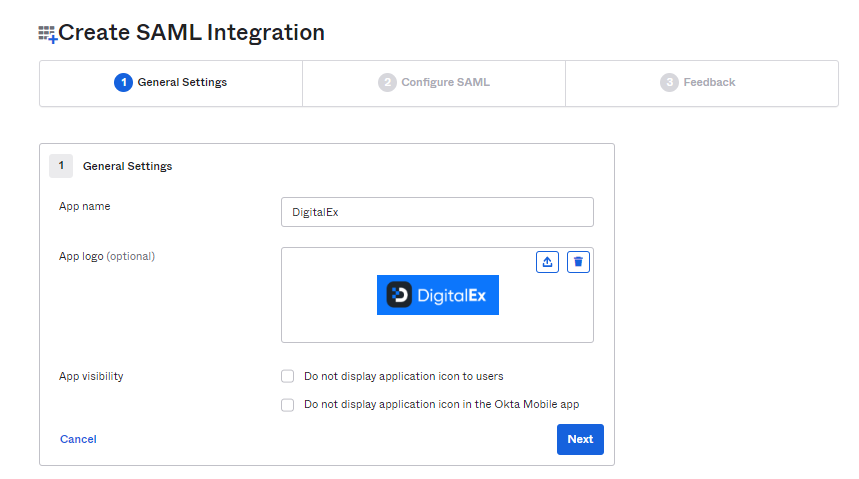
10. Click Next
11. Clicking on Next navigates to the below page.
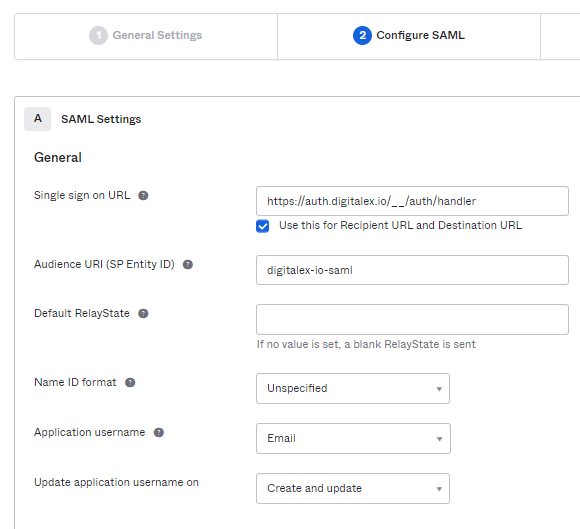
Under Configure SAML
12. Enter the Single sign-on URL (SP ACS URL) that you have copied from the DigitalEx Application in Step 1
13. Enter Audience URI(SP Entity ID) which you have copied from the DigitalEx Application in Step-1.
14. Select the Application username name as email
15. Don’t change other default values and leave other fields as it is.
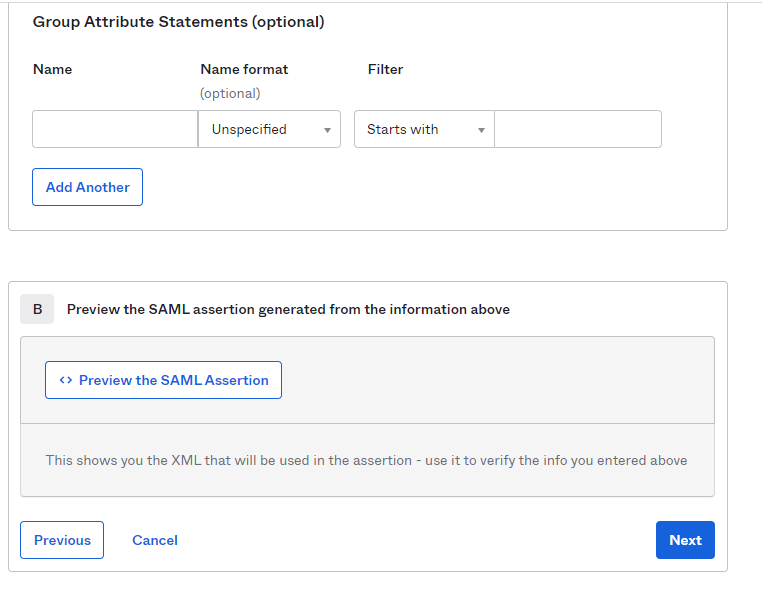
16. Scroll down & click Next from the bottom of the page.
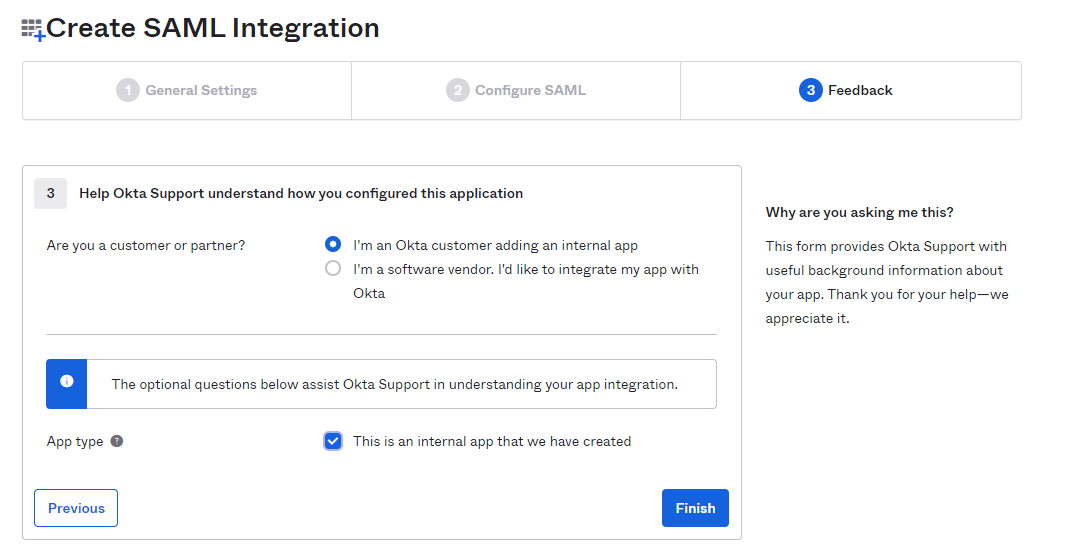
17. Clicking Next Navigates to the below page where you have to select I'm an Okta customer adding an internal app
18. Check App type as This is an internal app that we have created
19. Click Finish.
