Step-2: Create SAML App in Jumpcloud
Below is the description of steps to Create SAML App in Jumpcloud:
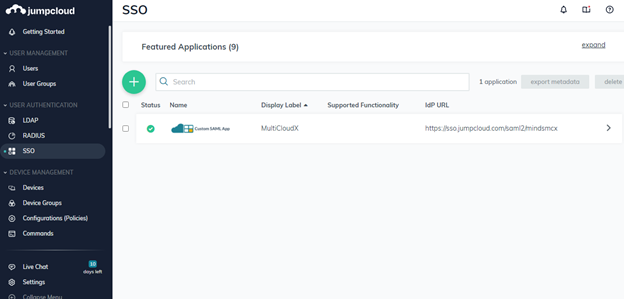
Login to Jumpcloud as Admin
Click SSO from left side menu panel
Click on + Icon to Add a new App
4. Click on Custom SAML App button
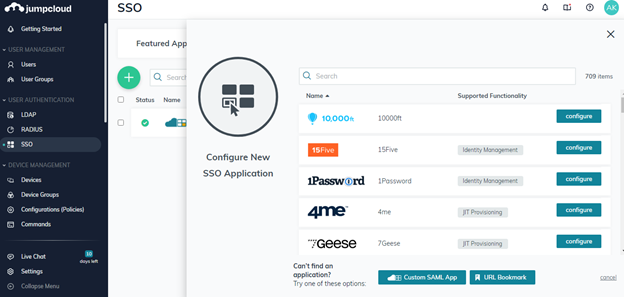
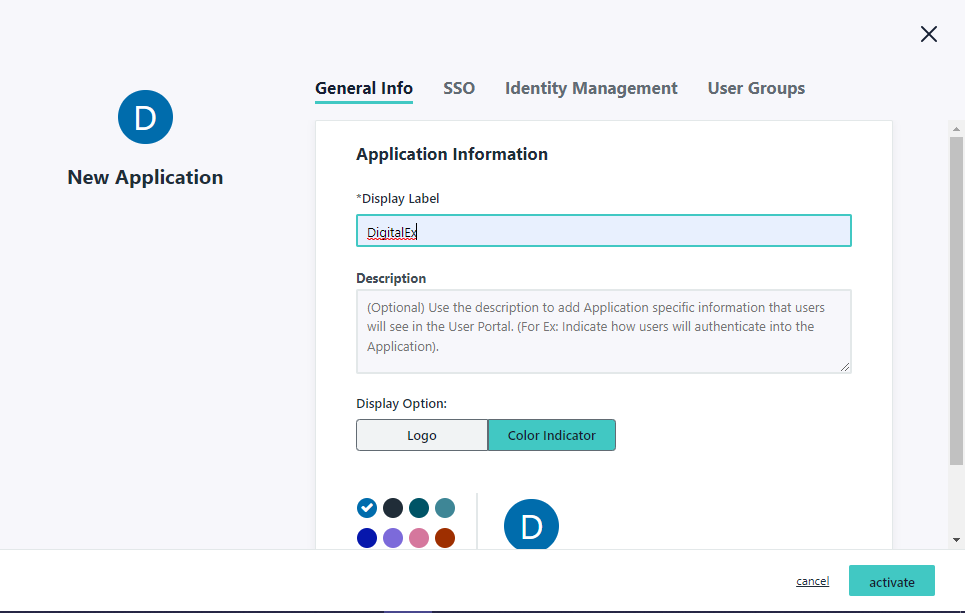
5. Clicking on Custom SAML App button navigates to below page
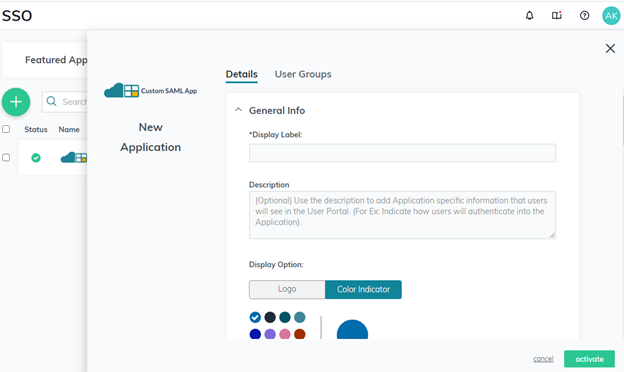
6. Enter Display Label and Description (optional)
7. Upload the logo or use color indicator
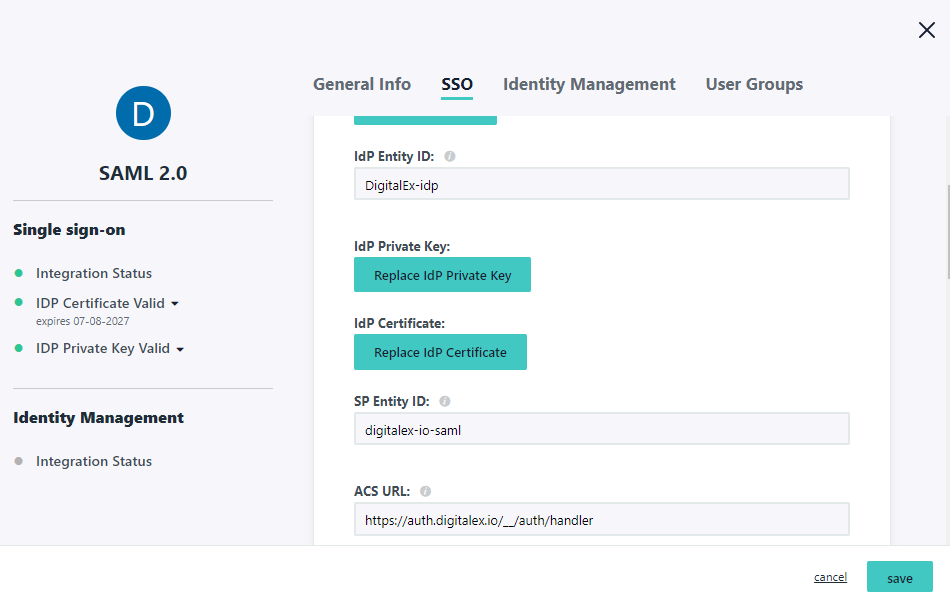
Under Single Sign-On Configuration Enter below details
8. Enter IDP Entity Id of your choice. Use this format for better understanding <organizationname> - idpEg: jumpcloud-idp or DigitalEx-idp
9. Enter Service provider Entity Id which you have copied in step-1.
10. Enter Service provider ACS URL which you have copied in step-1
11. Enter/Complete IDP URL which is preconfigured. Enter anything of your choice in text box.
12. Leave other fields as it is. Click on User Groups option