Step-2: Create SAML App in Google workspace
Note : We don't support IDP initiated flow
Below is the description of the steps to Create SAML App in Google workspace
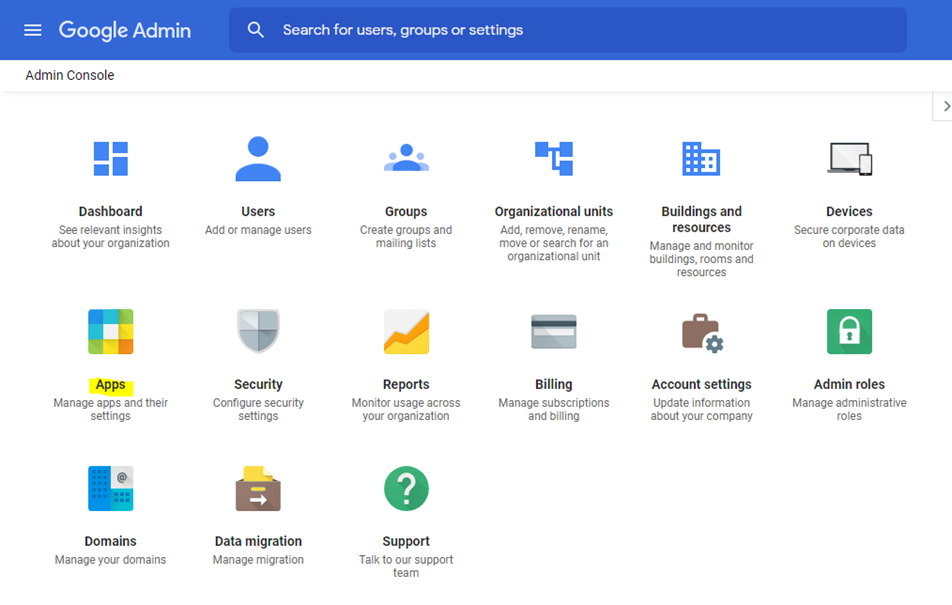
Login to Google workspace Admin Console.
Click on Apps
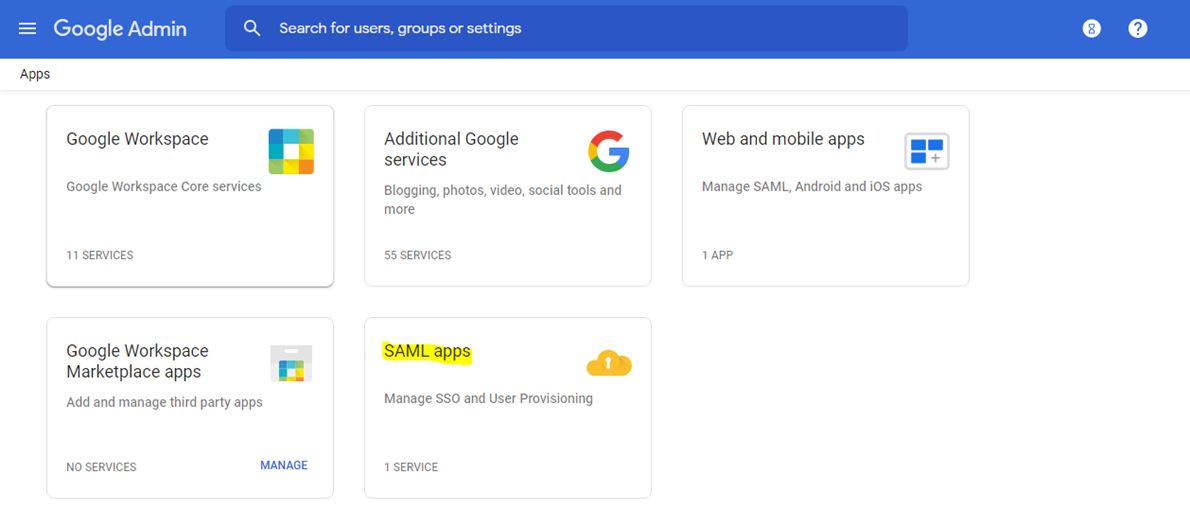
Clicking on Apps navigates to the below page.
Click on SAML Apps
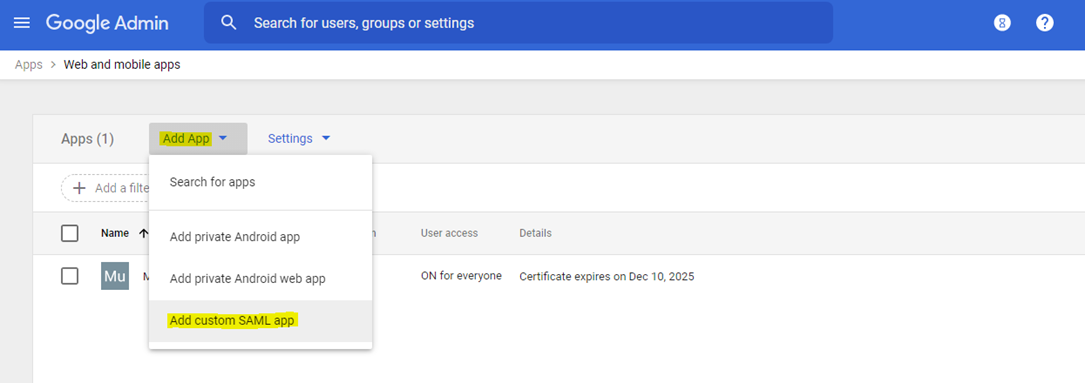
Click on Add App.
Select Add Custom SAML App.
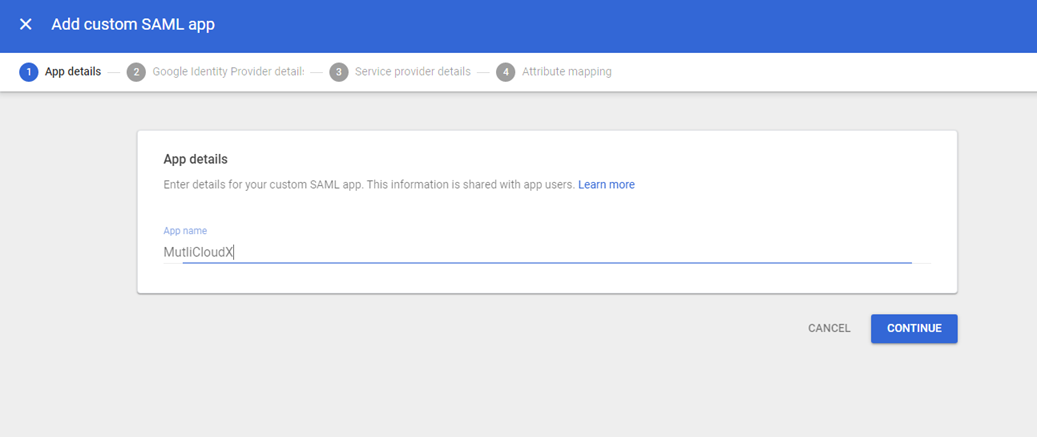
Enter the App name of your choice.
Click Continue
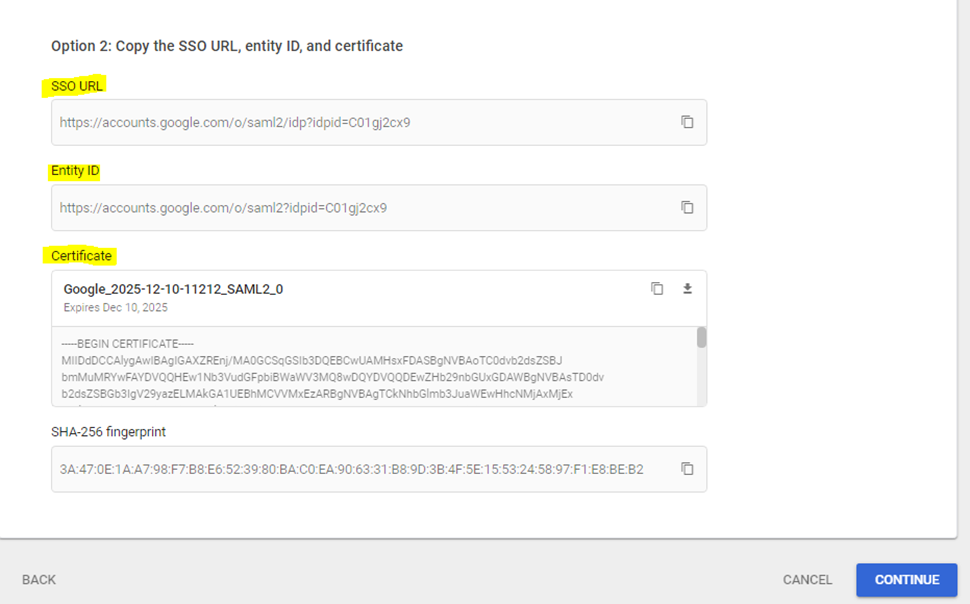
Under option 2 Copy SSO URL, Entity Id, and Certificate from your Google workspace in any of your editor and save it. This is used in the next steps
Click Continue
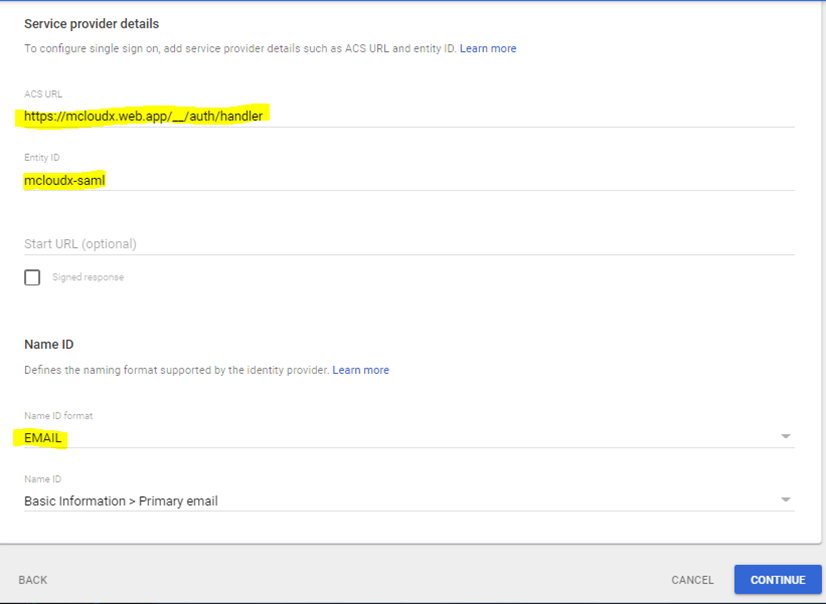
Enter Entity ID and ACS URL copied from DigitalEx in Step-1
Select EMAIL as Name Id Format.
Click Continue
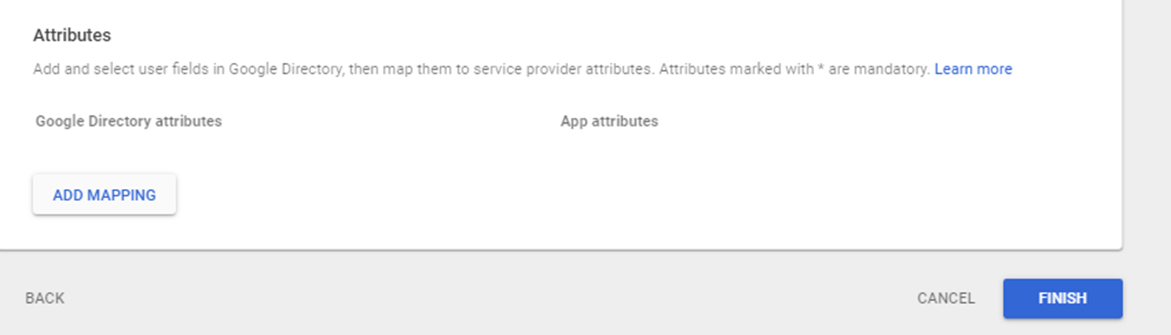
Do not Add Mapping of Attributes and Click Finish
Clicking Finish navigates to Below Page
Click on Down Arrow as shown in the image below.
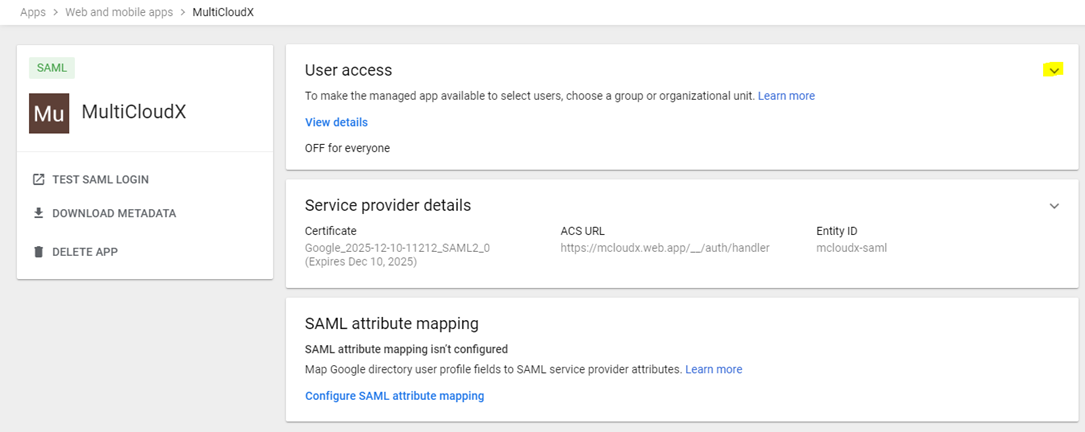
Clicking on the Down Arrow mark navigates to the below page where service status is OFF for everyone by default.
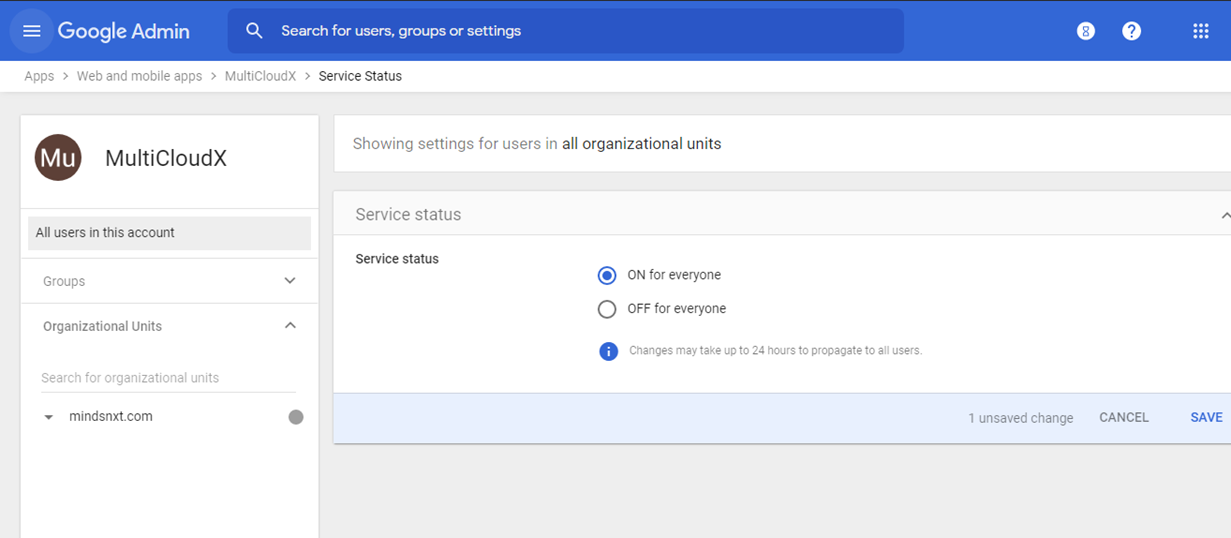
Click on ON for everyone.
Click Save.
SAML App is created successfully and it’s displayed as shown below
