Step-2 : Create SAML App in AWS
Note: DigitalEx does not support IDP-initiated flow for single sign-on (SSO). In order to use SSO with DigitalEx, you will need to initiate the SSO process from DigitalEx
Here are the steps to create a SAML app in aws:
Log in to AWS Admin Console.
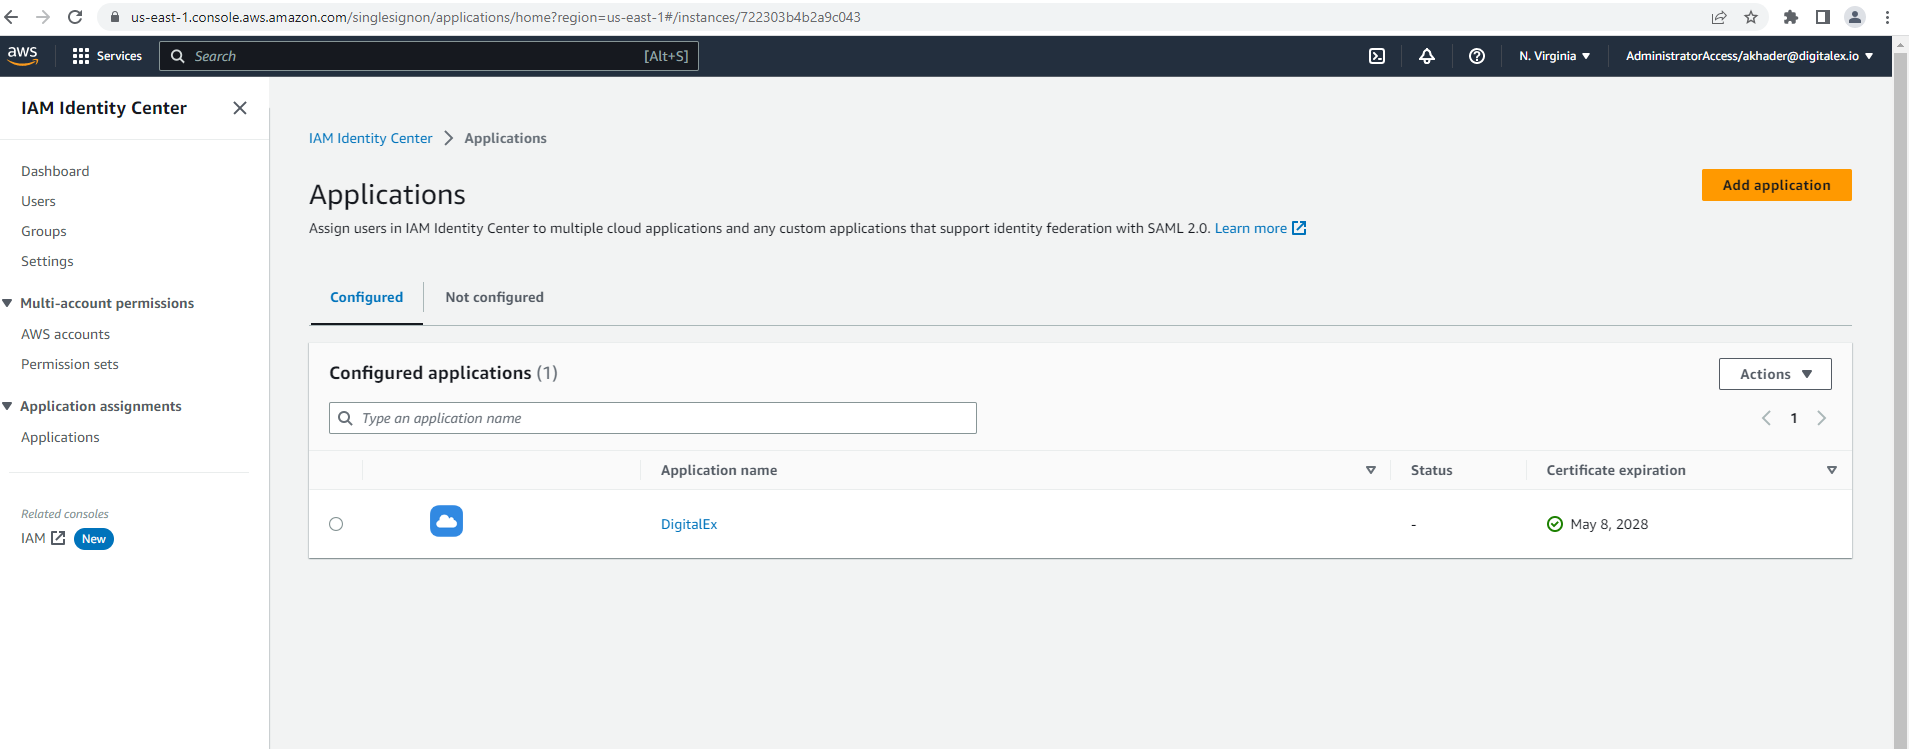
Go to IAM Identity Center and Enable SSO if its not.
Click on Applications > Add Application
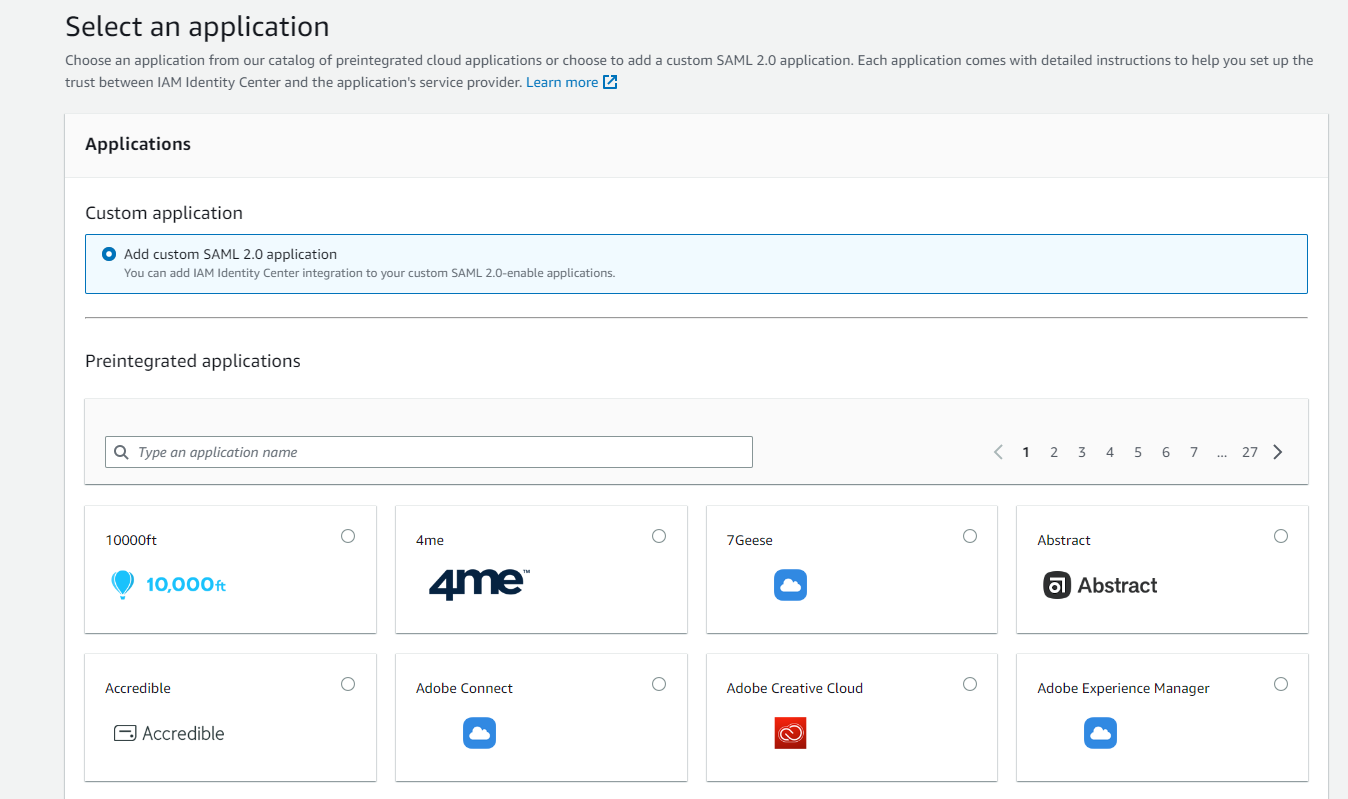
Select Add custom SAML 2.0 application and click Next (bottom of the screen)
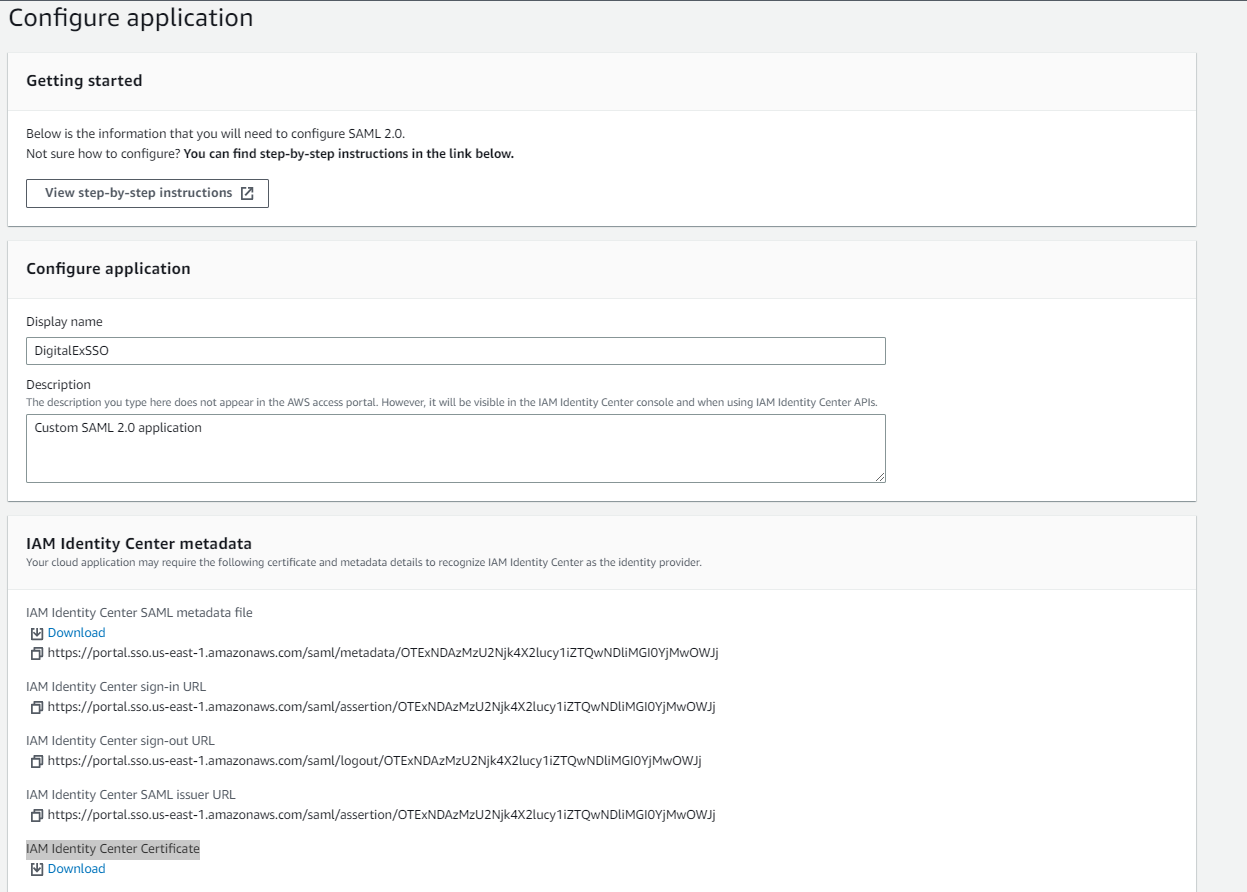
4. Under Configure Application , Enter App name of your choice
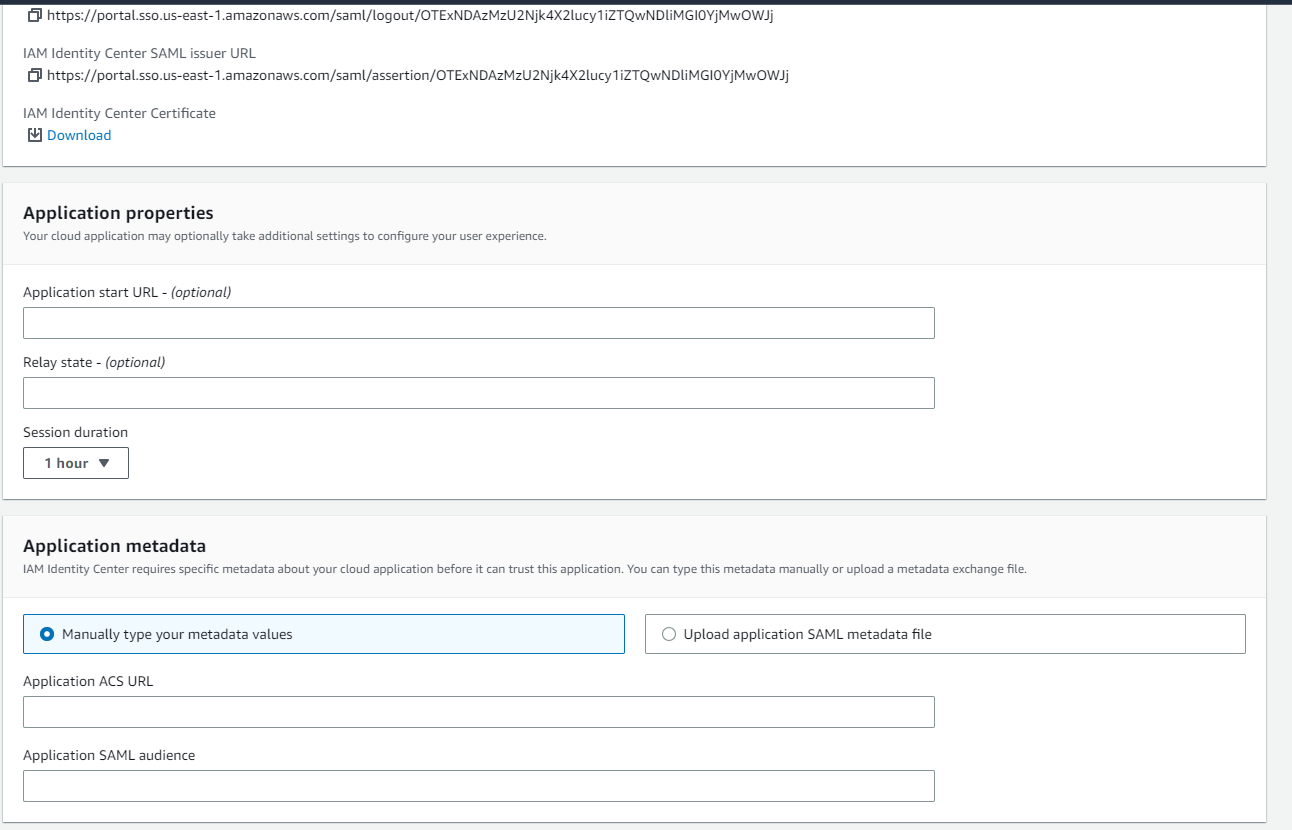
5. Copy IAM Identity Center sign-in URL & IAM Identity Center SAML issuer URL and paste it in any editor which shall be used in next steps
6. Download IAM Identity Center Certificate
7. Enter the Application ACS URL (SP ACS URL) that you have copied from the DigitalEx Application in Step 1
8. Enter Application SAML audience(SP Entity ID) which you have copied from the DigitalEx Application in Step-1.
9.Click Submit
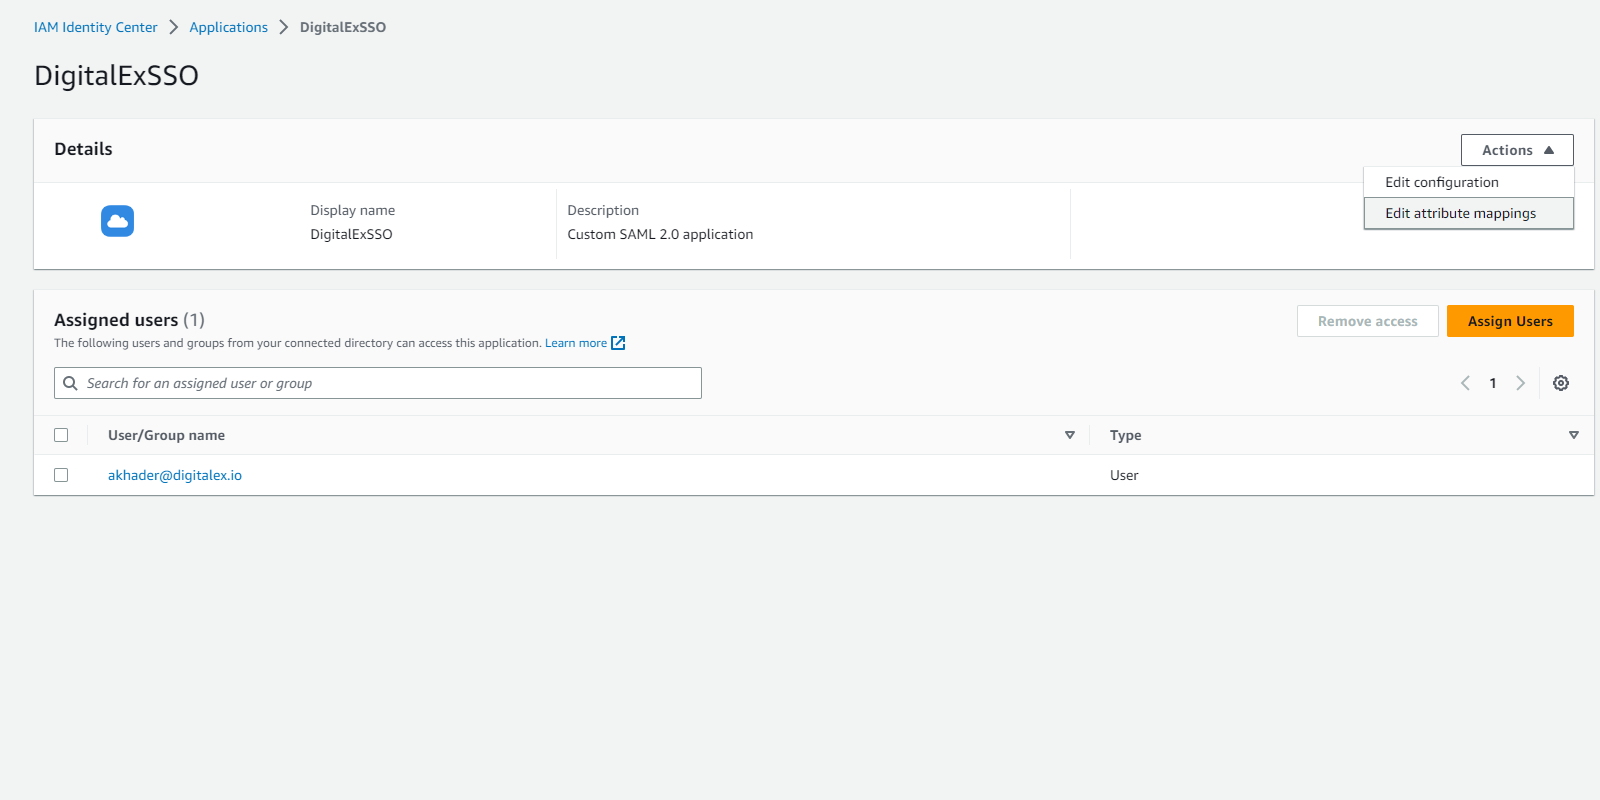
10. After submitting page is navigated to Assign users page where you have to assign the users
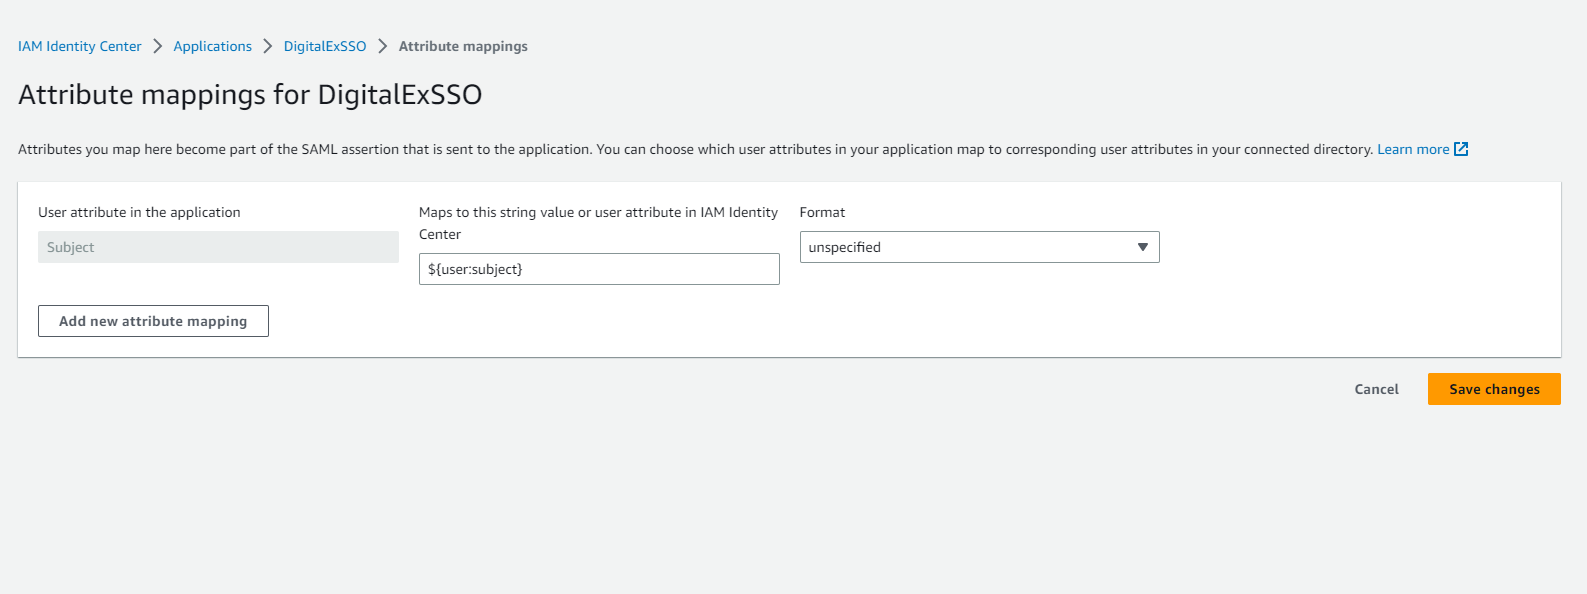
11. After users are assigned Click on Edit attribute mappings under Actions
12. Enter attributes as shown in below image and click save